Part 2 - Configuring an Enterprise Root Certificate Authority
Active Directory Certificate Authority Certificates Microsoft
Published on 22 March 2016 by Christopher Lewis. Words: 180. Reading Time: 1 mins.
This is Part 2 of a series of posts on how to configure VMware vSphere 6.x to use Certificates from Microsoft Windows Server Certificate Services.
The following assumes you have completed the steps within the series:
Instructions
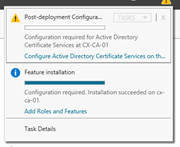
Click Configure Active Directory Certificate Services to run the AD CS Configuration Post-deployment configuration wizard.
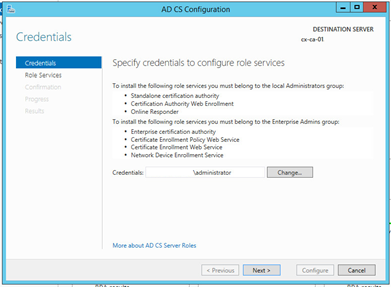
If required, click Change to choose a different account with the appropriate administration rights (i.e. Enterprise Admins) and click Next.
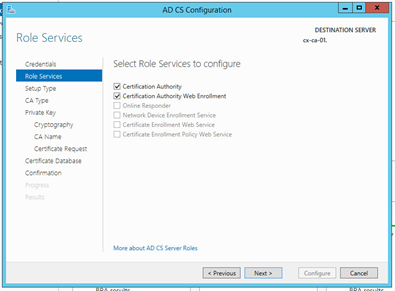
Check the Certification Authority and Certification Authority Web Enrollment checkboxes and click Next.
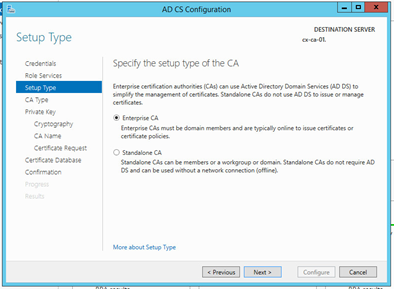
Ensure the Enterprise CA option is selected and click Next.
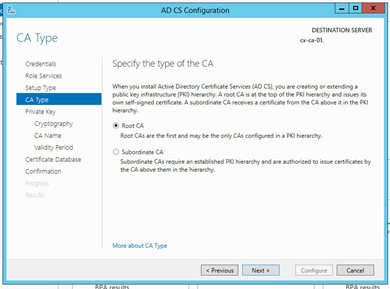
Ensure the Root CA option is selected and click Next.
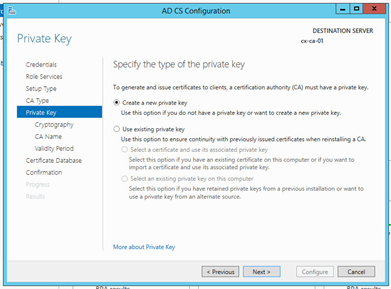
Ensure the Create a new private key option is selected and click Next.
Click Next.
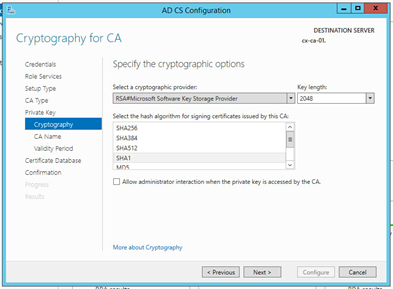
Click Next.

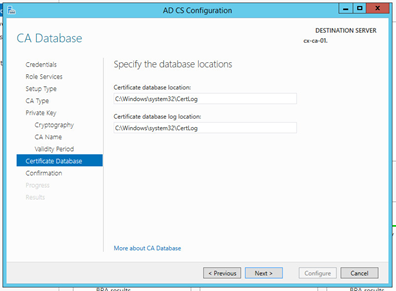
Click Next.
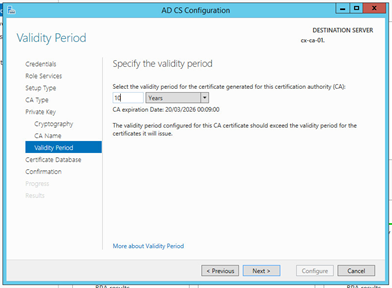
Click Next.
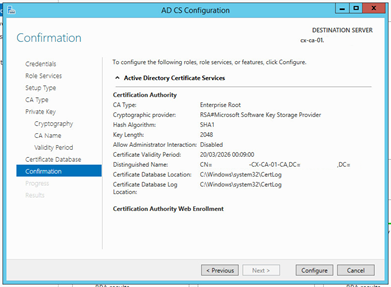
Click Configure.
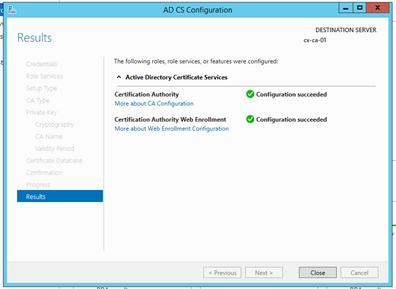
Click Close
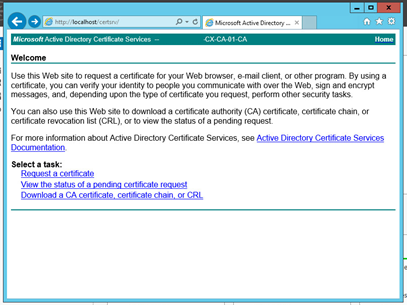
Check the Web Enrollment is working by browsing to http://localhost/certsrv/
Next Steps
Now we have configured the Enterprise Root Certificate Authority, let us move on to Part 3A - Creating the Microsoft CA Template for SSL certificates in vSphere 6.0
Published on 22 March 2016 by Christopher Lewis. Words: 180. Reading Time: 1 mins.