Warning! The content within this article is over 36 months old and, therefore, may be out of date.
HOWTO: Configure the VMware Identity Appliance for vRealize Automation 6.x
Share this article on:


VMware vRealize Automation VCAP6 VCAP6-CMA
Published on 10 January 2017 by Christopher Lewis. Words: 435. Reading Time: 3 mins.
Introduction
This post is a part of a series of posts for preparation for the VCAP6-CMA Deploy exam. For the full exam prep resources check here .
Prerequisites
The following are prerequisites for this post:
- A deployed VMware vRealize Identity Manager Appliance - see Deploy the VMware vRealize Identity Appliance from OVA
Configuration Overview
The high level configuration steps for this appliance are:
- Connect to the Identity Appliance VAMI
- Configure the Time/NTP settings
- Confirm the Network Settings
- Configure the SSO Administrator Password
- Configure the SSO Hostname
- Configure the SSL Certificate
- Join the Identity Appliance to Active Directory
Step by Step Walkthrough
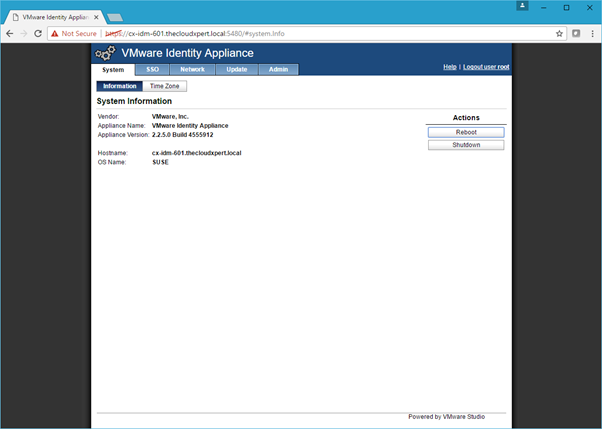
Connect to the Identity Appliance VAMI
- Using a web browser, navigate to VAMI of the Identity Appliance
https://identity-appliance.fqdn:5480.
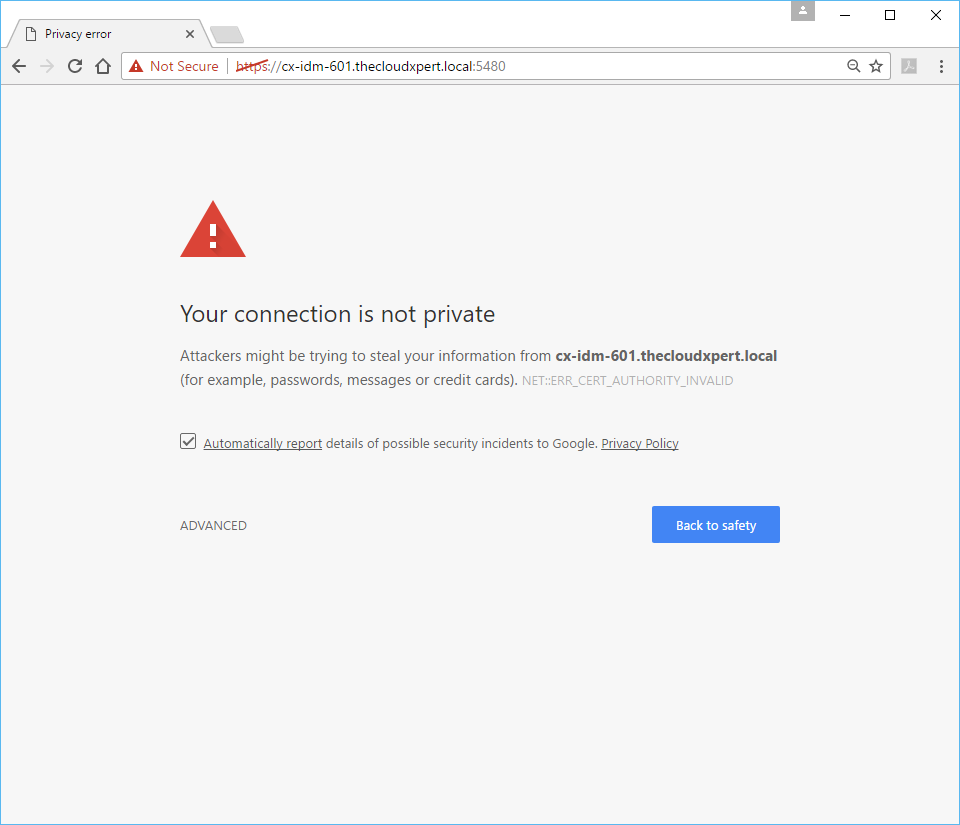
- Click Advanced and then click Proceed to
identity-appliance.fqdn(unsafe).
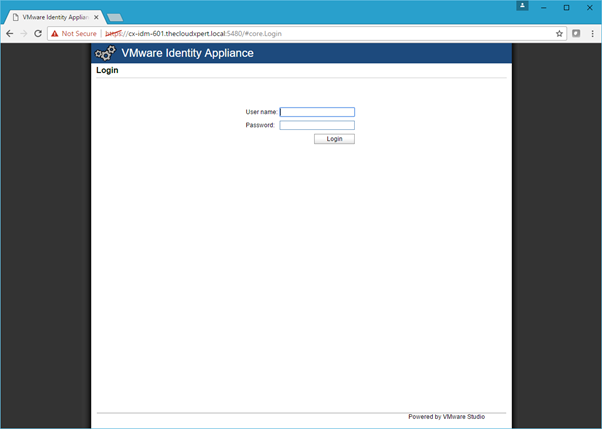
- Enter root into the User name text field and the password for the root account into the Password text field. Click Login.
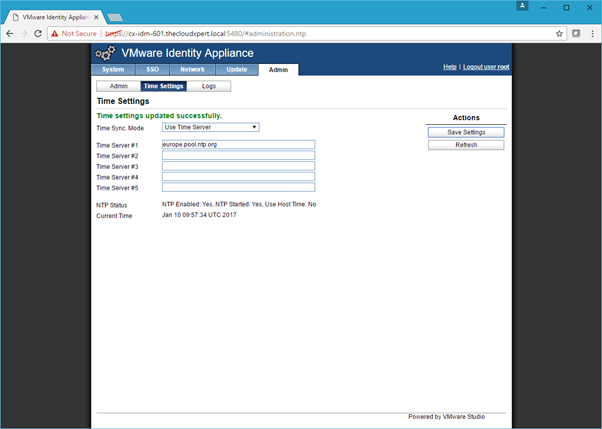
Configure the Time / NTP Settings
- Click the Admin Tab and then the Time Settings Tab.
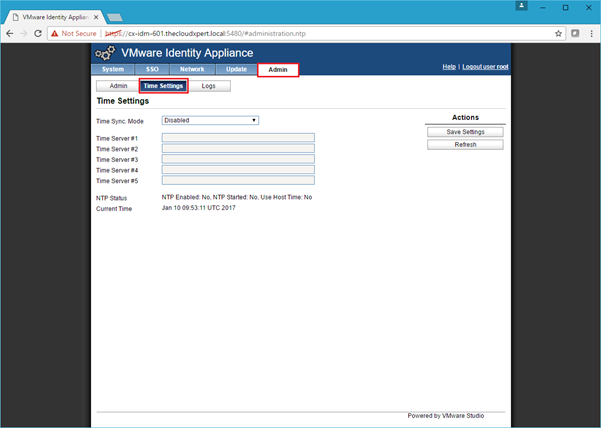
- Select Use Time Server from the Time Sync. Mode dropdown and enter the time server(s) in the text field(s) and click Save Settings.
Confirm the Network Settings
- Click the Network Tab to confirm the network settings of the Identity Appliance are correct.
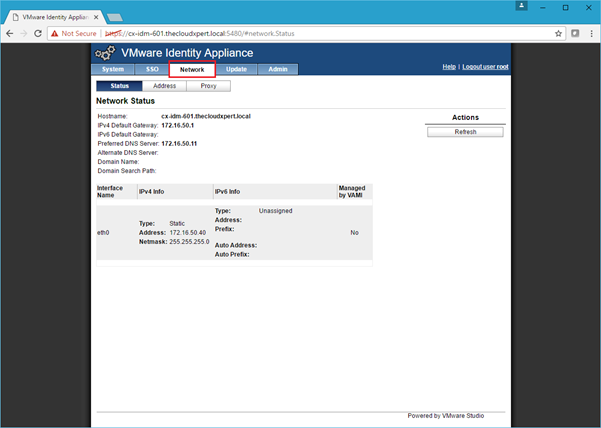
Note:
If the settings are incorrect, click the Address Tab, update the relevant settings, click Save Settings and then reboot the appliance.
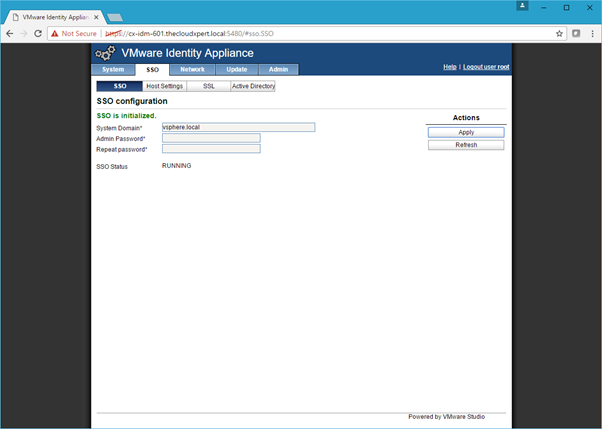
Configure the SSO Administrator Password
- Click the SSO Tab.

- Enter the desired admin password into the Admin Password and Repeat password text fields and click Apply.
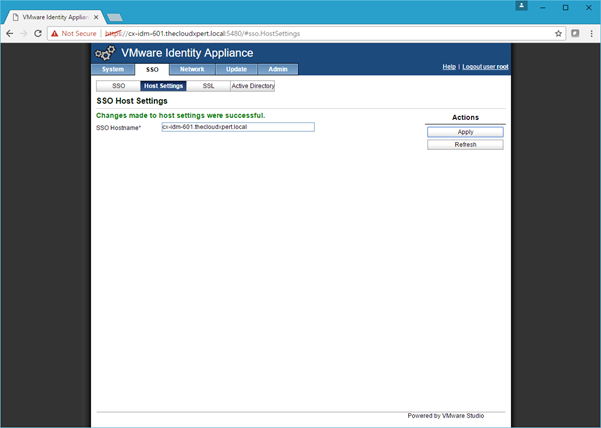
Configure the SSO Hostname
- Click the Host Settings Tab.
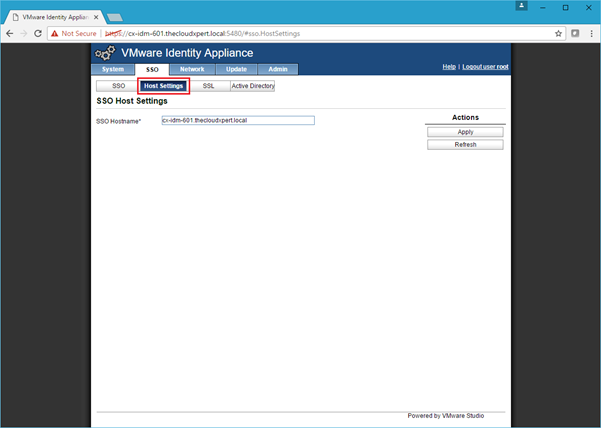
- Confirm the name of Identity Manager Host is correct in the SSO Hostname field and click Apply.
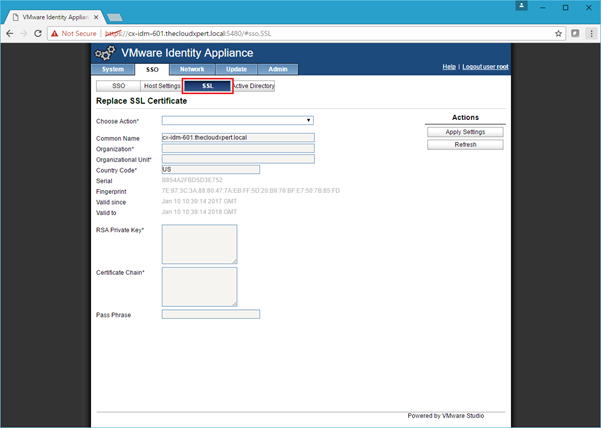
Configure the SSL Certificate
- Click the SSL Tab
- From the Choose Action dropdown, select Import PEM encoded certificate.
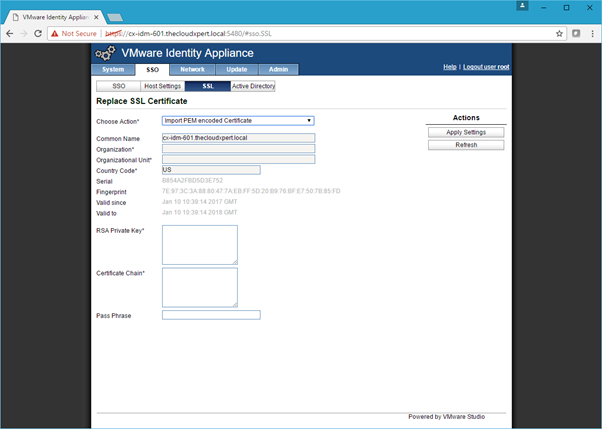
- Copy the entire contents of the Private key file into the RSA Private Key text field (including
-----BEGIN RSA PRIVATE KEY-----and-----END RSA PRIVATE KEY-----).
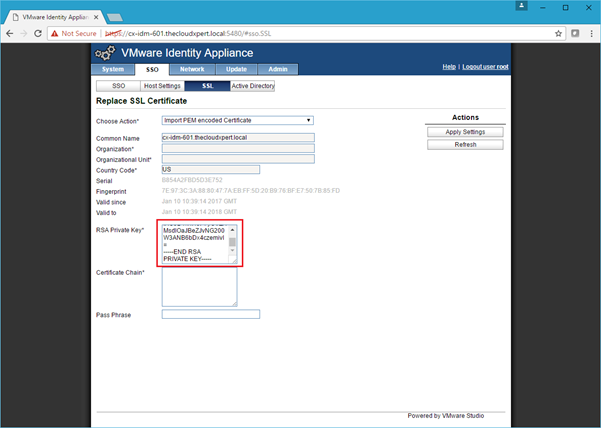
- Copy each SSL certificate the Certificate Chain into the Certificate Chain text field (including the
-----BEGIN CERTIFICATE-----and-----END CERTIFICATE-----lines).
Note:
The certificate chain should be Appliance SSL -> (if applicable) Subordinate CA SSL -> Root CA SSL.
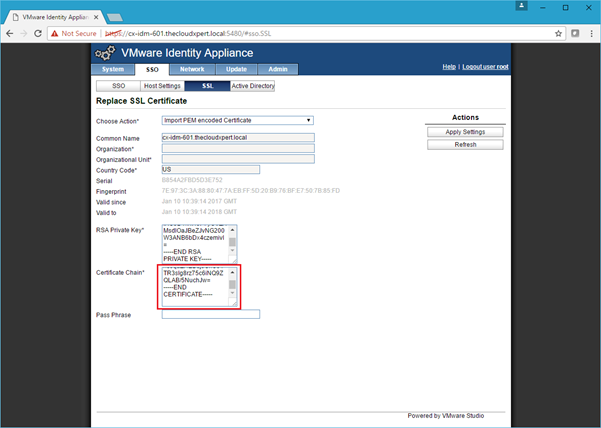
- Click Apply Settings.

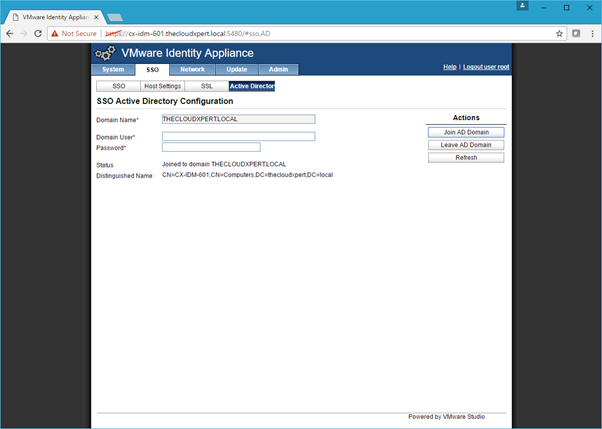
Join the Identity Appliance to Active Directory
- Click the Active Directory Tab.
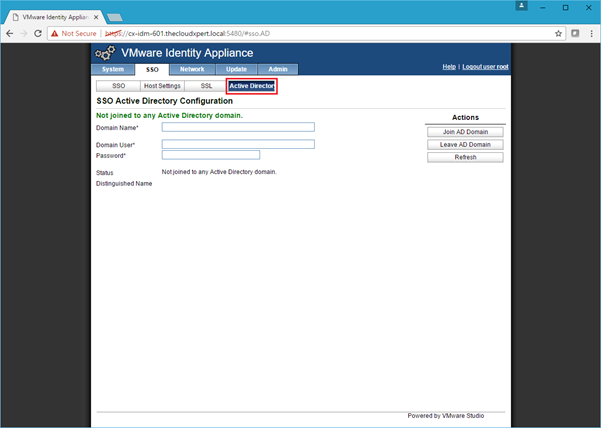
- Enter the Domain into the Domain Name text field, the user into the Domain User text field and the password into the Password text field. Click Join AD Domain.
Note:
The user detailed here is only required to add the Identity Appliance to AD so that Integrated Windows Authentication can occur.
- Click Logout user root.
Published on 10 January 2017 by Christopher Lewis. Words: 435. Reading Time: 3 mins.
Share this article on:
Related Post(s):
- HOWTO: Deploy the VMware vRealize Automation 6.x Appliance (OVA) ()
- VCAP6-CMA Deploy - Objective 3.2: Deploy and Manage Certificates and Access Control ()
- Achievement Unlocked: VMware Certified Implementation Expert 6: Data Center Virtualization ()
- Achievement Unlocked: VMware Certified Advanced Professional 6 - Data Center Virtualization Design ()
- Achievement Unlocked: VMware Certified Advanced Professional - Data Center Virtualization Deploy ()
About the Author:

Name: Christopher Lewis
Twitter/X: thecloudxpert
Role: Domain Expert - VCF Automation & VCF Operations
Company: VMware / Broadcom
Recent Posts by Christopher Lewis:
Blog Categories:
active directory 6
aria automation 9
aria operations 2
aws 2
certificate authority 5
certificates 5
certification 91
general 9
home lab 2
microsoft 7
nsx 45
nsx v 41
powercli 8
powershell 6
vcap 48
vcap6 2
vcenter 4
vcf 2
vcix 2
vexpert 9
vmug 5
vmware 99+
vmware aria automation 9
vmware aria operations 5
vmware cloud 3
vmware explore 2
vmware identity manager 2
vmworld 36
vrealize automation 80
vrealize business 2
vrealize operations manager 5
vrealize orchestrator 13
vrealize suite 14
vrealize suite lifecycle manager 20
vsan 5
vsphere 9
windows 6
Top Tags:
active directory 6
api 18
barcelona 24
certificates 11
certification 7
howto 33
microsoft 7
multi tenancy 9
nsx v 43
platform services controller 8
powercli 8
powershell 7
psc 6
vcap 9
vcap6 45
vcap6 cma 48
vcap6 nv 37
vcix6 nv 36
vexpert 19
vmug 8
vmware 99+
vmware aria 12
vmware aria automation 9
vmworld 35
vmworld 2016 13
vmworld 2017 9
vra 13
vrealize automation 74
vrealize operations 8
vrealize orchestrator 21
vrealize suite lifecycle manager 11
vrslcm 20
vsan 7
vsphere 12