Warning! The content within this article is over 36 months old and, therefore, may be out of date.
HOWTO: Configure a vRealize Automation 6 Advanced Services Endpoint for vCenter Server
Share this article on:


VMware vRealize Automation vRealize Orchestrator VCAP6 VCAP6-CMA
Published on 7 February 2017 by Christopher Lewis. Words: 244. Reading Time: 2 mins.
Introduction
This post is a part of a series of posts for preparation for the VCAP6-CMA Deploy exam. For the full exam prep resources check here .
In this post we are covering the configuration of the Advanced Services Endpoint for vCenter Server.
Prerequisite Steps
- A fully deployed vRealize Automation implementation.
- An external Orchestrator deployment (see HOWTO: Deploy the vRealize Orchestrator 6.x Appliance for vRealize Automation )
Step by Step Guide
- Navigate to and Log into the vRealize Automation Tenant Portal as a Tenant Administration user.
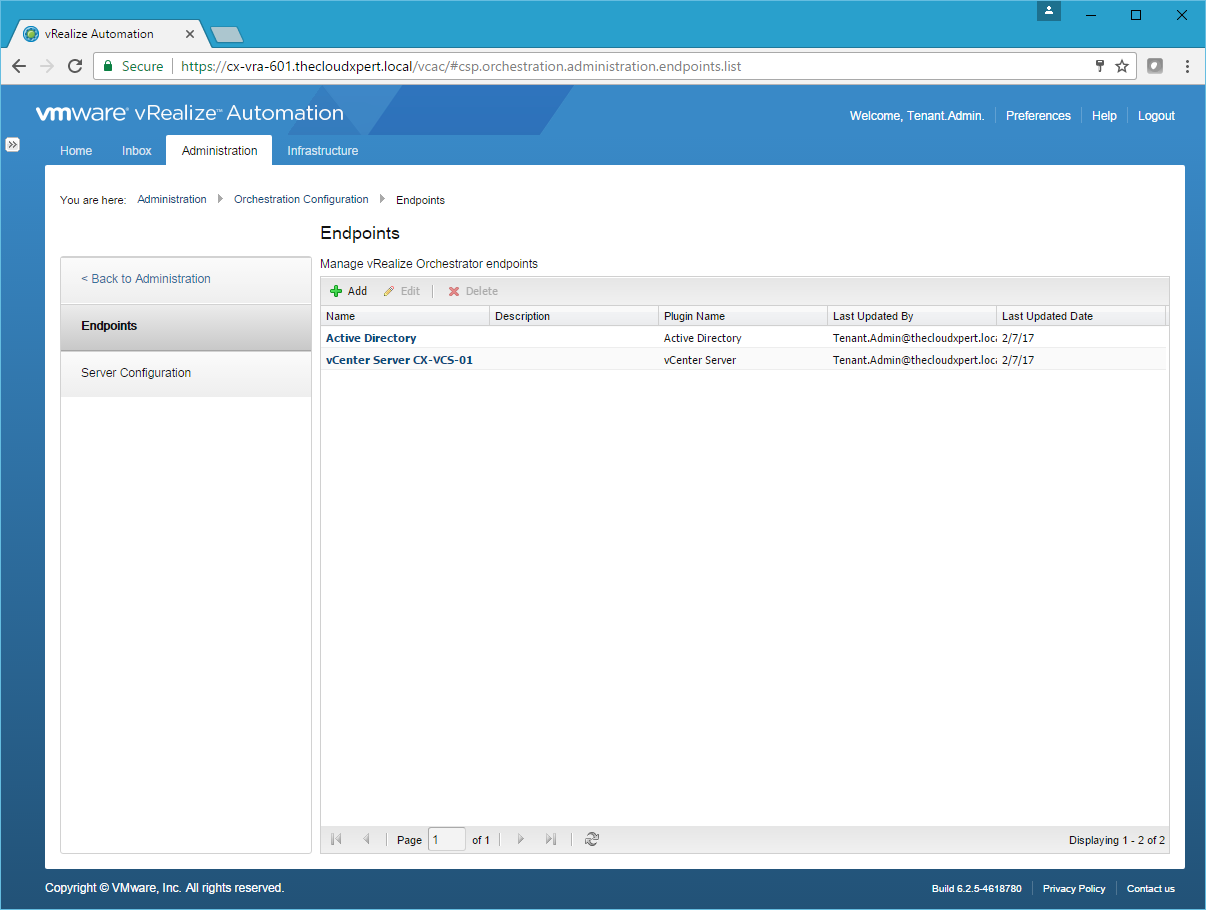
- Navigate to Administration > Orchestration Configuration > Endpoints.
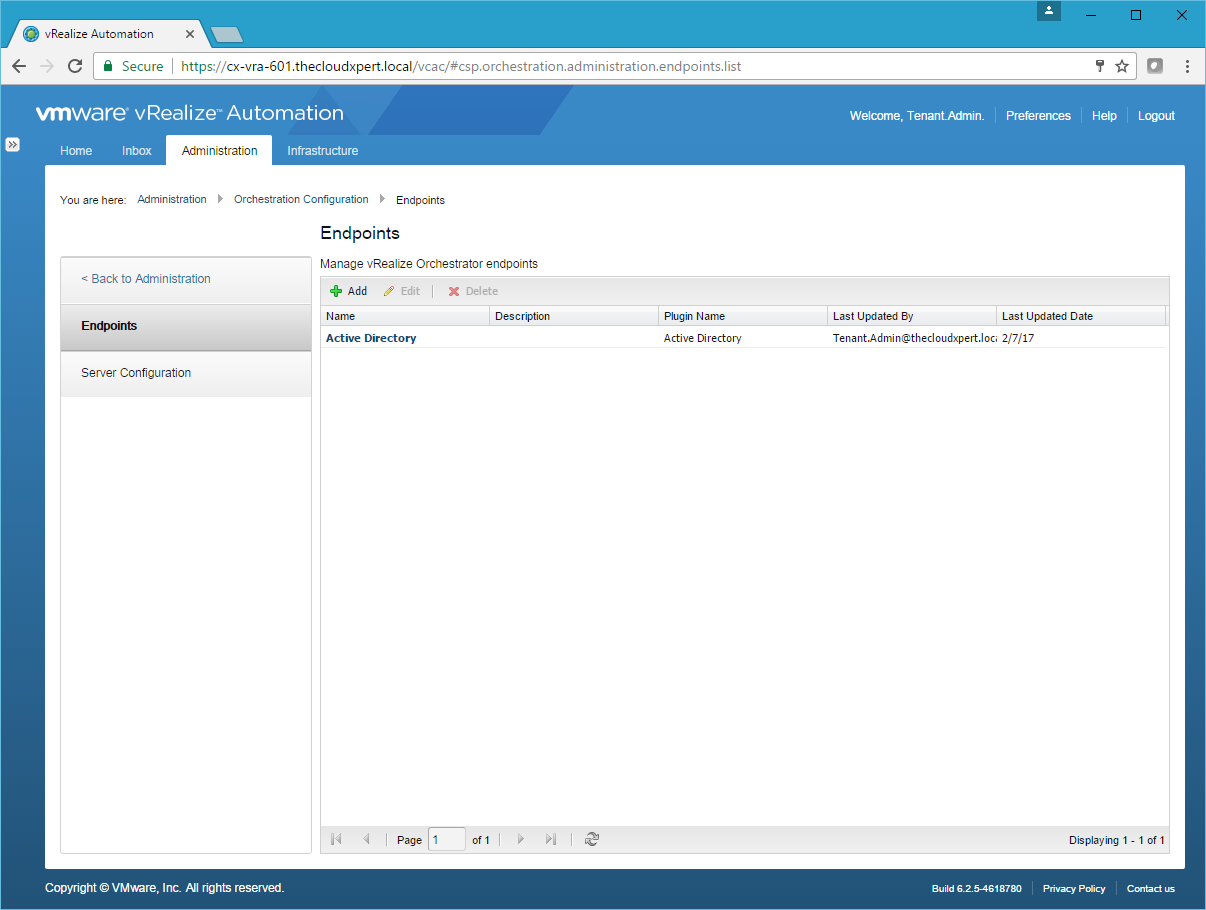
- Click Add.

Note:
You will only get the Active DIrectory plug-in warning if you have already configured that plug-in.
- Select vCenter Server from the Plug-in dropdown.
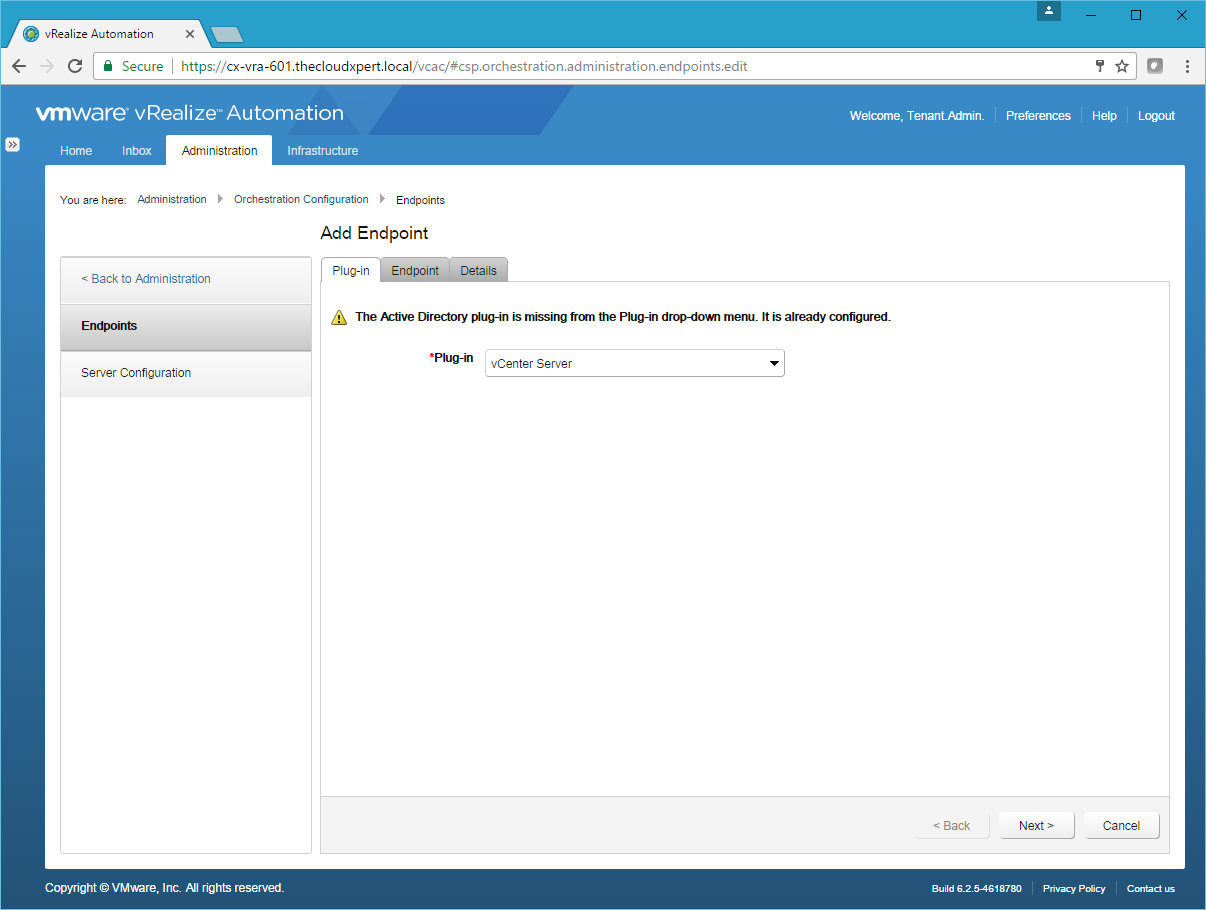
- Click Next.
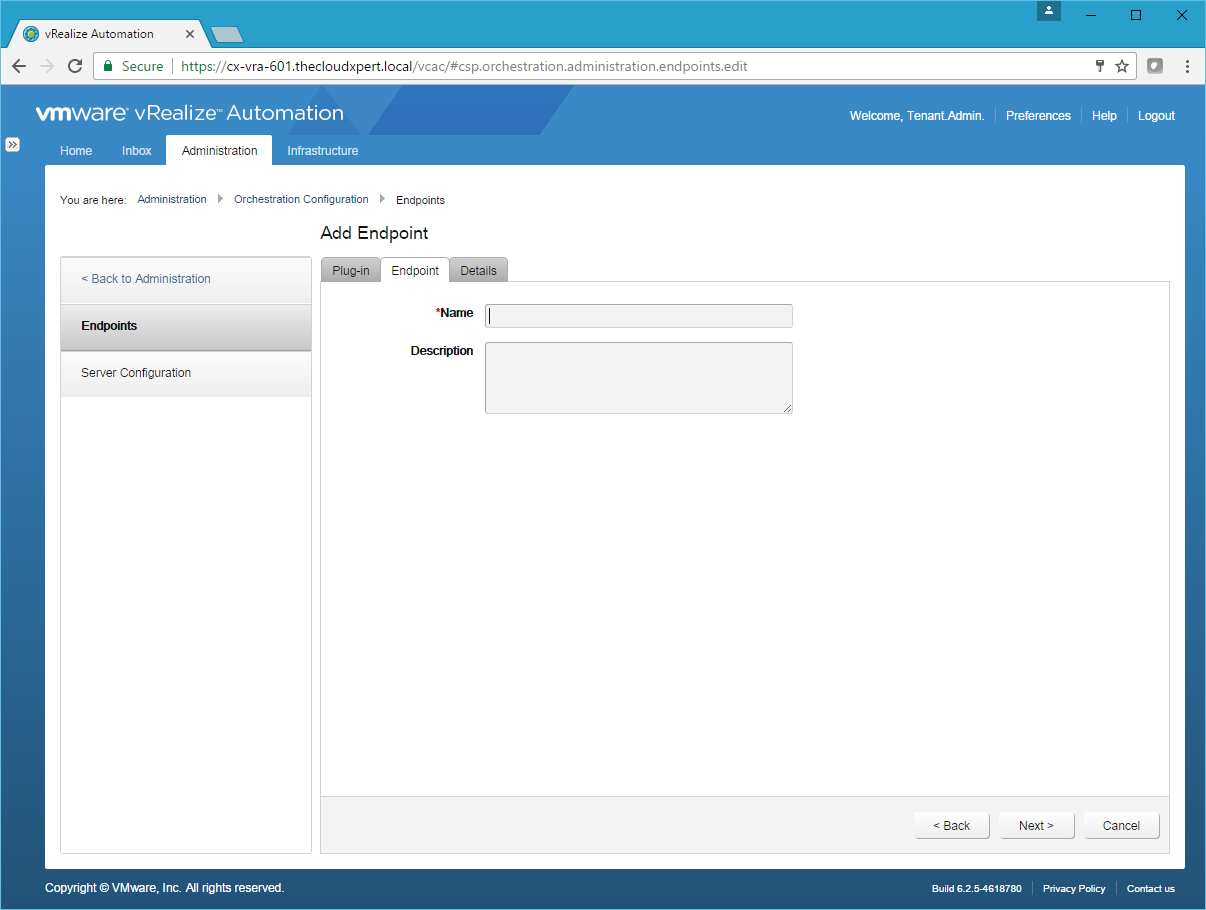
- Type the Name of the endpoint into the Name text field and (optionally) provide a Description.
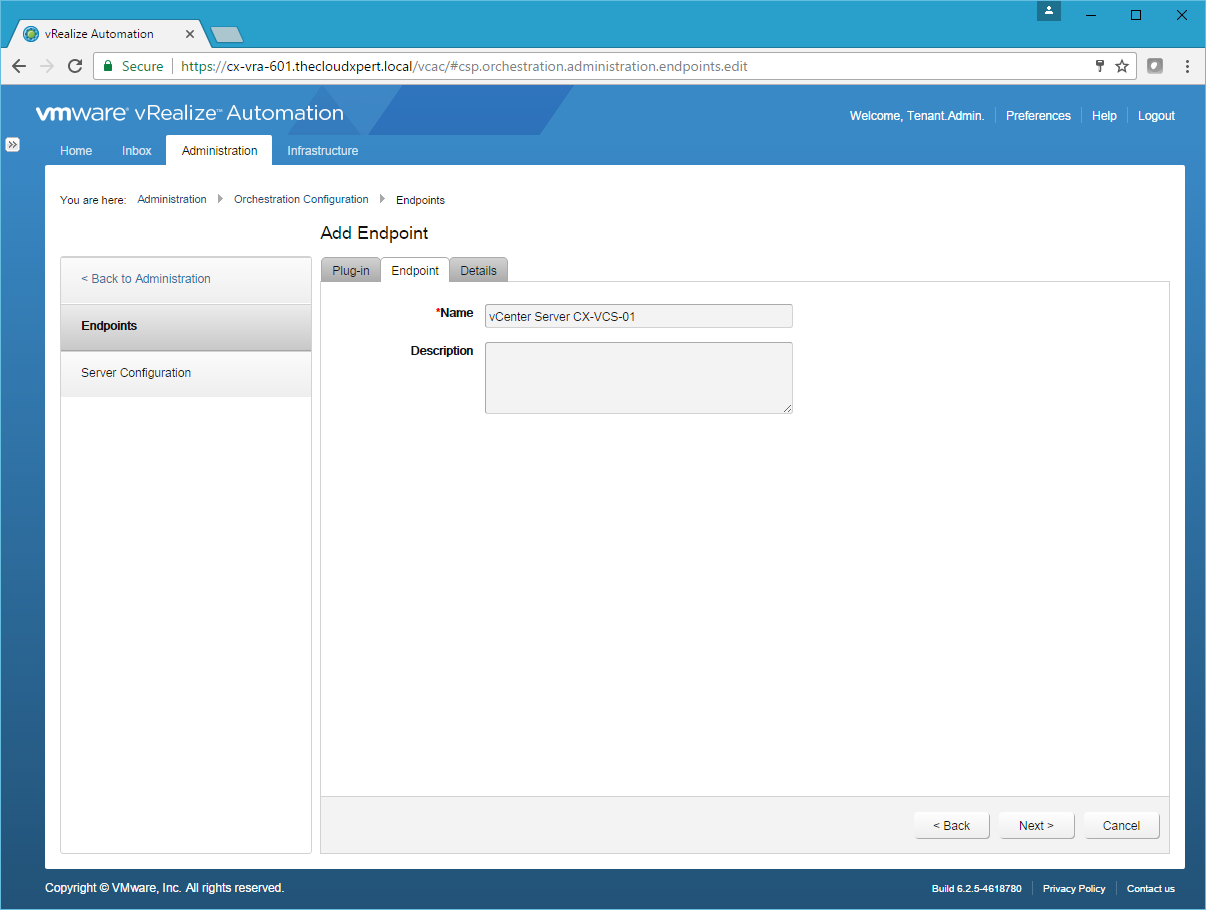
- Click Next.
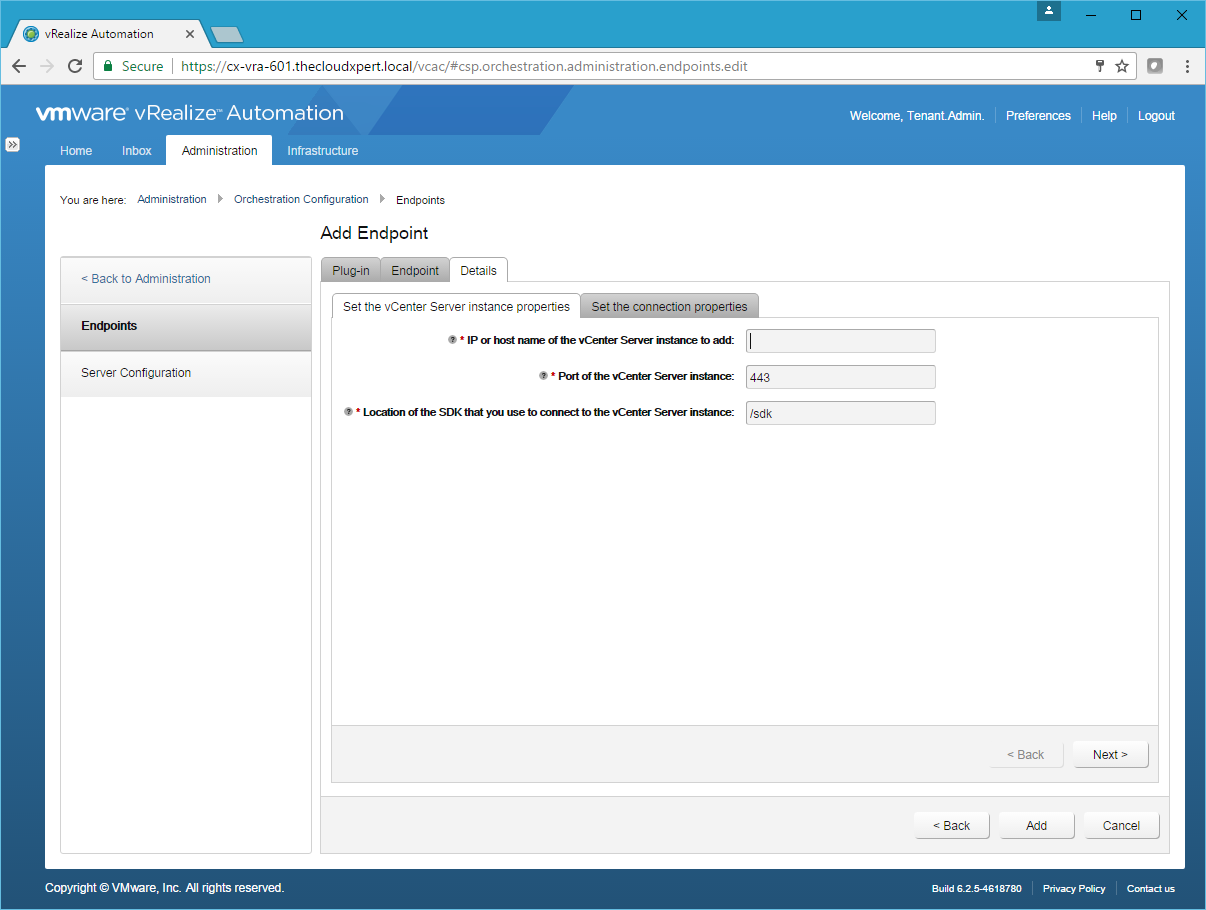
- Type the FQDN of the vCenter Server into the IP or host name of the vCenter Server instance to add text field. Leave all other settings as their defaults.
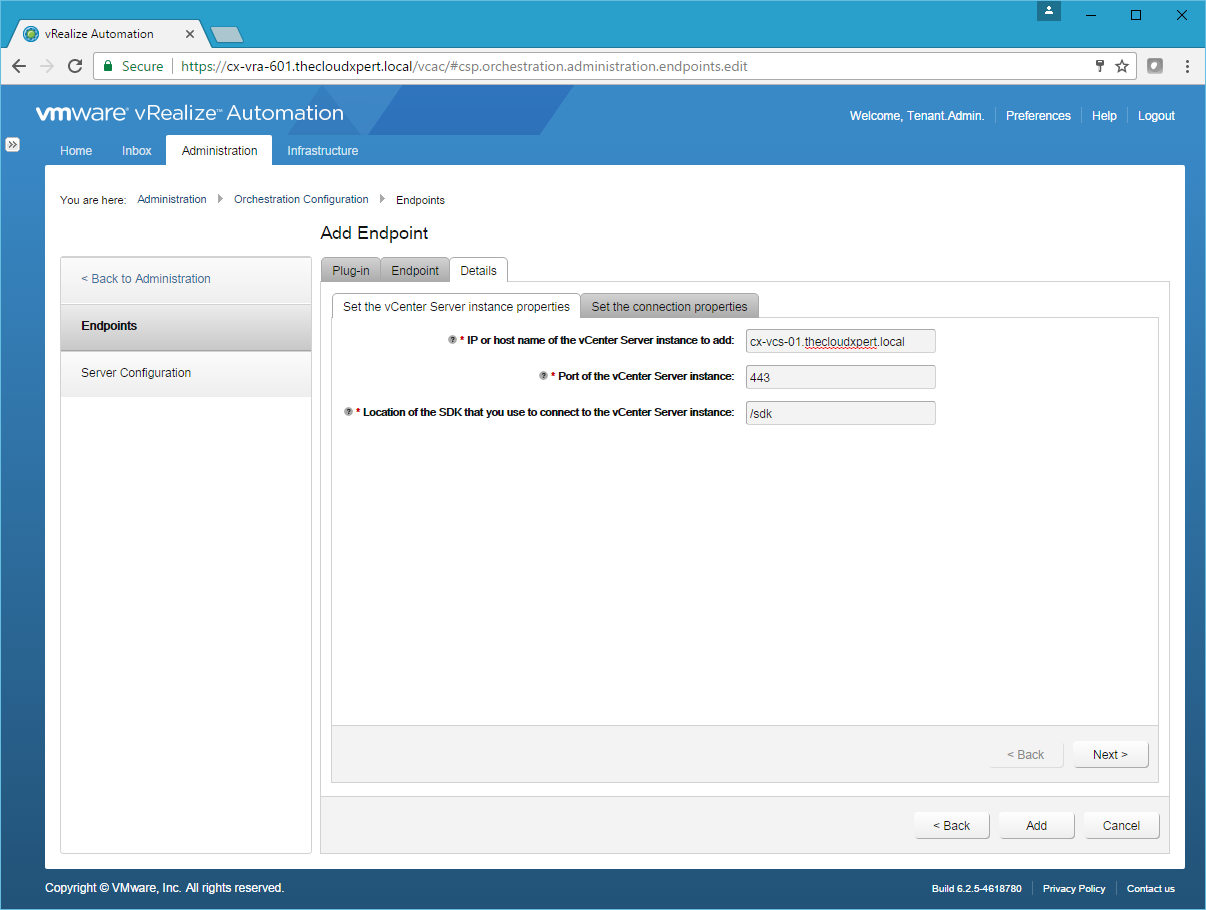
- Click Next.
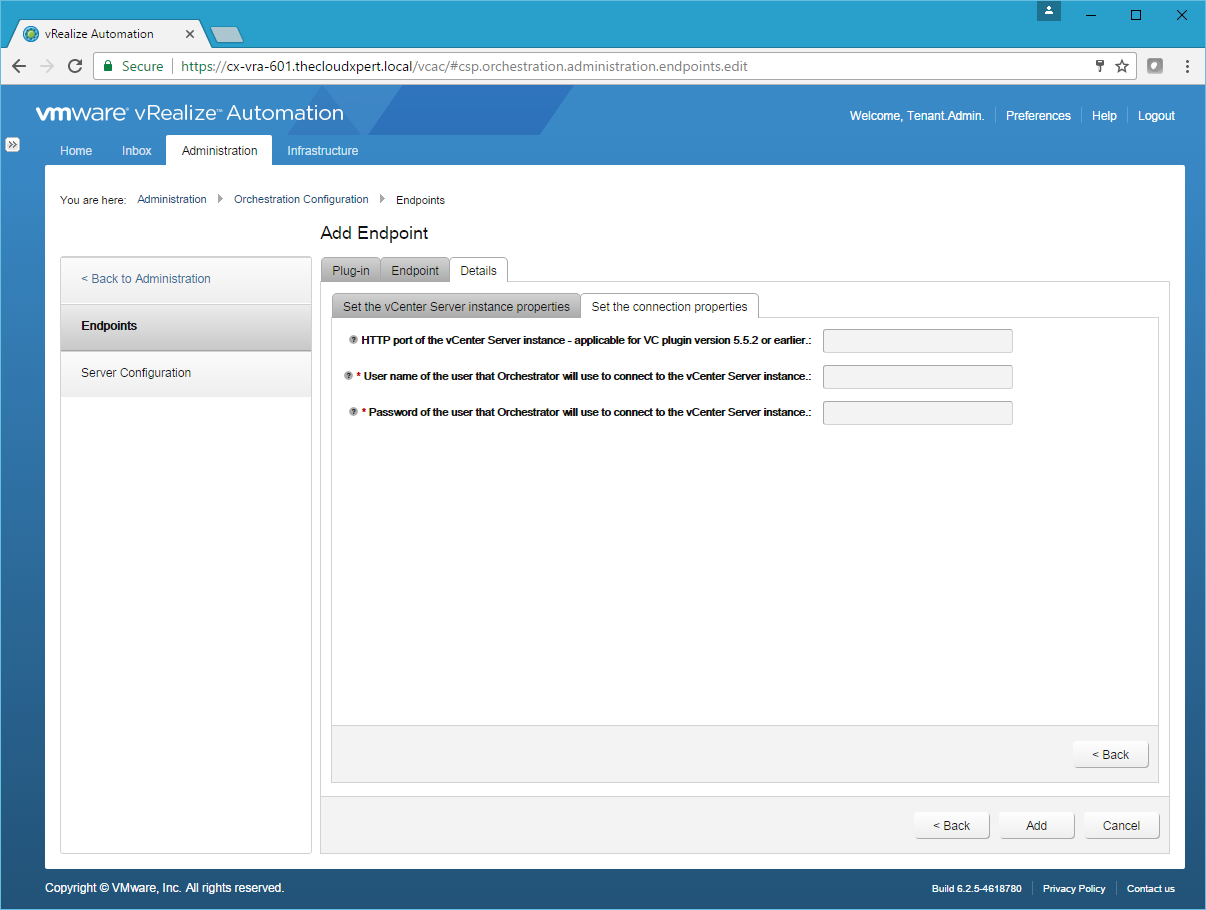
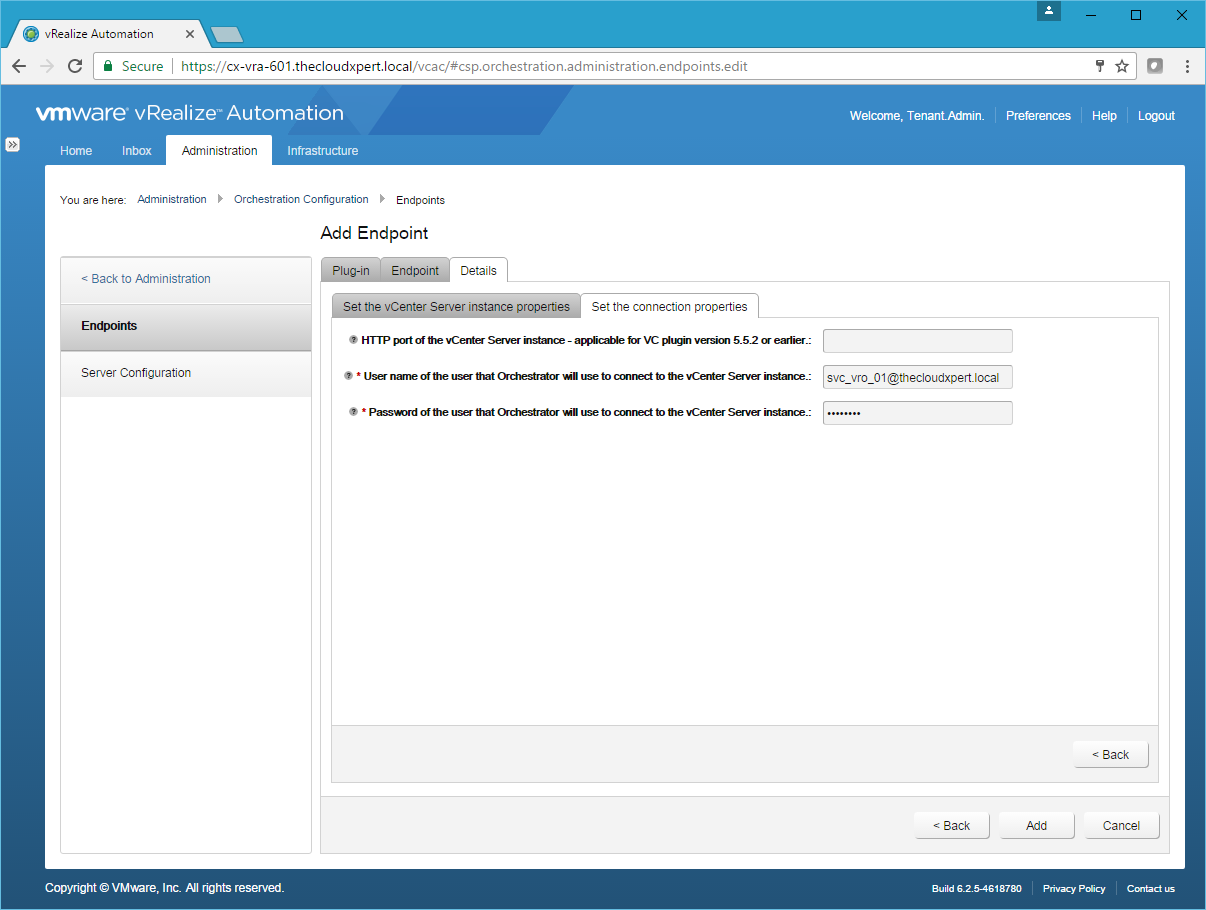
- Enter the Username and Password of a user that Orchestrator can use.
Note:
The user must be a valid user with privileges to manage vCenter Server extensions and a set of custom defined privileges.
- Click Add.
Note:
If you have already configured vRO to connect to vCenter using the Add a vCenter Server Instance workflow, you will get an error. You can run the Remove a vCenter Server Instance workflow and then retry.
Published on 7 February 2017 by Christopher Lewis. Words: 244. Reading Time: 2 mins.
Share this article on:
Related Post(s):
- VCAP6-CMA Deploy - Objective 6.1: Configure Advanced Service Designer ()
- HOWTO: Configure a vRealize Automation 6 Advanced Services Endpoint for Active Directory ()
- HOWTO: Deploy the vRealize Orchestrator 6.x Appliance for vRealize Automation ()
- VCAP6-CMA Deploy - Objective 5.2 - Modify a Blueprint to invoke a Workflow during a Lifecycle Change ()
- VCAP6-CMA Deploy - Objective 4.3: Manage Custom Properties and Build Profiles ()
About the Author:

Name: Christopher Lewis
Twitter/X: thecloudxpert
Role: Domain Expert - VCF Automation & VCF Operations
Company: Broadcom
Recent Posts by Christopher Lewis:
Blog Categories:
active directory 6
aria automation 9
aria operations 2
aws 2
certificate authority 5
certificates 5
certification 91
general 9
home lab 2
microsoft 7
nsx 45
nsx v 41
powercli 8
powershell 6
vcap 48
vcap6 2
vcenter 4
vcf 5
vcix 2
vexpert 9
vmug 5
vmware 99+
vmware aria automation 9
vmware aria operations 5
vmware cloud 3
vmware explore 2
vmware identity manager 2
vmworld 36
vrealize automation 80
vrealize business 2
vrealize operations manager 5
vrealize orchestrator 13
vrealize suite 14
vrealize suite lifecycle manager 20
vsan 5
vsphere 9
windows 6
Top Tags:
active directory 6
api 18
barcelona 24
certificates 11
certification 7
howto 33
microsoft 7
multi tenancy 9
nsx v 43
platform services controller 8
powercli 8
powershell 7
psc 6
vcap 9
vcap6 45
vcap6 cma 48
vcap6 nv 37
vcix6 nv 36
vexpert 19
vmug 8
vmware 99+
vmware aria 12
vmware aria automation 9
vmworld 35
vmworld 2016 13
vmworld 2017 9
vra 13
vrealize automation 74
vrealize operations 8
vrealize orchestrator 21
vrealize suite lifecycle manager 11
vrslcm 20
vsan 7
vsphere 12