Warning! The content within this article is over 36 months old and, therefore, may be out of date.
HOWTO: Deploy and Configure the VMware NSX Manager Virtual Appliance - Part 1
Share this article on:


VMware NSX-V VCAP6-NV VCIX6-NV HOWTO
Published on 16 July 2017 by Christopher Lewis. Words: 339. Reading Time: 2 mins.
Introduction
This is the first of three posts in which we look at how to deploy and configure the VMware NSX Manager.
The posts will cover the following topics:
- Deploying the VMware NSX Manager Appliance HOWTO
- Completing VMware NSX Manager Initial Configuration ( HOWTO
- Integrating VMware NSX Manager into VMware vCenter ( HOWTO )
Deploying the VMware NSX Manager Appliance
- Navigate to VMware vCenter Server (
https://vcenter.fqdn) using your preferred web browser.
- Type the appropriate user credentials (User name and Password) and click Login.
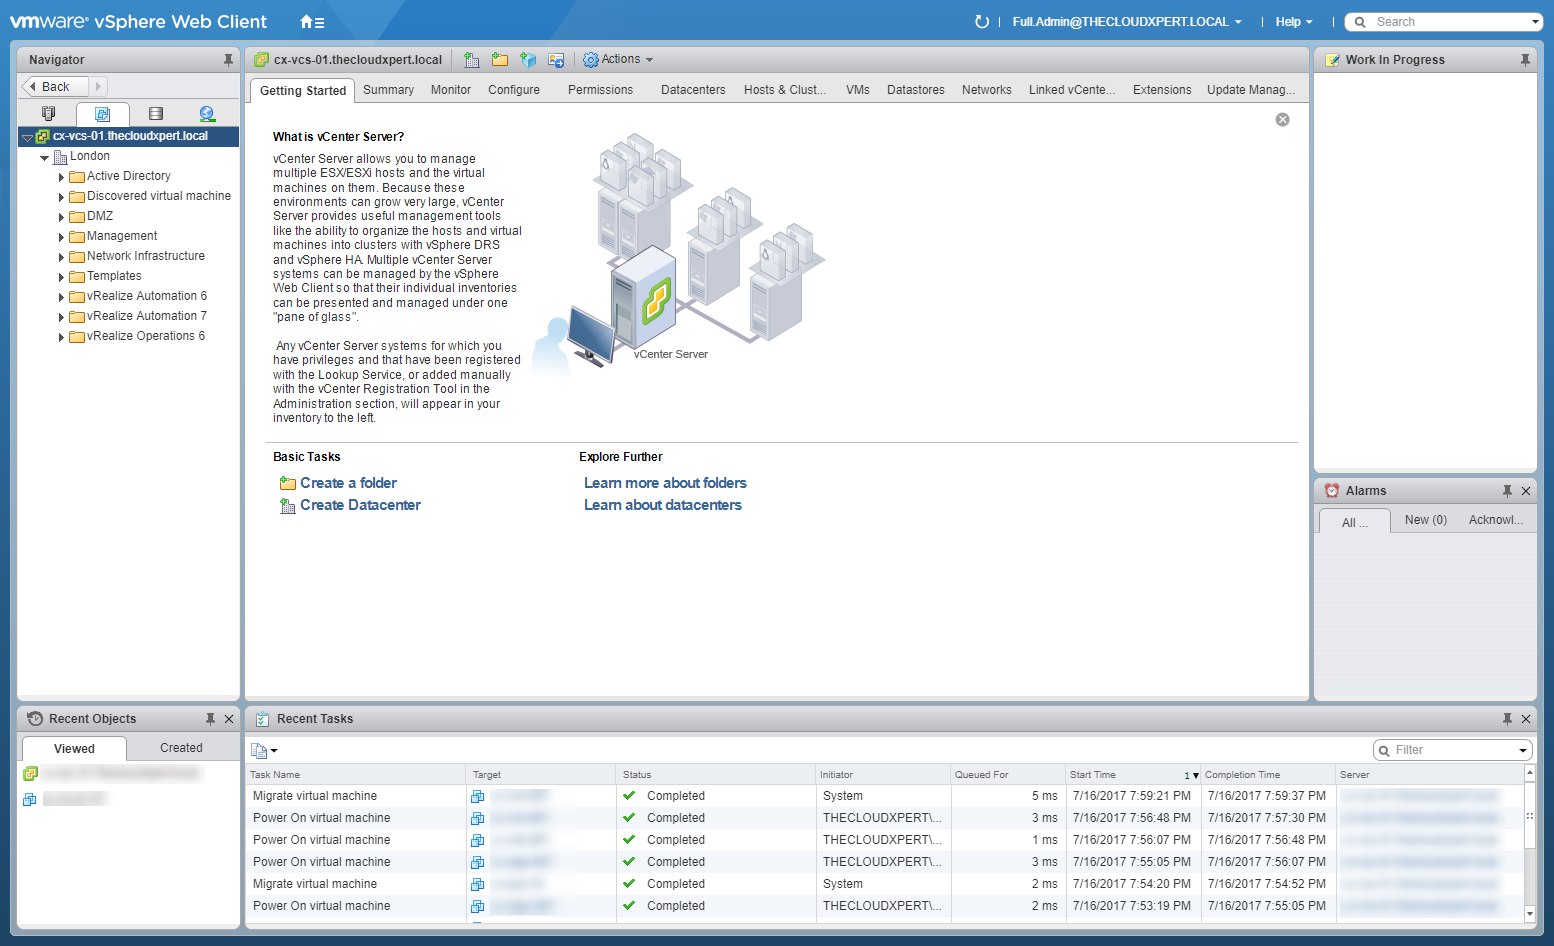
- Select vcenter.fqdn, then right click and select Deploy OVF Template.
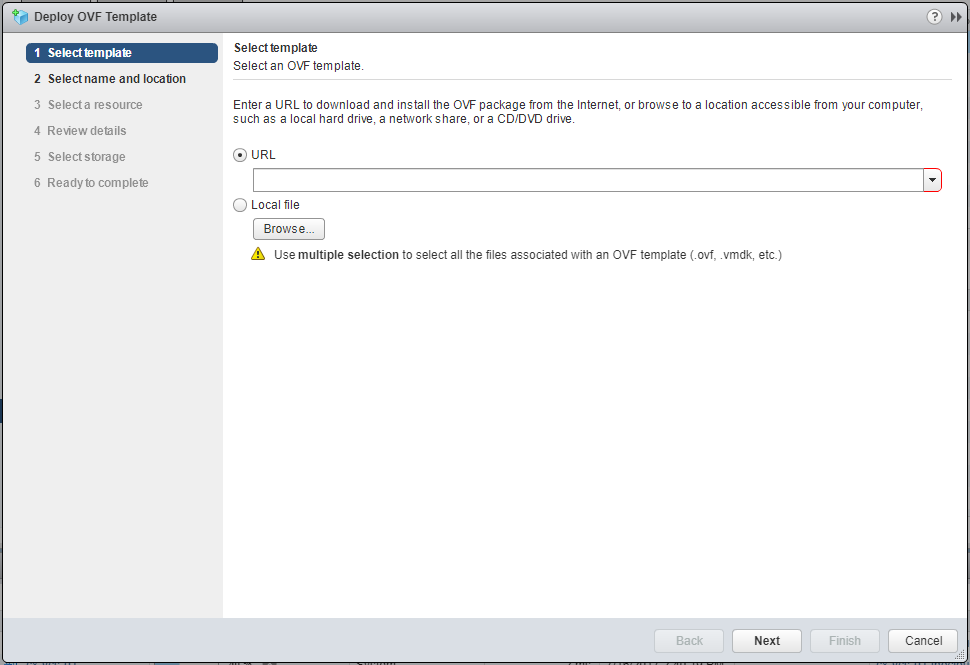
- Click the Local file option and click Browse, locate the NSX OVA file and click Open.
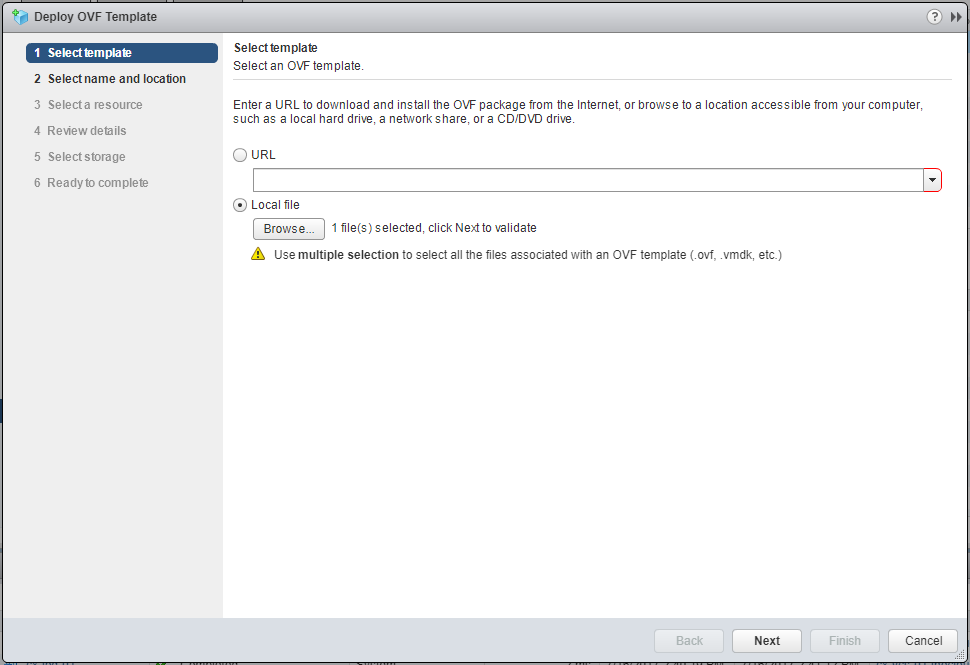
- Click Next.
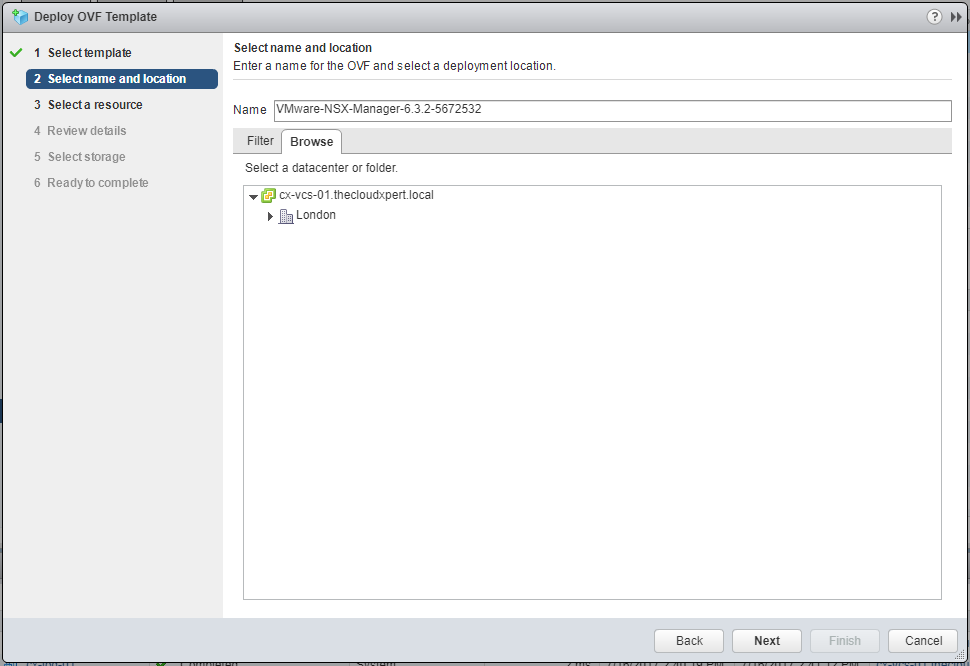
- Type the (display) Name of the NSX Manager and select a logical location virtual machine.
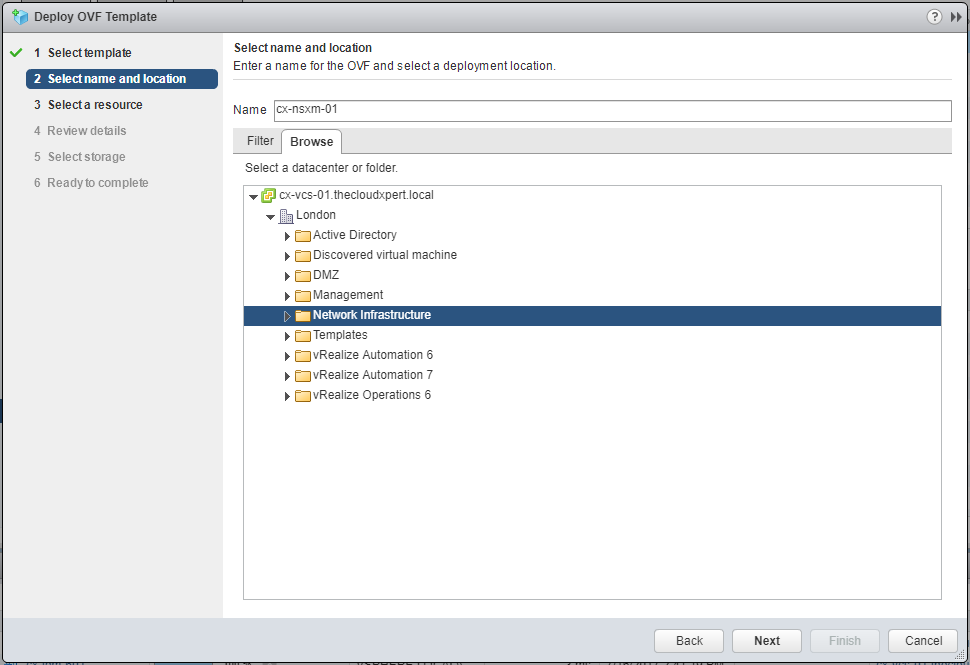
- Click Next.
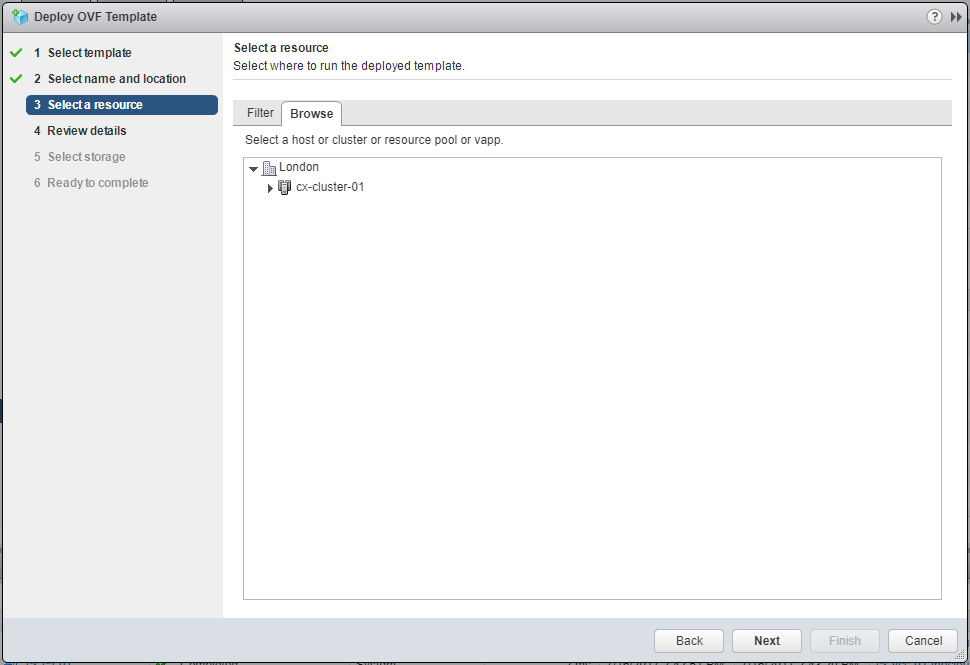
- Select the a physical compute resource (or vApp) for the deployment and click Next.
- Click Next.
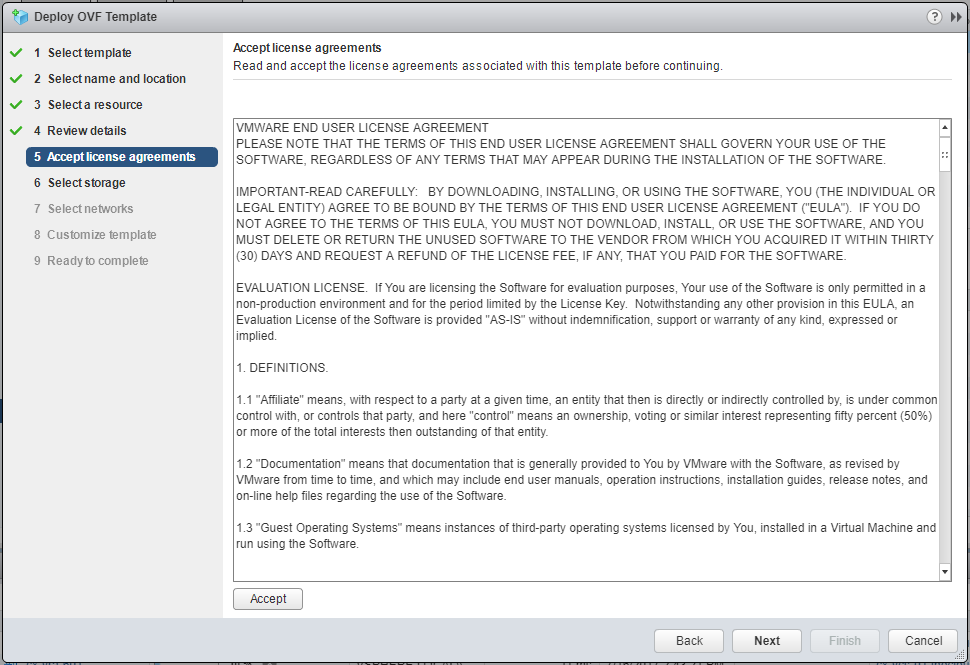
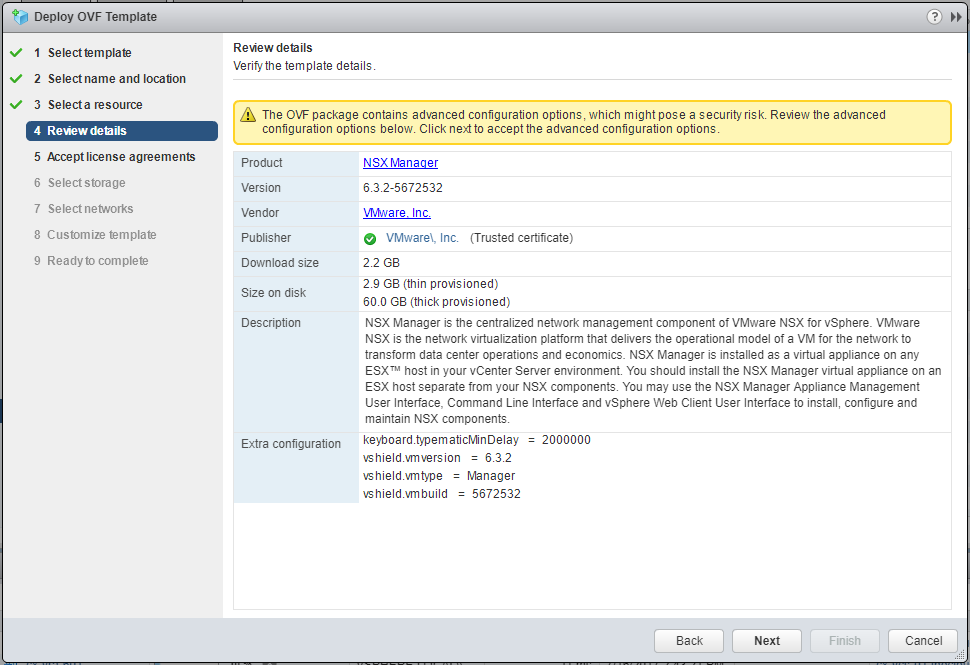
- Click Accept and then click Next.
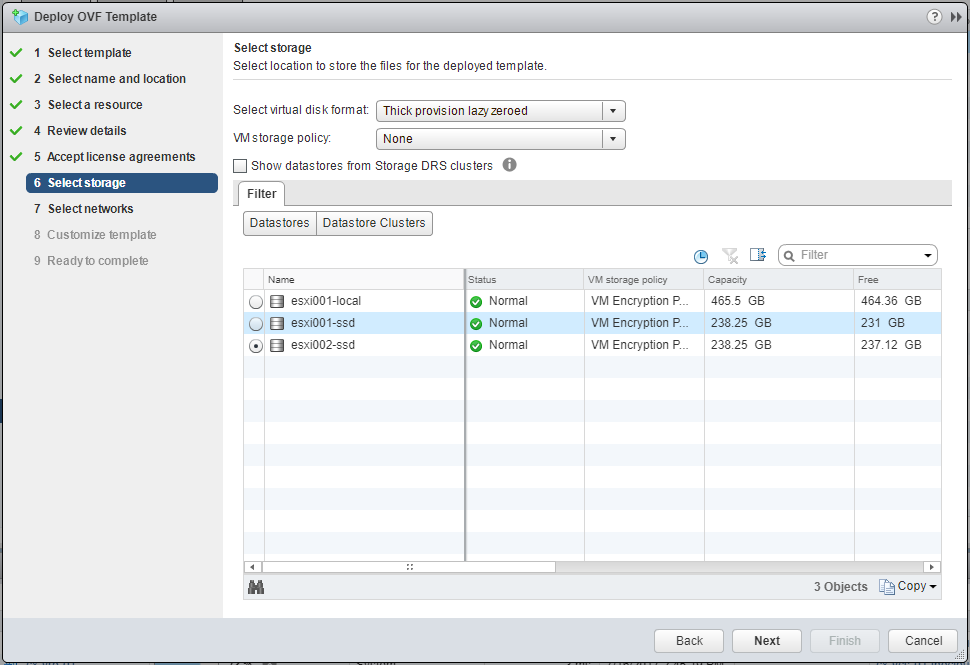
- Select the virtual disk format and datastore location and click Next.
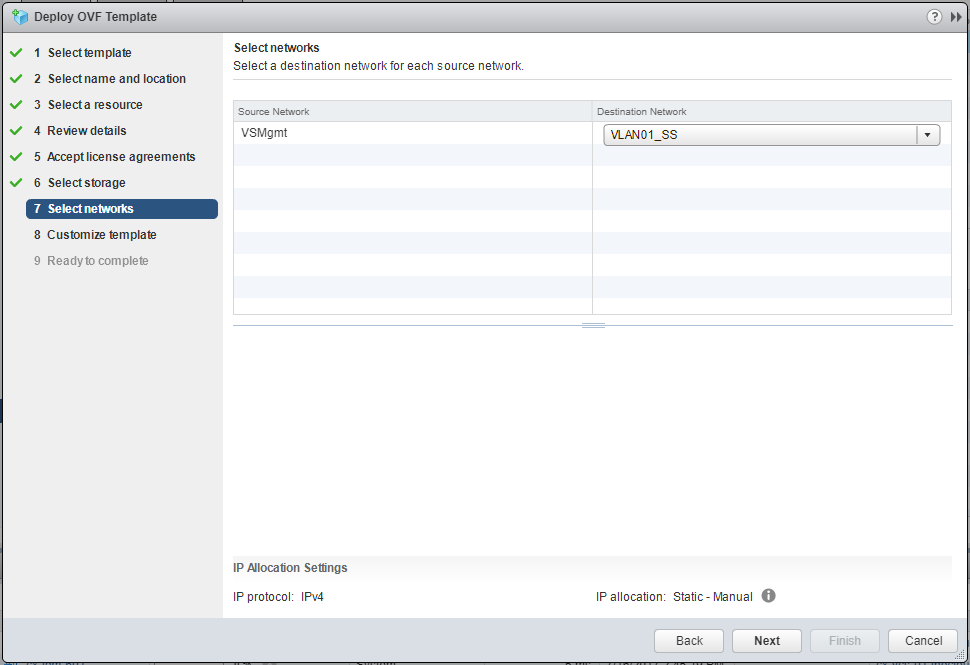
- Select the appropriate Port Group from the Destination Network dropdown and click Next.
Note:
This is for the Network used for appliance management.
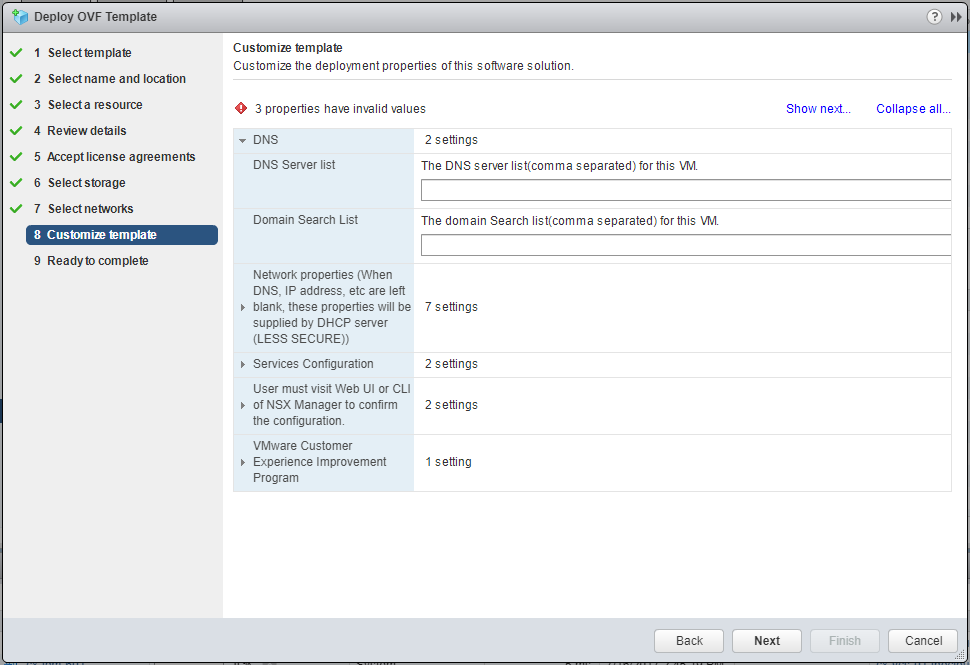
- Type a comma delimited list of DNS Servers and (optional) Search domains.
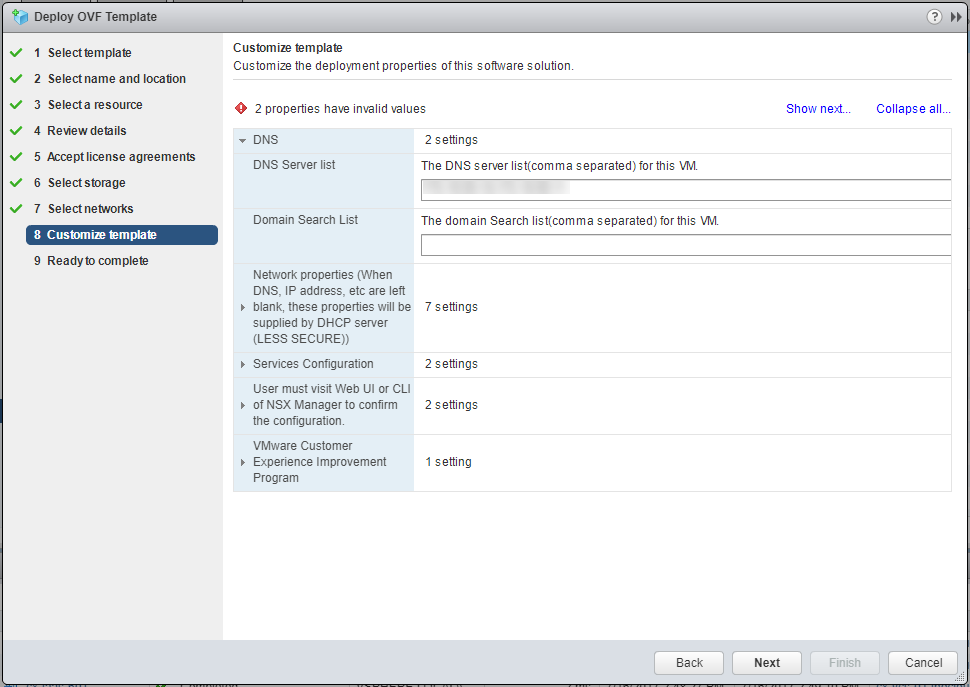
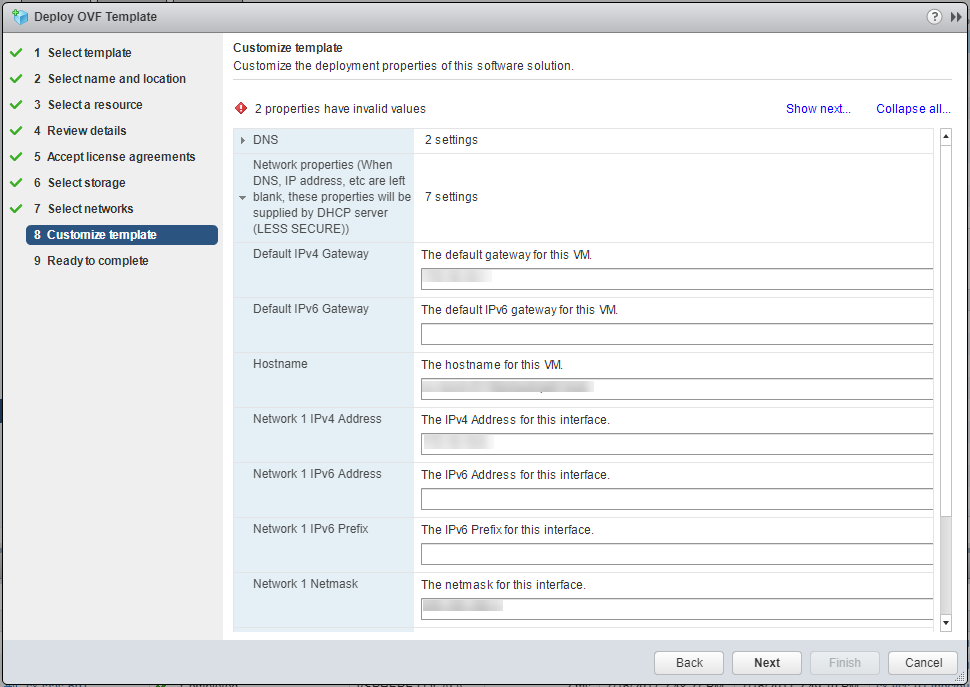
- Click DNS to minimise the section and click Network properties.
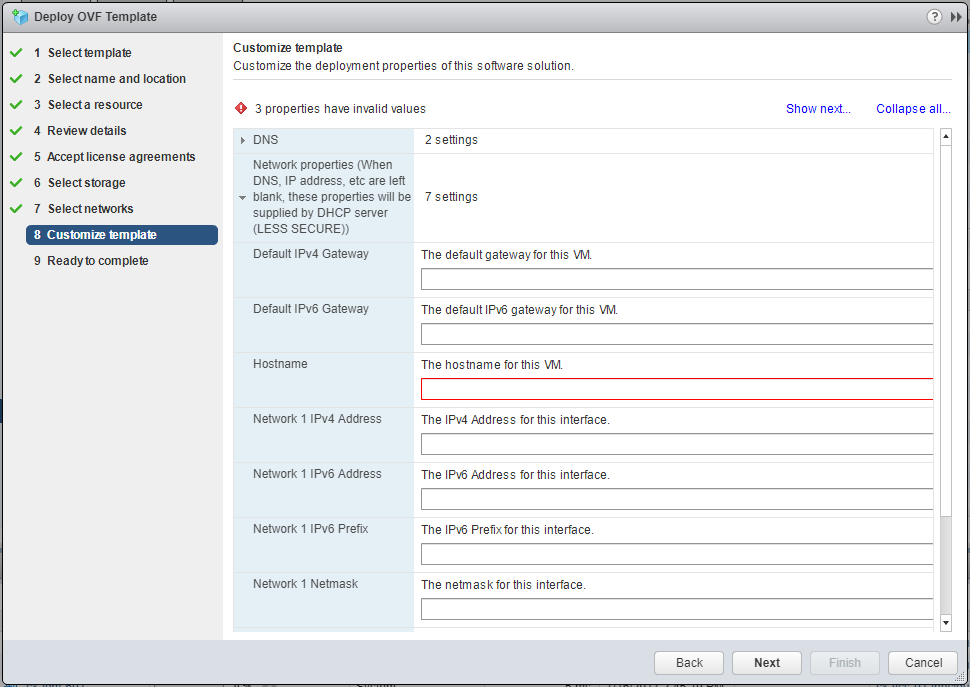
- Type the Network 1 IPv4 Gateway, the Hostname (
nsx-manager.fqdn), Network 1 IPv4 Address and Network 1 Netmask.
- Click Network Properties to minimise the section then click Services Configuration.
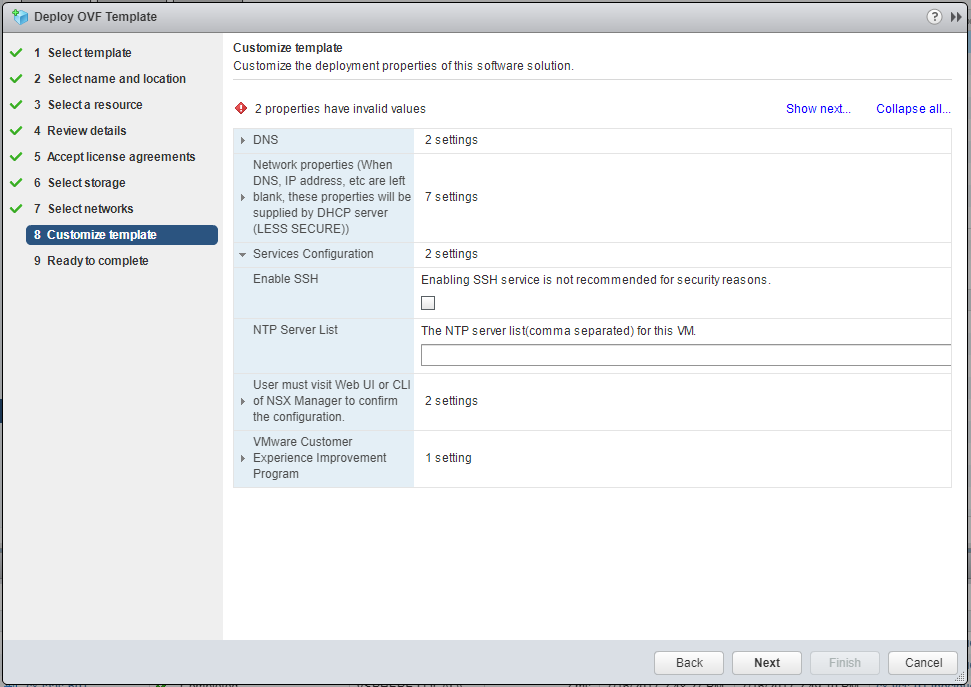
- (Optionally) Check the Enable SSH check box and (optionally) enter NTP Server details.
Note:
SSH and NTP can also be configured after the NSX Manager has been deployed.

- Click Services Configuration to minimise the section and click User must visit Web UI or CLI of NSX Manager to confirm the configuration.
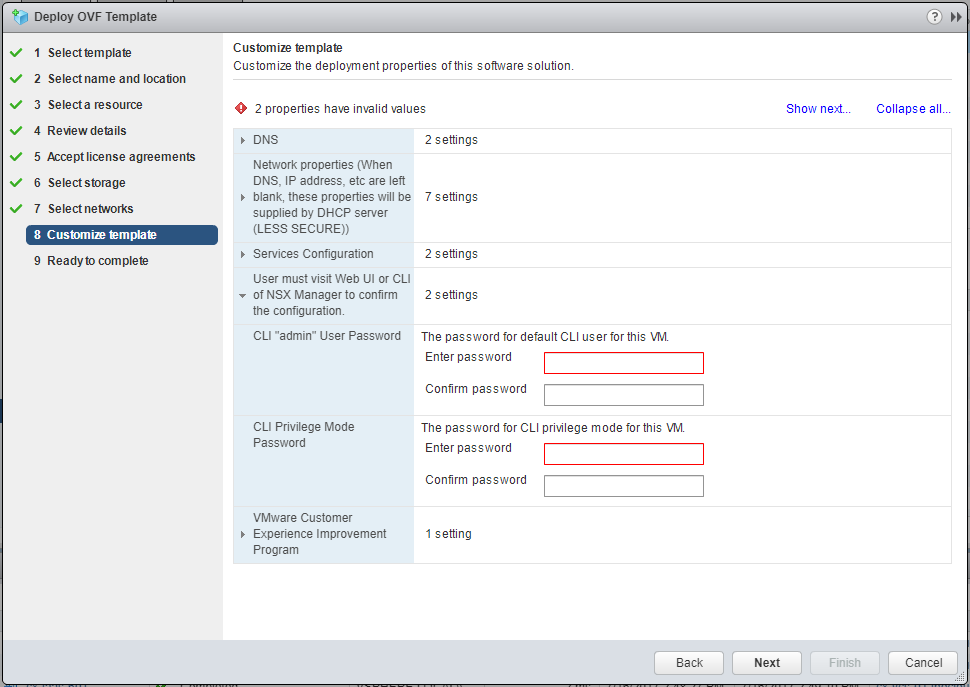
- Type passwords for both the CLI user and CLI privilege mode.
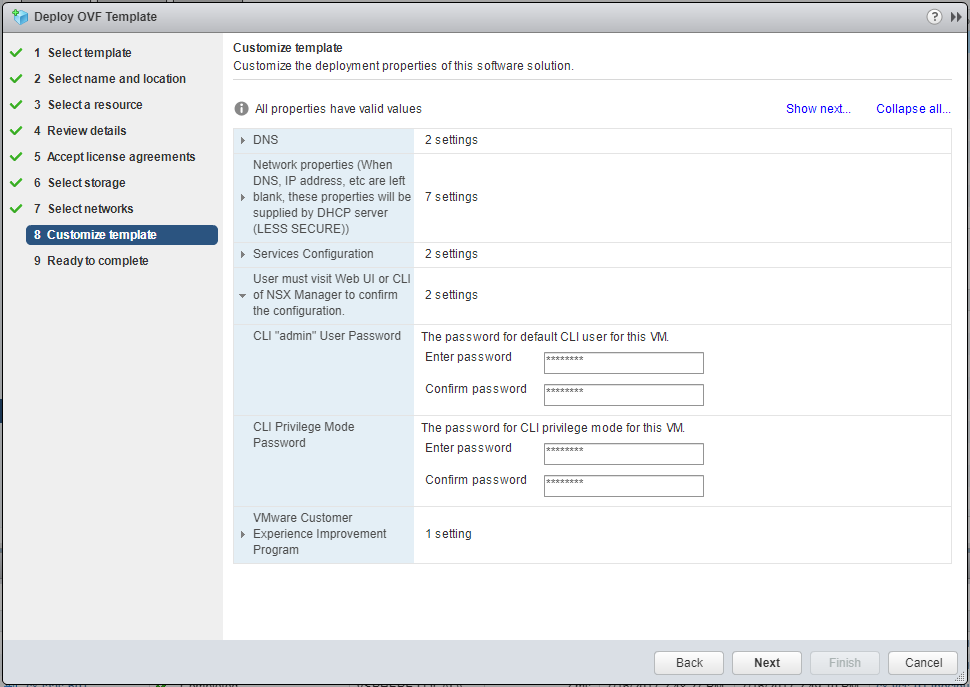
- Click User must visit Web UI or CLI of NSX Manager to confirm the configuration to minimise the section and click VMware Customer Experience Improvement Program.
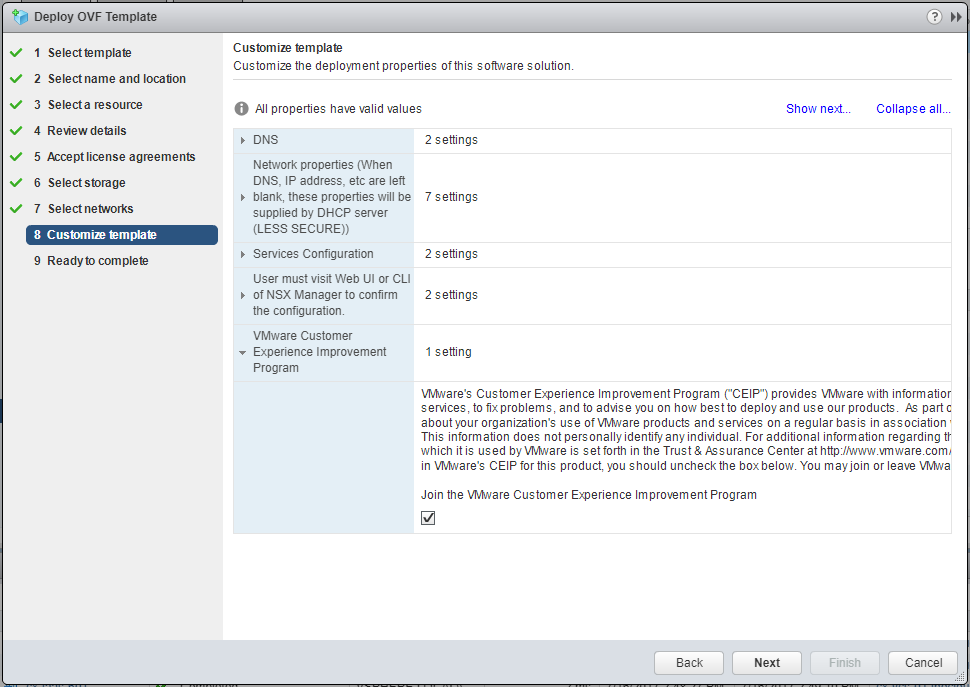
- (optional) Uncheck the Join the VMware Customer Experience Improvement Program check box and click Next.
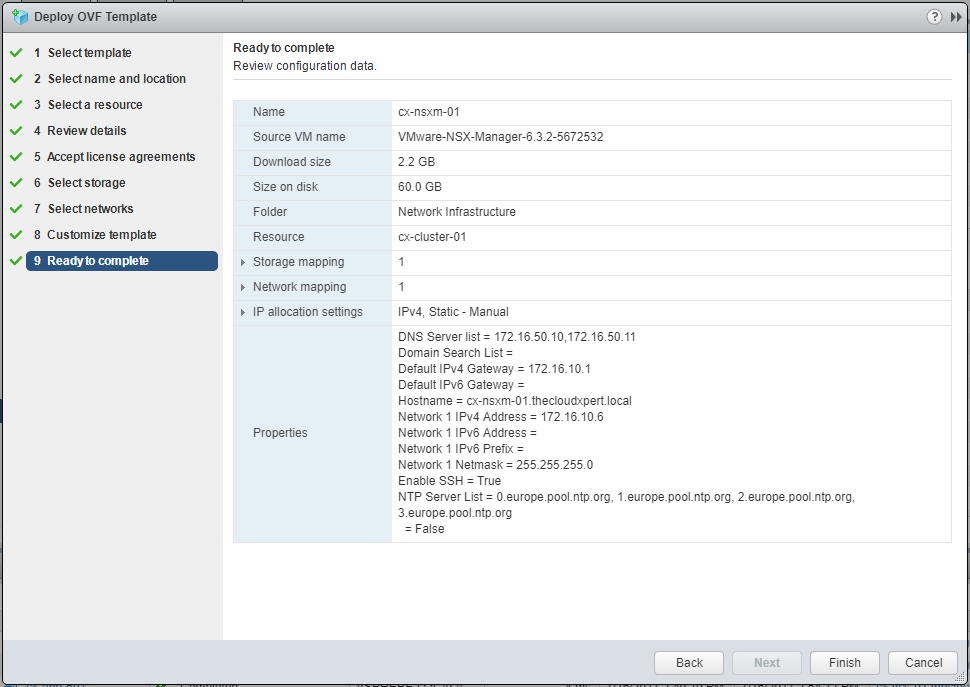
- Click Finish.
Published on 16 July 2017 by Christopher Lewis. Words: 339. Reading Time: 2 mins.
Share this article on:
Related Post(s):
- HOWTO: Configure VMware NSX and VMware vRealize Log Insight - Part Two ()
- HOWTO: Configure VMware NSX and VMware vRealize Log Insight - Part One ()
- Achievement Unlocked - VMware Certified Professional 6 - Network Virtualization ()
- VCAP6 - Network Virtualisation (NSX-V) Deployment Study Guide ()
- HOWTO: Deploy and Configure VMware vRealize Log Insight 4.5 ()
About the Author:

Name: Christopher Lewis
Twitter/X: thecloudxpert
Role: Domain Expert - VCF Automation & VCF Operations
Company: Broadcom
Recent Posts by Christopher Lewis:
Blog Categories:
active directory 6
aria automation 9
aria operations 2
aws 2
certificate authority 5
certificates 5
certification 91
general 9
home lab 2
microsoft 7
nsx 45
nsx v 41
powercli 8
powershell 6
vcap 48
vcap6 2
vcenter 4
vcf 5
vcix 2
vexpert 9
vmug 5
vmware 99+
vmware aria automation 9
vmware aria operations 5
vmware cloud 3
vmware explore 2
vmware identity manager 2
vmworld 36
vrealize automation 80
vrealize business 2
vrealize operations manager 5
vrealize orchestrator 13
vrealize suite 14
vrealize suite lifecycle manager 20
vsan 5
vsphere 9
windows 6
Top Tags:
active directory 6
api 18
barcelona 24
certificates 11
certification 7
howto 33
microsoft 7
multi tenancy 9
nsx v 43
platform services controller 8
powercli 8
powershell 7
psc 6
vcap 9
vcap6 45
vcap6 cma 48
vcap6 nv 37
vcix6 nv 36
vexpert 19
vmug 8
vmware 99+
vmware aria 12
vmware aria automation 9
vmworld 35
vmworld 2016 13
vmworld 2017 9
vra 13
vrealize automation 74
vrealize operations 8
vrealize orchestrator 21
vrealize suite lifecycle manager 11
vrslcm 20
vsan 7
vsphere 12