Warning! The content within this article is over 36 months old and, therefore, may be out of date.
HOWTO: Deploy and Configure the VMware NSX Manager Virtual Appliance - Part 2
Share this article on:


VMware NSX-V VCAP6-NV VCIX6-NV HOWTO
Published on 16 July 2017 by Christopher Lewis. Words: 302. Reading Time: 2 mins.
Introduction
This is the second of three posts in which we look at how to deploy and configure the VMware NSX Manager.
The posts will cover the following topics:
- Deploying the VMware NSX Manager Appliance Appliance. ( HOWTO )
- Completing VMware NSX Manager Initial Configuration. (THIS POST)
- Integrating VMware NSX Manager into VMware vCenter. ( HOWTO )
VMware NSX Manager Initial Configuration
- Using a browser, navigate to the VMware NSX Manager Virtual Appliance (
https://nsx-manager.fqdn).
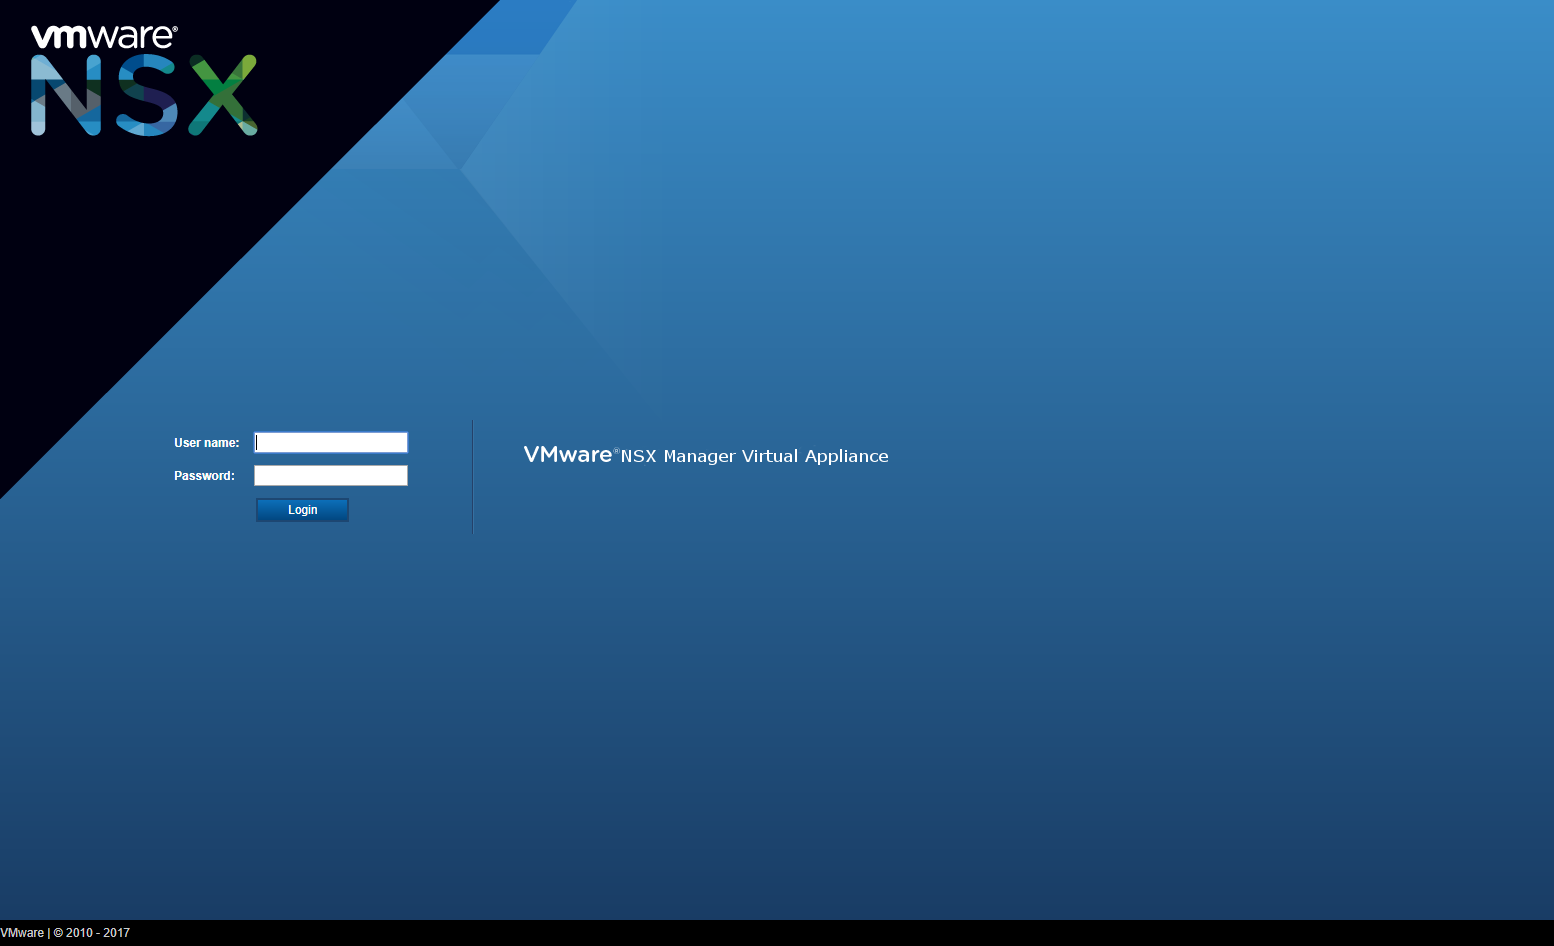
- Enter admin as the User name and the Password (set during the installation above) then click Login.
Configure NTP Server Settings
Note:
As with anything computer/network related, accurate time is #important.
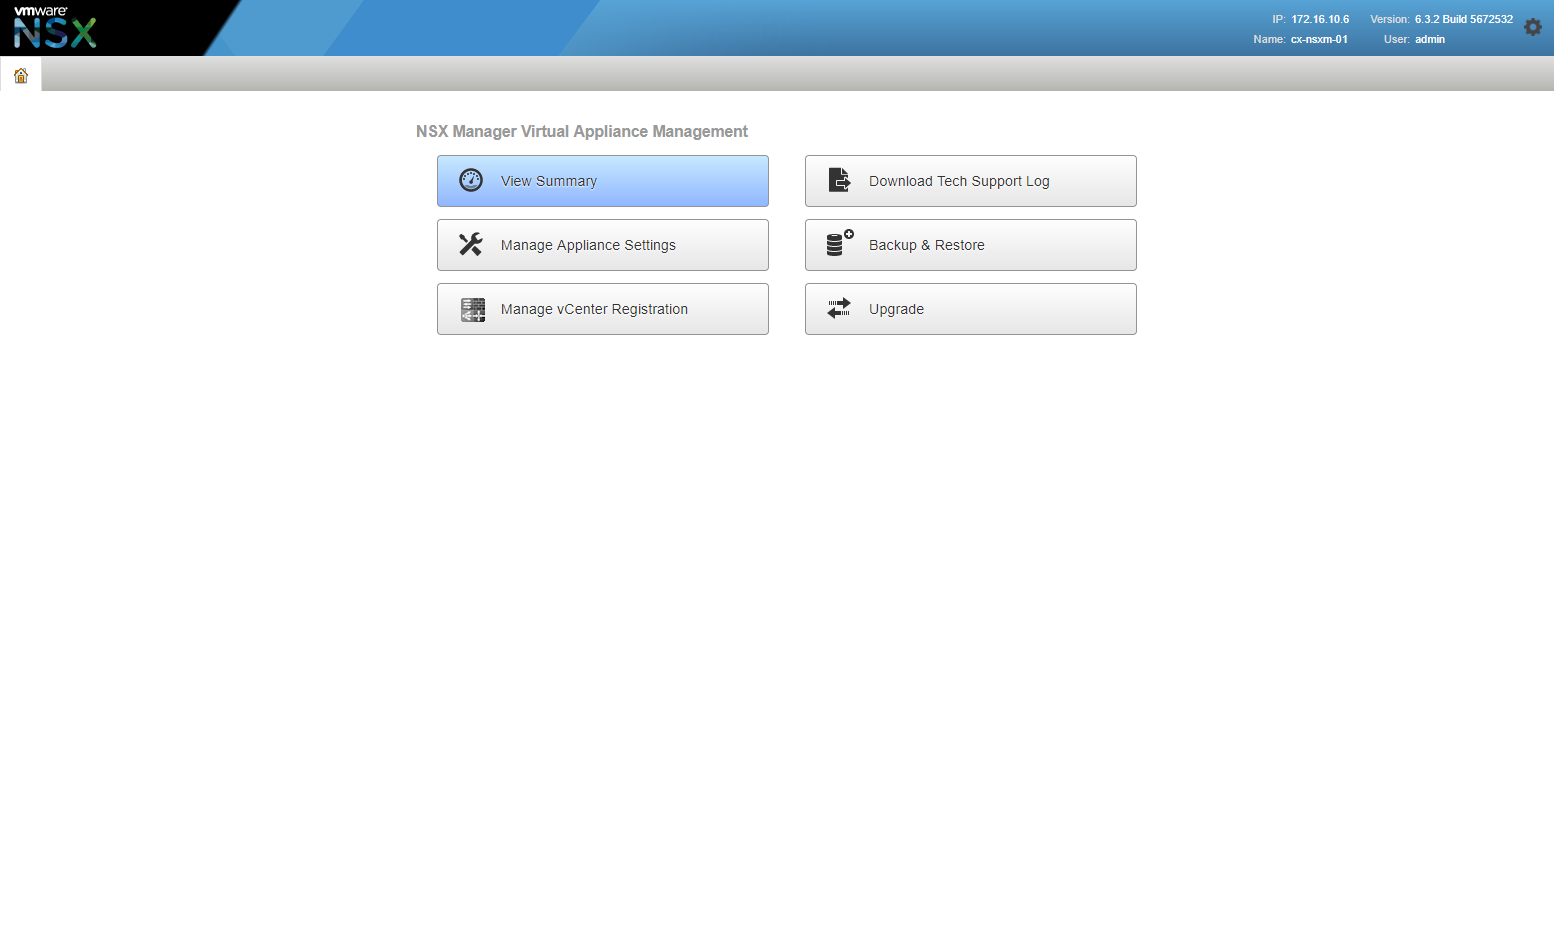
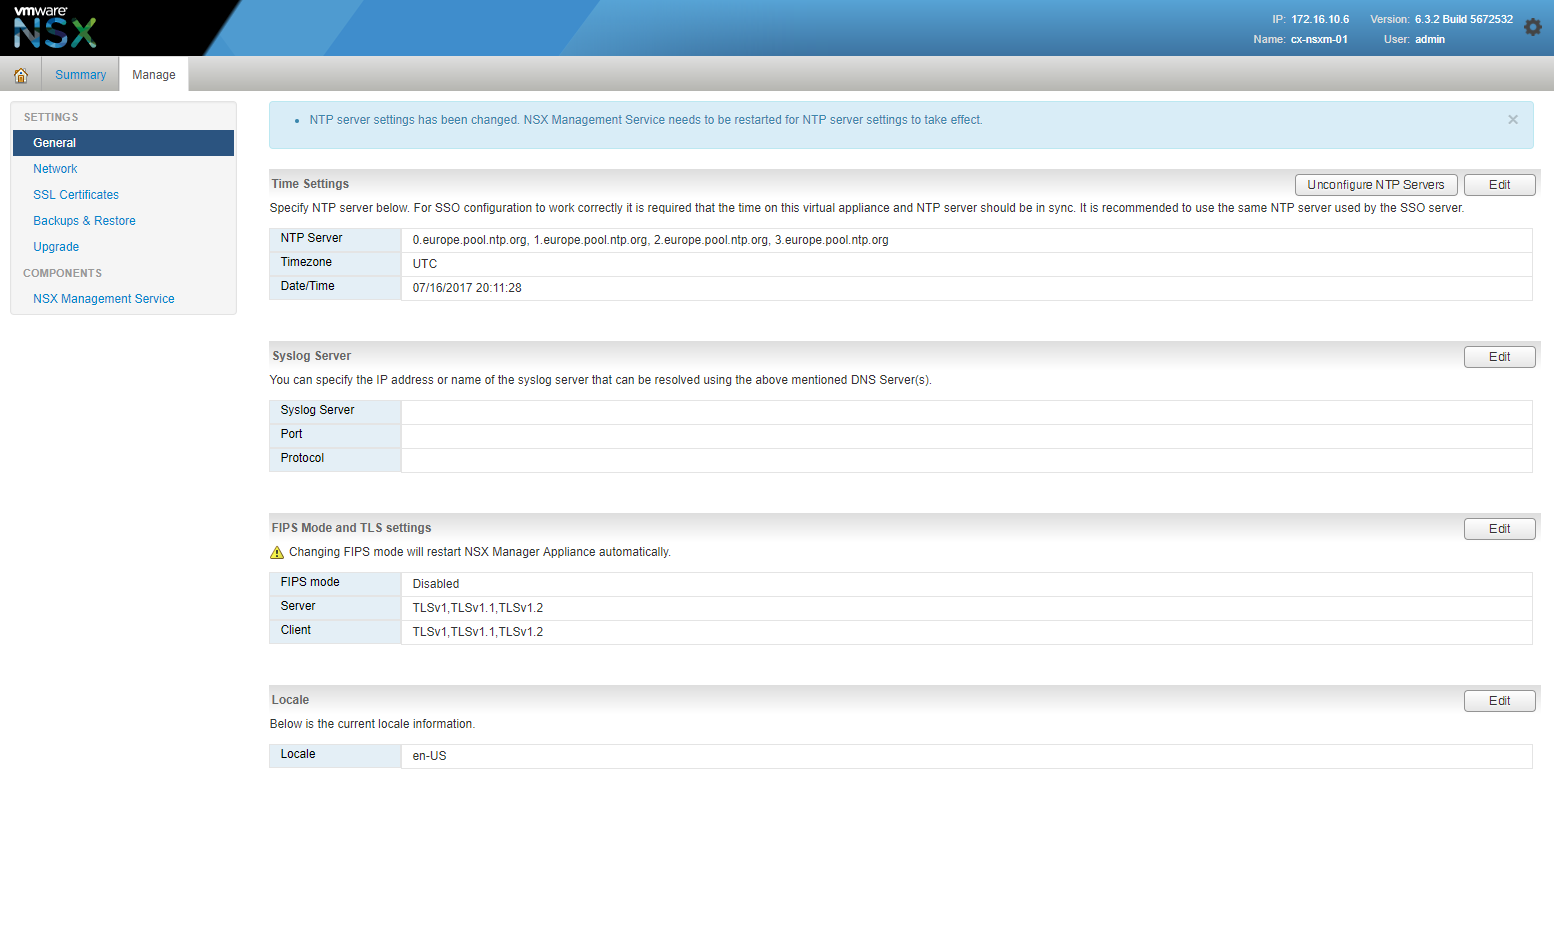
- Click Manage Appliance Settings.
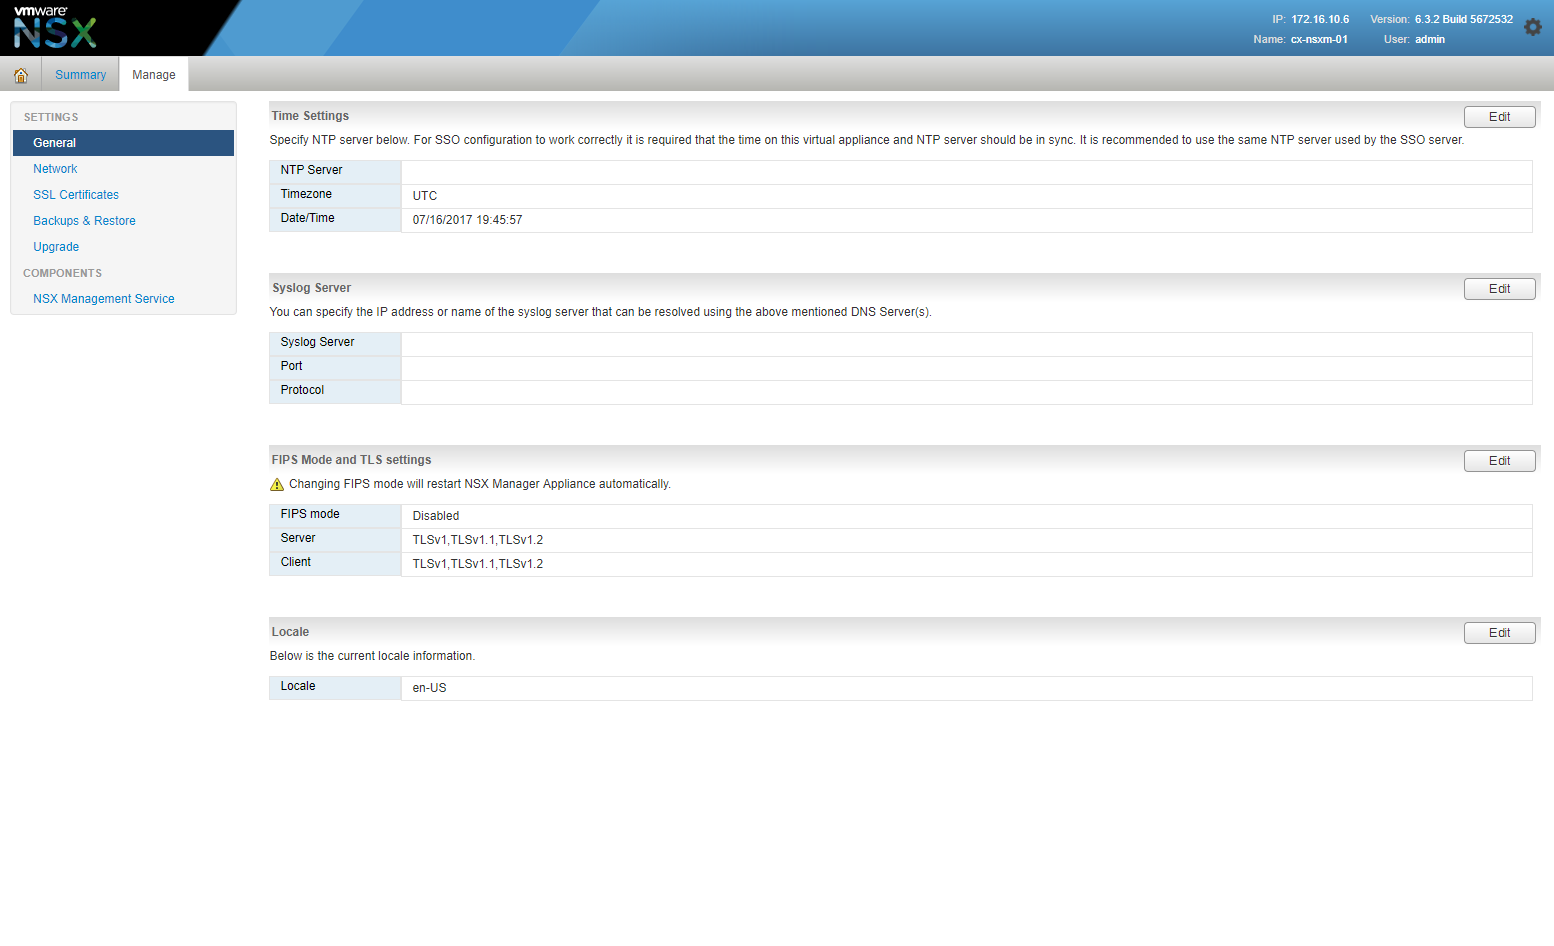
- At Time Settings, click Edit.
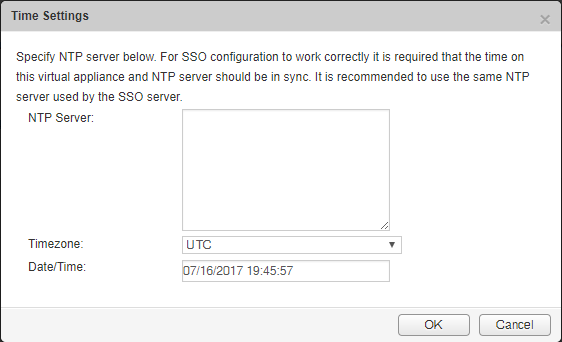
- Type each NTP Server (delimited by a comma), (optionally) select the Timezone from dropdown and click OK.
- Click Summary.
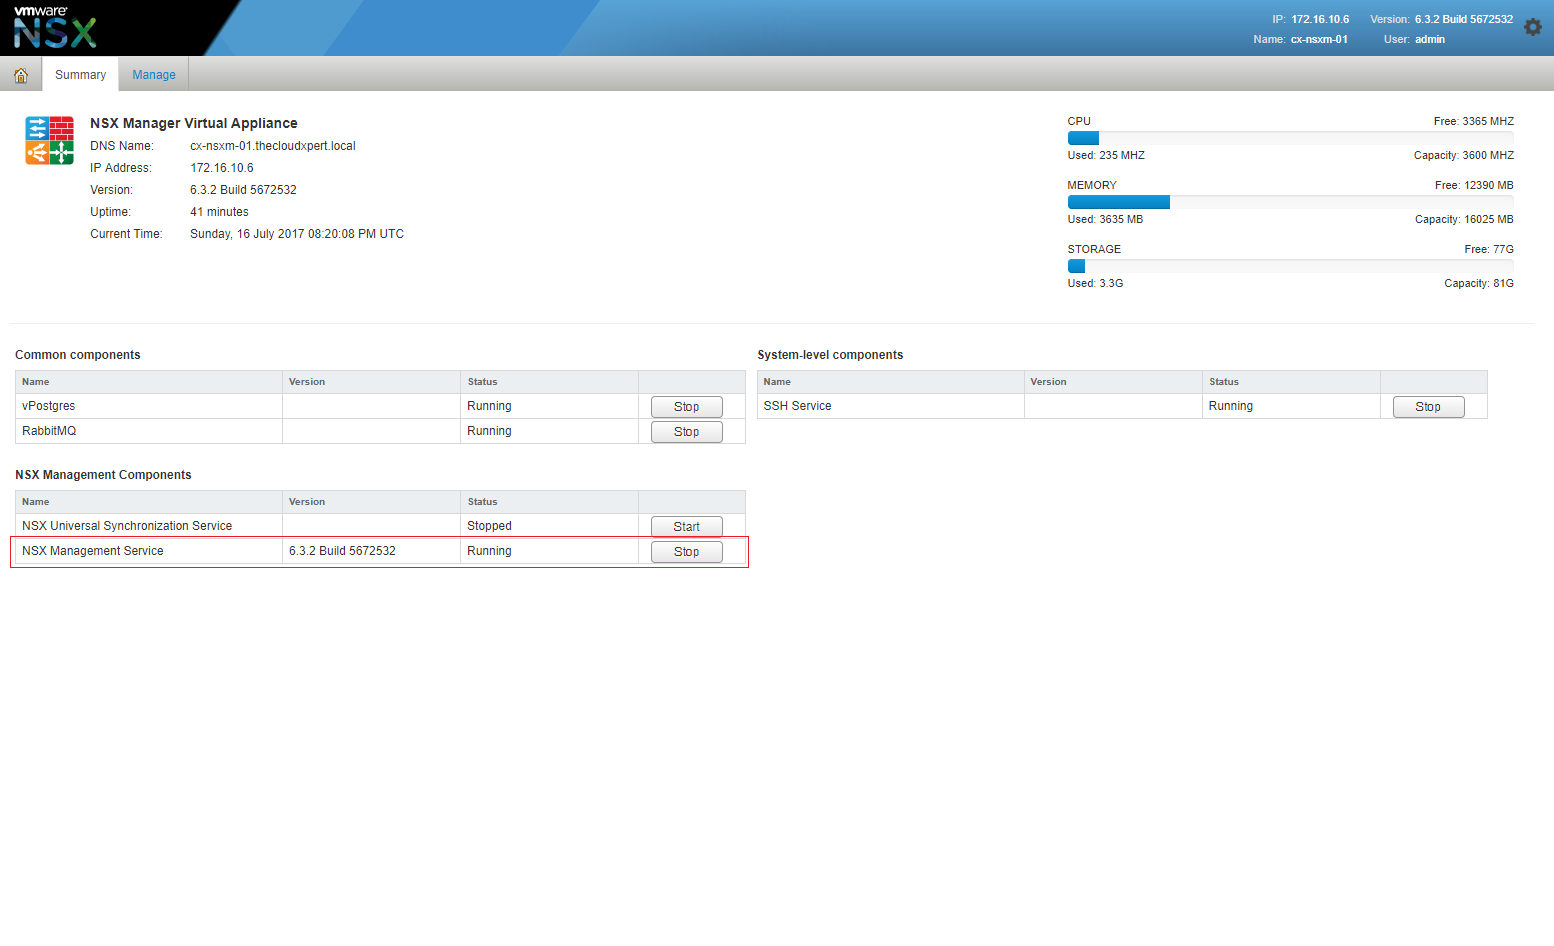
- Under the NSX Management Components sections, locate the NSX Management Service and click Stop.
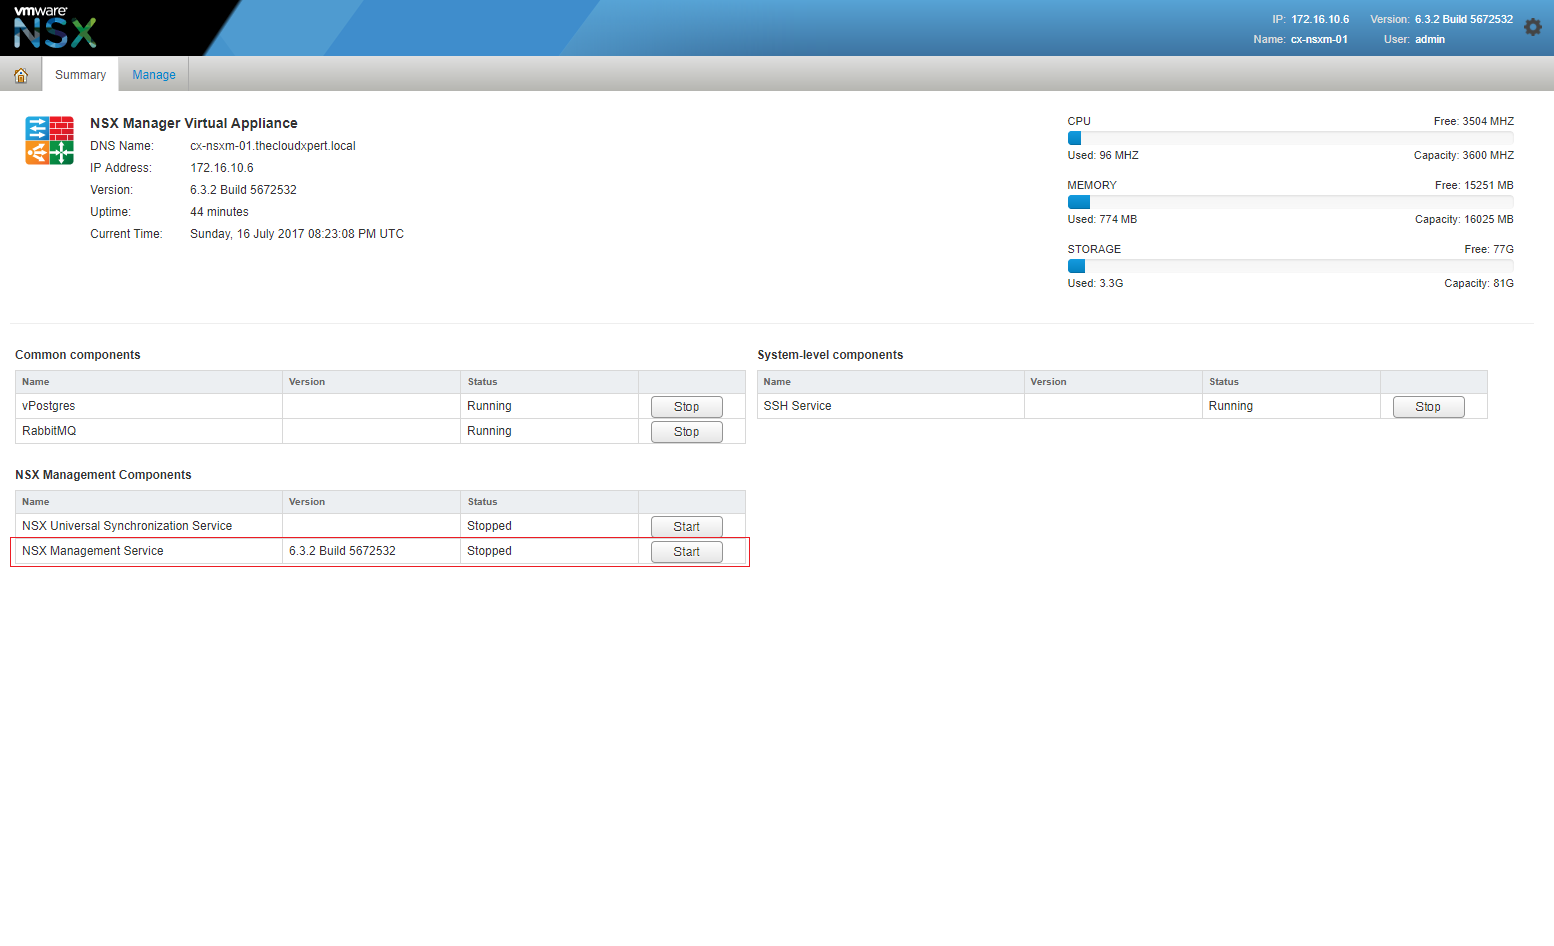
Wait for the NSX Management Service to change to Stopped and then click Start.
Configure SYSLOG Server Settings
- Click Manage and then click General.
- At Syslog Server, click Edit.
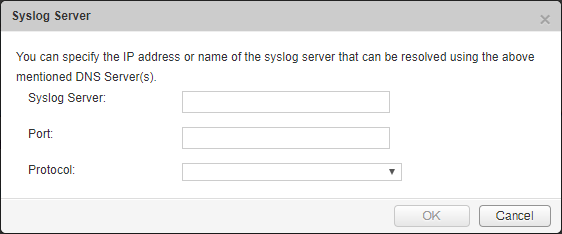
- Type the address of the Syslog Server, the Port and select the Protocol from the dropdown.

- Click OK.

Configure SSL Certificates
- Click Manage and then click SSL Certificates.
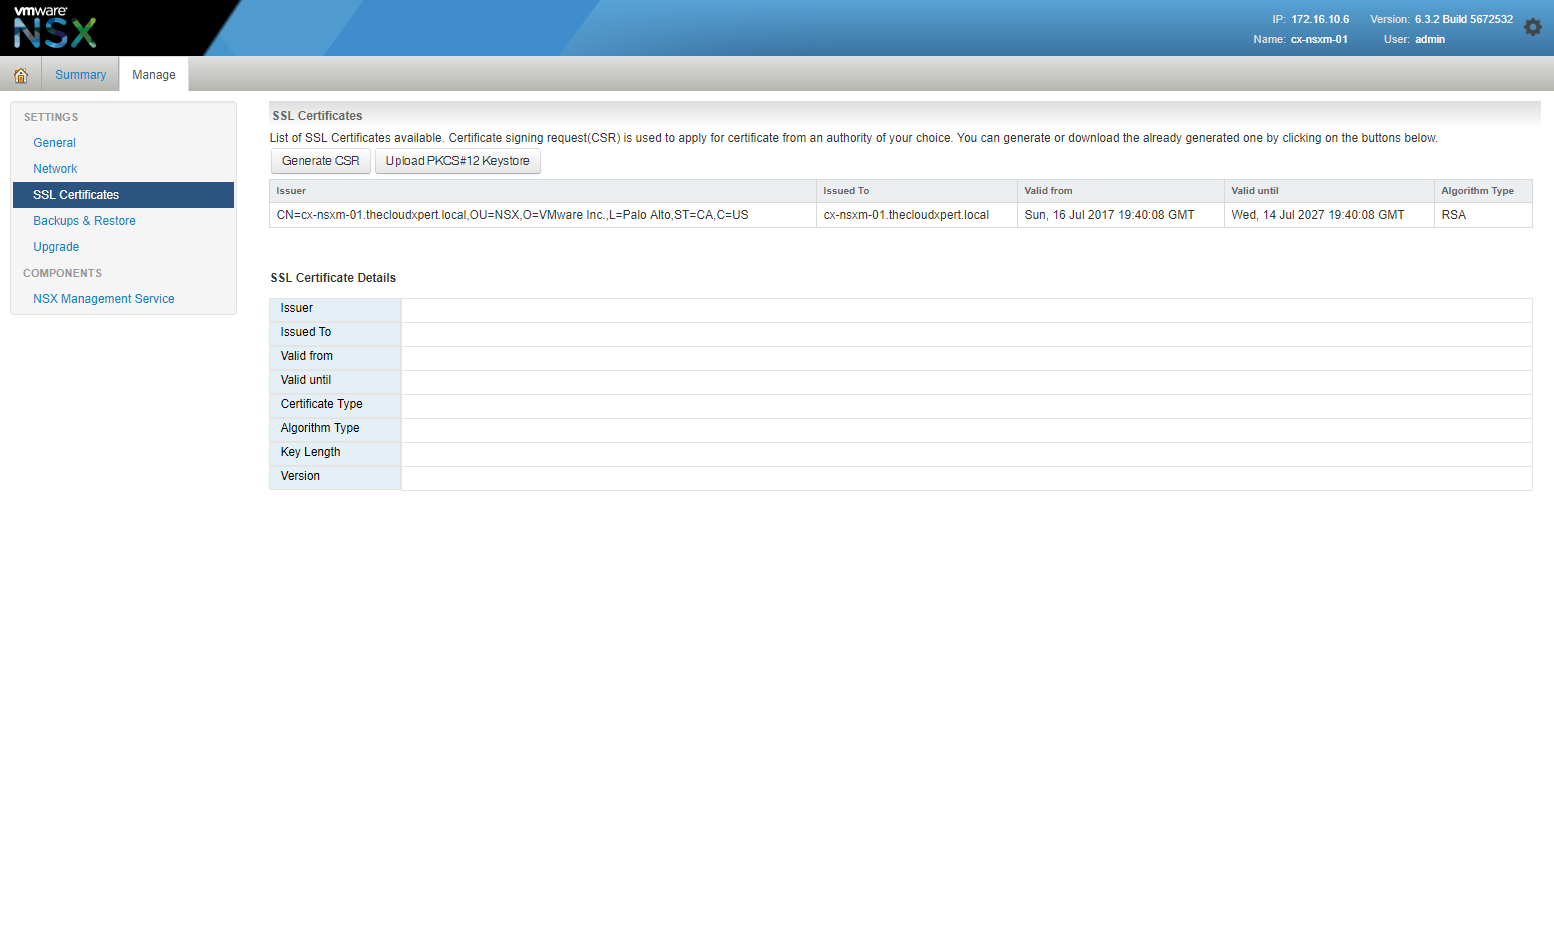
- Click Generate CSR.
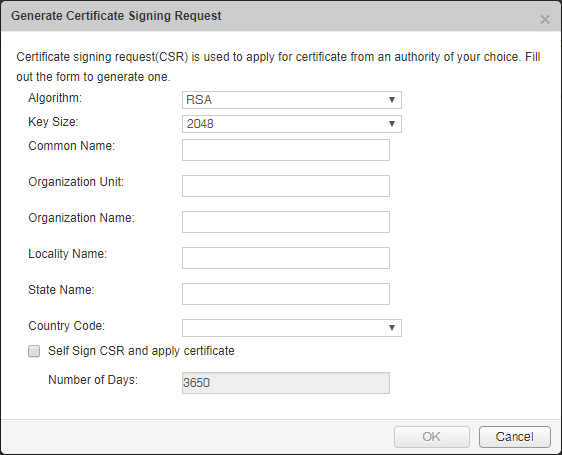
- Fill out the CSR with the Common Name, Organization Unit, Organization Name, Locality Name, State Name and select the appropriate Country Code from the drop down.
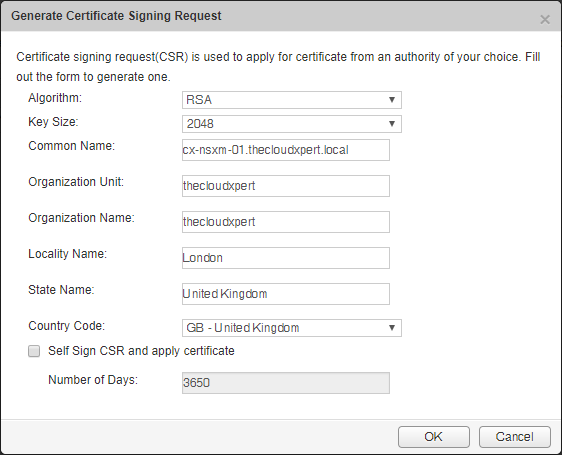
- Click OK.
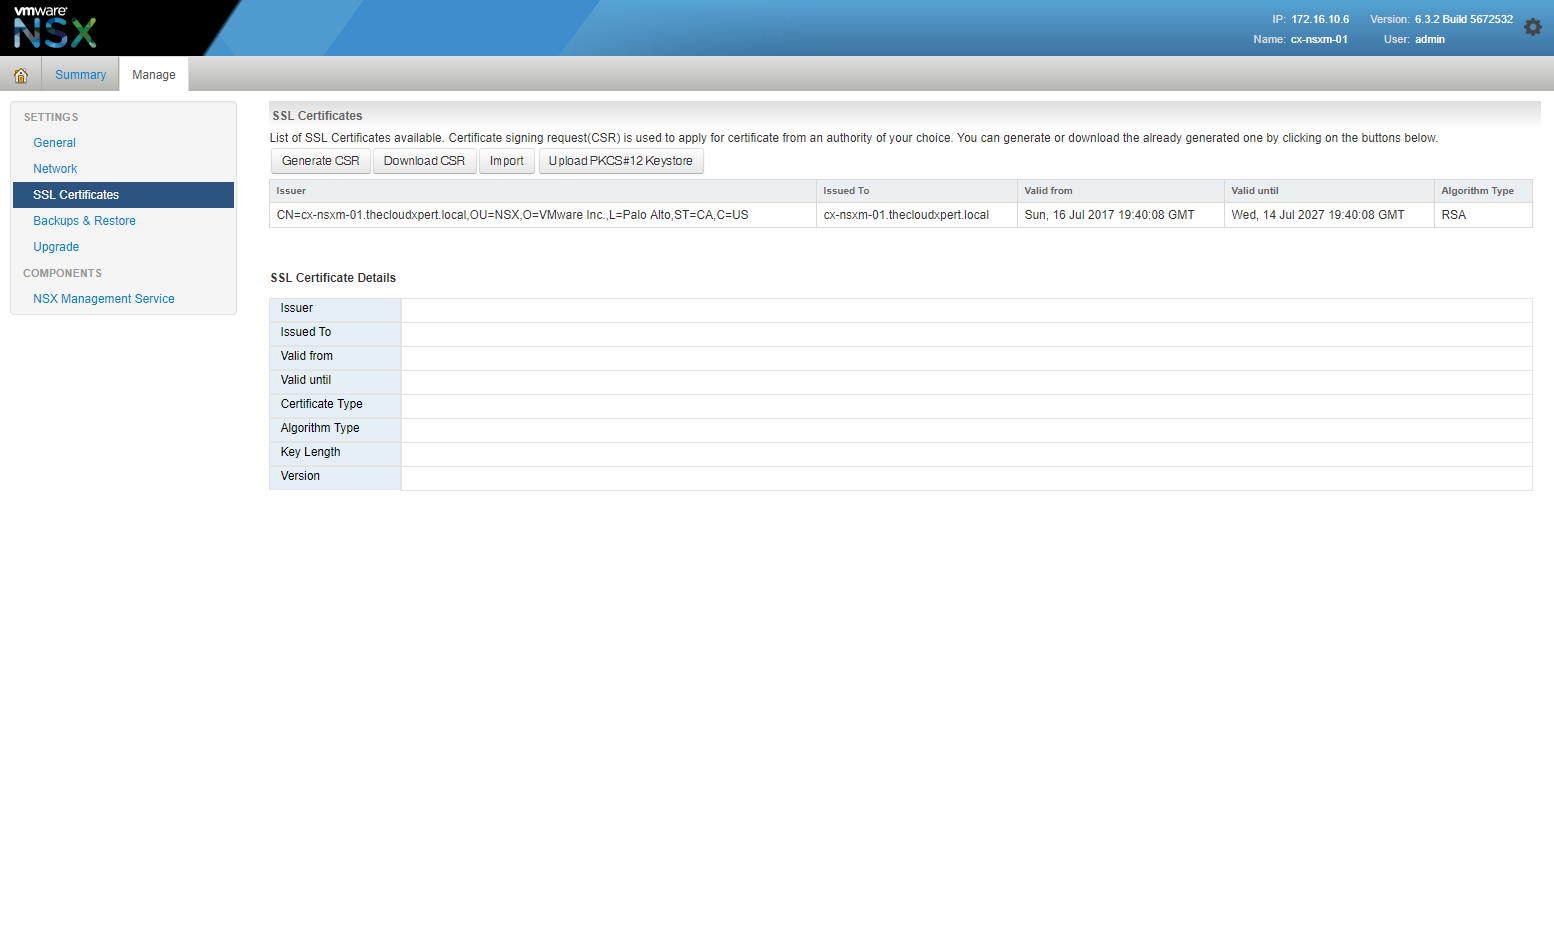
- Click Download CSR, save the generated CSR and submit it to you Certificate Authority to create an SSL Certificate.
Note:
You will need to create an SSL Certificate Chain that includes any sub-CA and CAs.
- Click Import.

- Click Choose File, locate the SSL Certificate Chain and click Open.
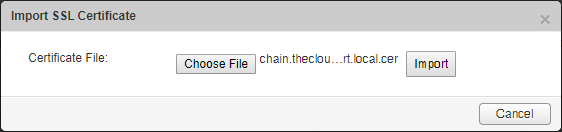
- Click Import.
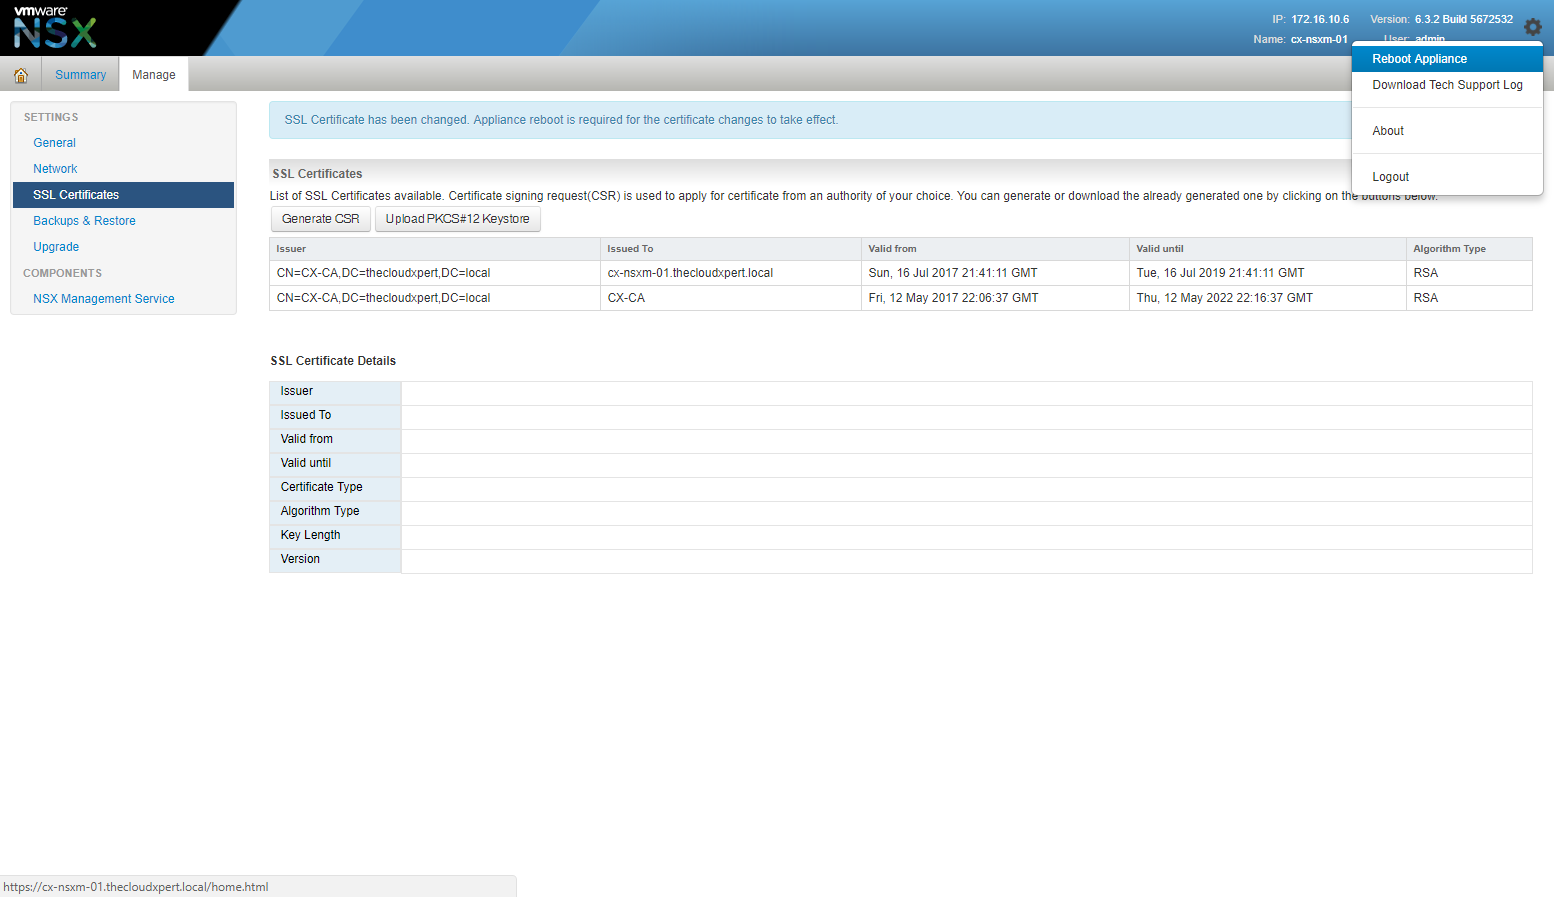
- Click on the cog in the top right of the window and select Reboot Appliance.
- Click Yes.
Published on 16 July 2017 by Christopher Lewis. Words: 302. Reading Time: 2 mins.
Share this article on:
Related Post(s):
- HOWTO: Deploy and Configure the VMware NSX Manager Virtual Appliance - Part 1 ()
- HOWTO: Configure VMware NSX and VMware vRealize Log Insight - Part Two ()
- HOWTO: Configure VMware NSX and VMware vRealize Log Insight - Part One ()
- Achievement Unlocked - VMware Certified Professional 6 - Network Virtualization ()
- VCAP6 - Network Virtualisation (NSX-V) Deployment Study Guide ()
About the Author:

Name: Christopher Lewis
Twitter/X: thecloudxpert
Role: Domain Expert - VCF Automation & VCF Operations
Company: Broadcom
Recent Posts by Christopher Lewis:
Blog Categories:
active directory 6
aria automation 9
aria operations 2
aws 2
certificate authority 5
certificates 5
certification 91
general 9
home lab 2
microsoft 7
nsx 45
nsx v 41
powercli 8
powershell 6
vcap 48
vcap6 2
vcenter 4
vcf 5
vcix 2
vexpert 9
vmug 5
vmware 99+
vmware aria automation 9
vmware aria operations 5
vmware cloud 3
vmware explore 2
vmware identity manager 2
vmworld 36
vrealize automation 80
vrealize business 2
vrealize operations manager 5
vrealize orchestrator 13
vrealize suite 14
vrealize suite lifecycle manager 20
vsan 5
vsphere 9
windows 6
Top Tags:
active directory 6
api 18
barcelona 24
certificates 11
certification 7
howto 33
microsoft 7
multi tenancy 9
nsx v 43
platform services controller 8
powercli 8
powershell 7
psc 6
vcap 9
vcap6 45
vcap6 cma 48
vcap6 nv 37
vcix6 nv 36
vexpert 19
vmug 8
vmware 99+
vmware aria 12
vmware aria automation 9
vmworld 35
vmworld 2016 13
vmworld 2017 9
vra 13
vrealize automation 74
vrealize operations 8
vrealize orchestrator 21
vrealize suite lifecycle manager 11
vrslcm 20
vsan 7
vsphere 12