HOWTO: Deploy the VMware NSX-V Controller(s)
VMware NSX-V VCAP6-NV VCIX6-NV HOWTO
Published on 27 July 2017 by Christopher Lewis. Words: 388. Reading Time: 2 mins.
Introduction
In this post, we’ll look at how to deploy the VMware NSX Controllers in the NSX environment. Remember that the deployment of NSX Controllers are not required if the use case is just for the deployment of the Distributed Firewall (DFW).
The NSX Controllers use node majority for HA, so there needs to be an odd number of them deployed. Officially, three (3) is the magic supported number, but in a homelab environment you could get away with just one.
Step by Step Guide
Deploying the First NSX Controller
- Using your favourite web browser, navigate to the vCenter Server login page (
https://vcenter.fqdn).
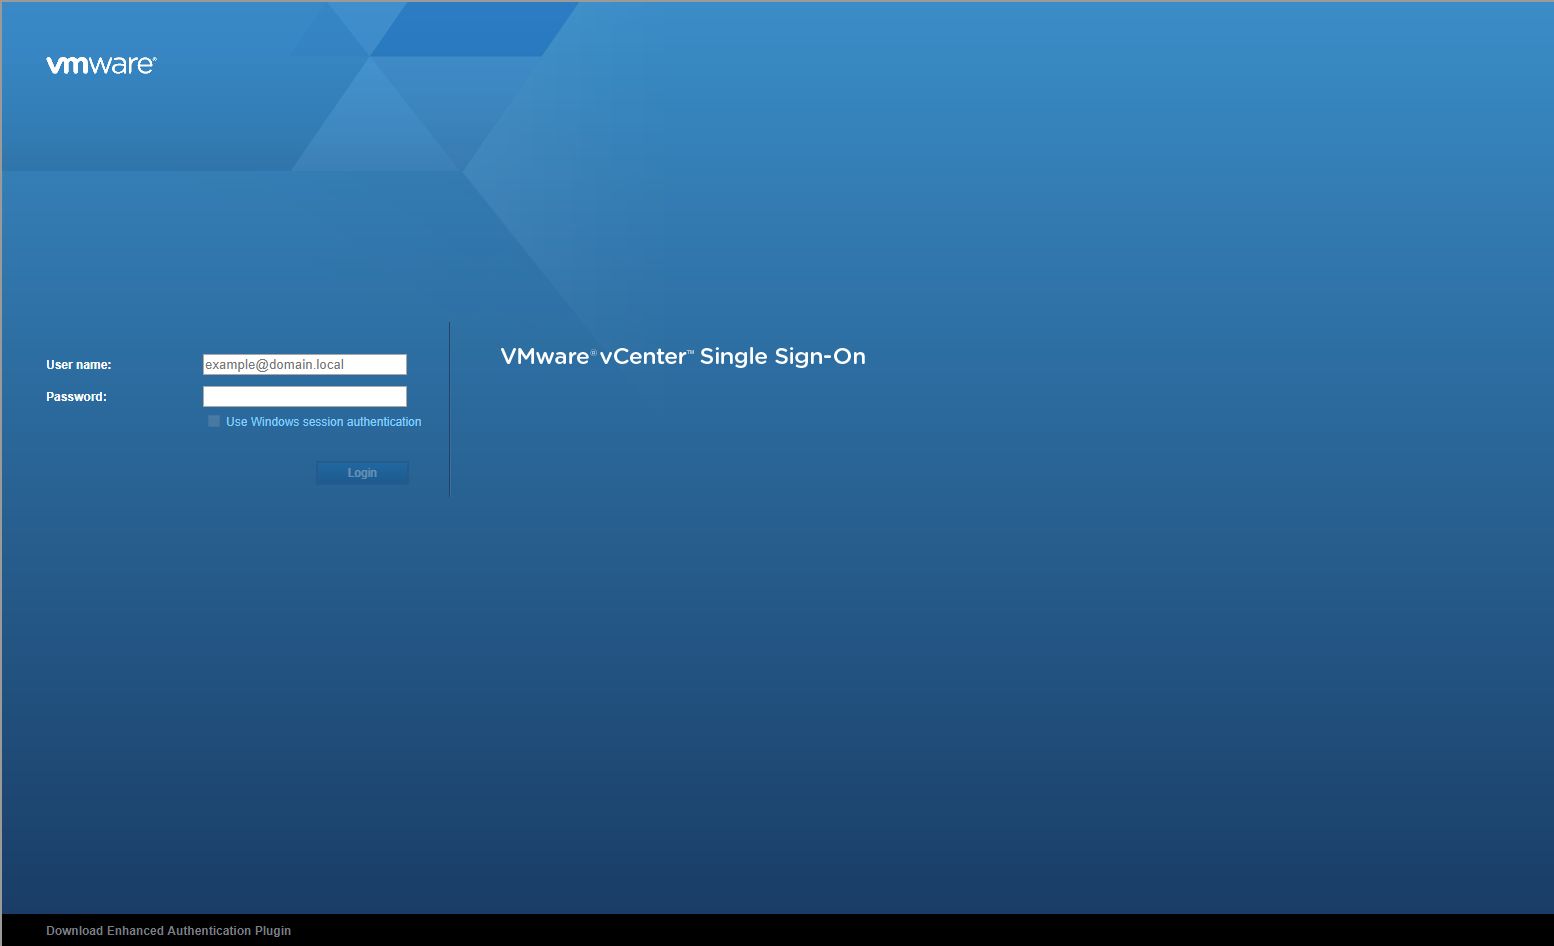
- Type appropriate User name and Password and click Login.
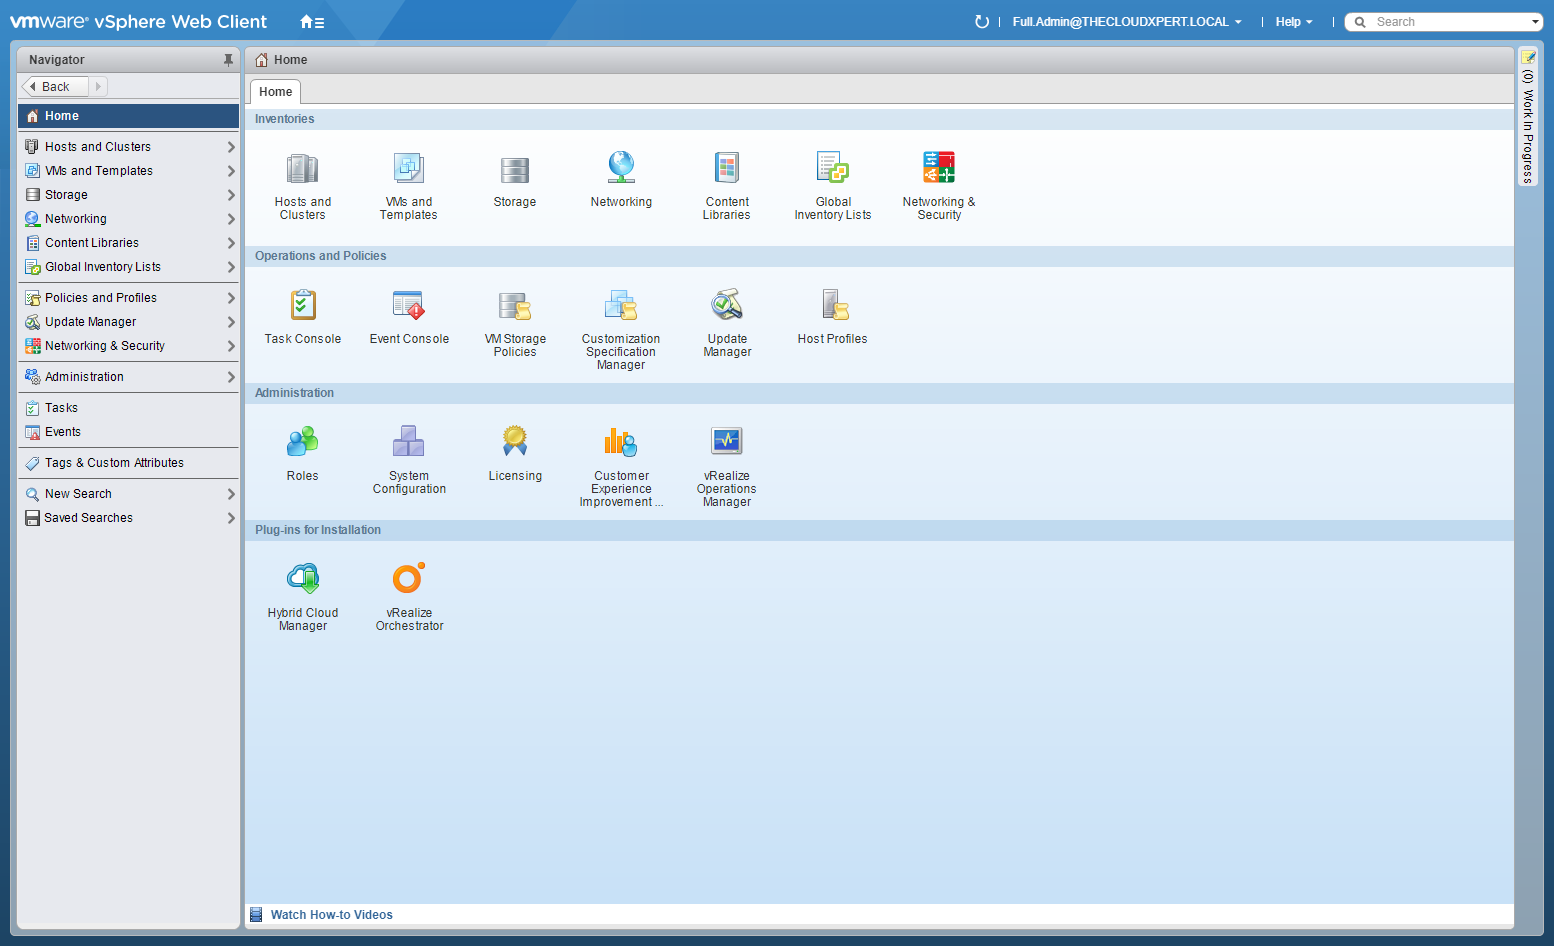
- Click Network and Security.
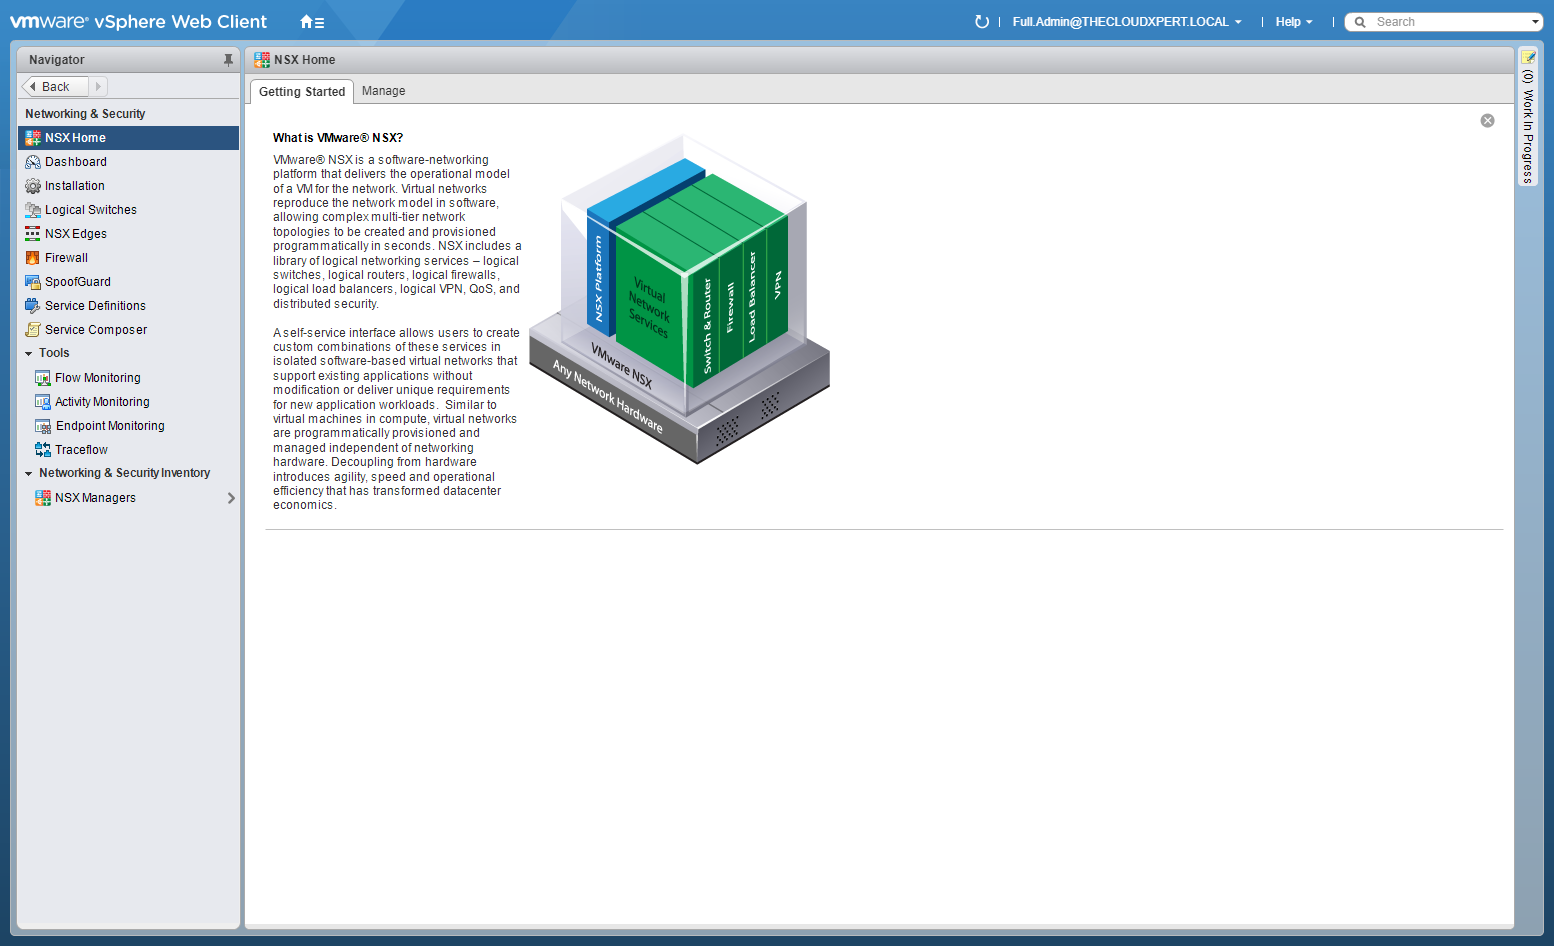
- Click Installation and click the Management tab.
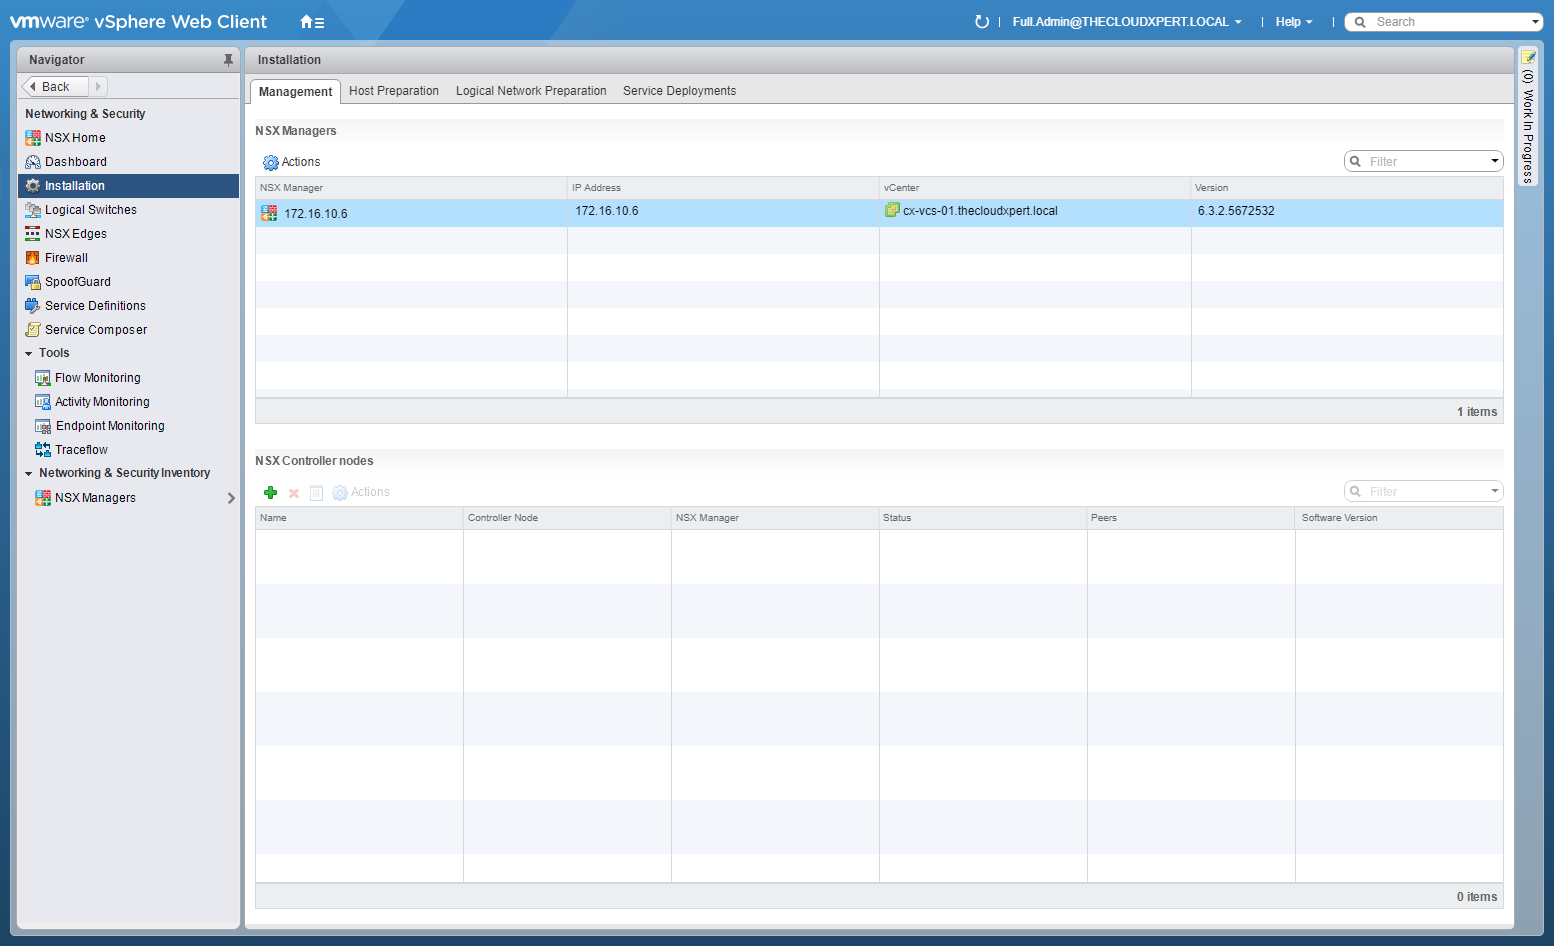
- Under NSX Controller Nodes, click Add (+).
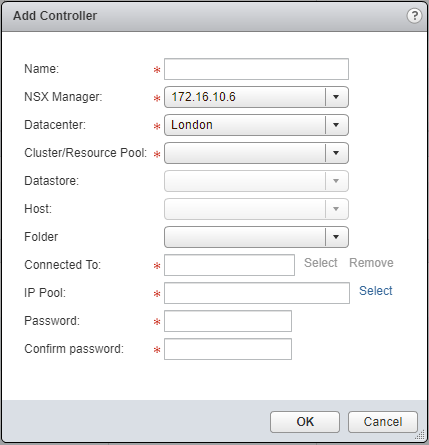
- Type the name of the new NSX Controller, select the appropriate NSX Manager, the appropriate vCenter DataCenter, and the Cluster/Resource Pool to deploy the NSX Controller too.
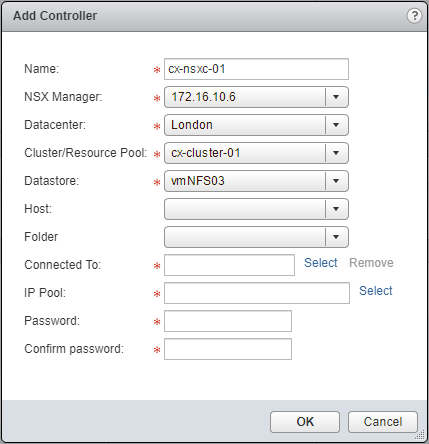
- At Connected To:, click Select.
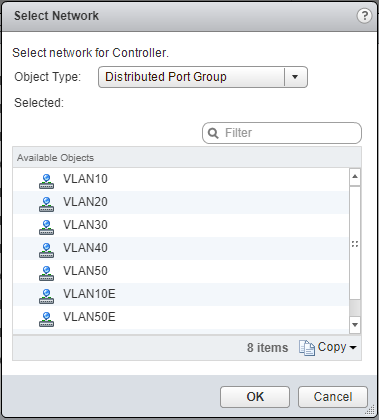
- Choose either a Distributed Port Group or a Network (Standard Switch) from the Object Type dropdown, select the appropriate (Management) network and click OK.
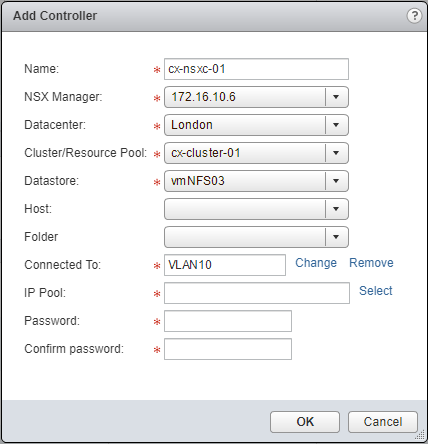
- Next to IP Pool:, click Select.
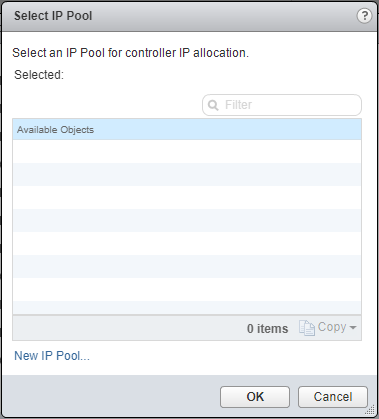
- Click New IP Pool…
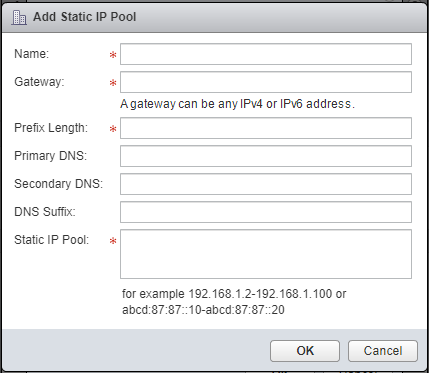
- Type the Name of the new Pool, the Gateway IP Address, the Prefix Length (in bits, i.e.
24), and then type a range of IP Addresses into the Static IP Pool.
- The range of IP addresses should be sufficient to deploy ALL controllers, so that’s 3 IP addresses.
- Primary DNS, Secondary DNS and DNS Suffix are optional.
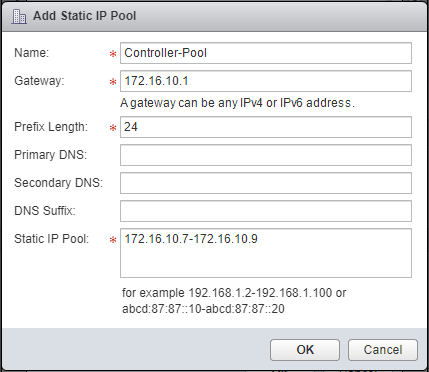
- Click OK.
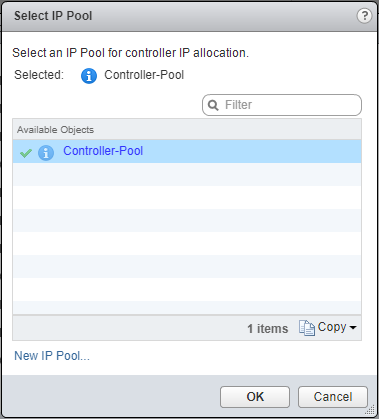
- Ensure that the newly created pool (Controller-Pool) is selected and click OK.
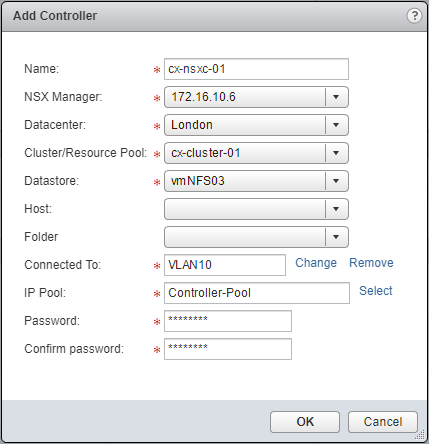
- Type and confirm the Password for the controller, then click OK.
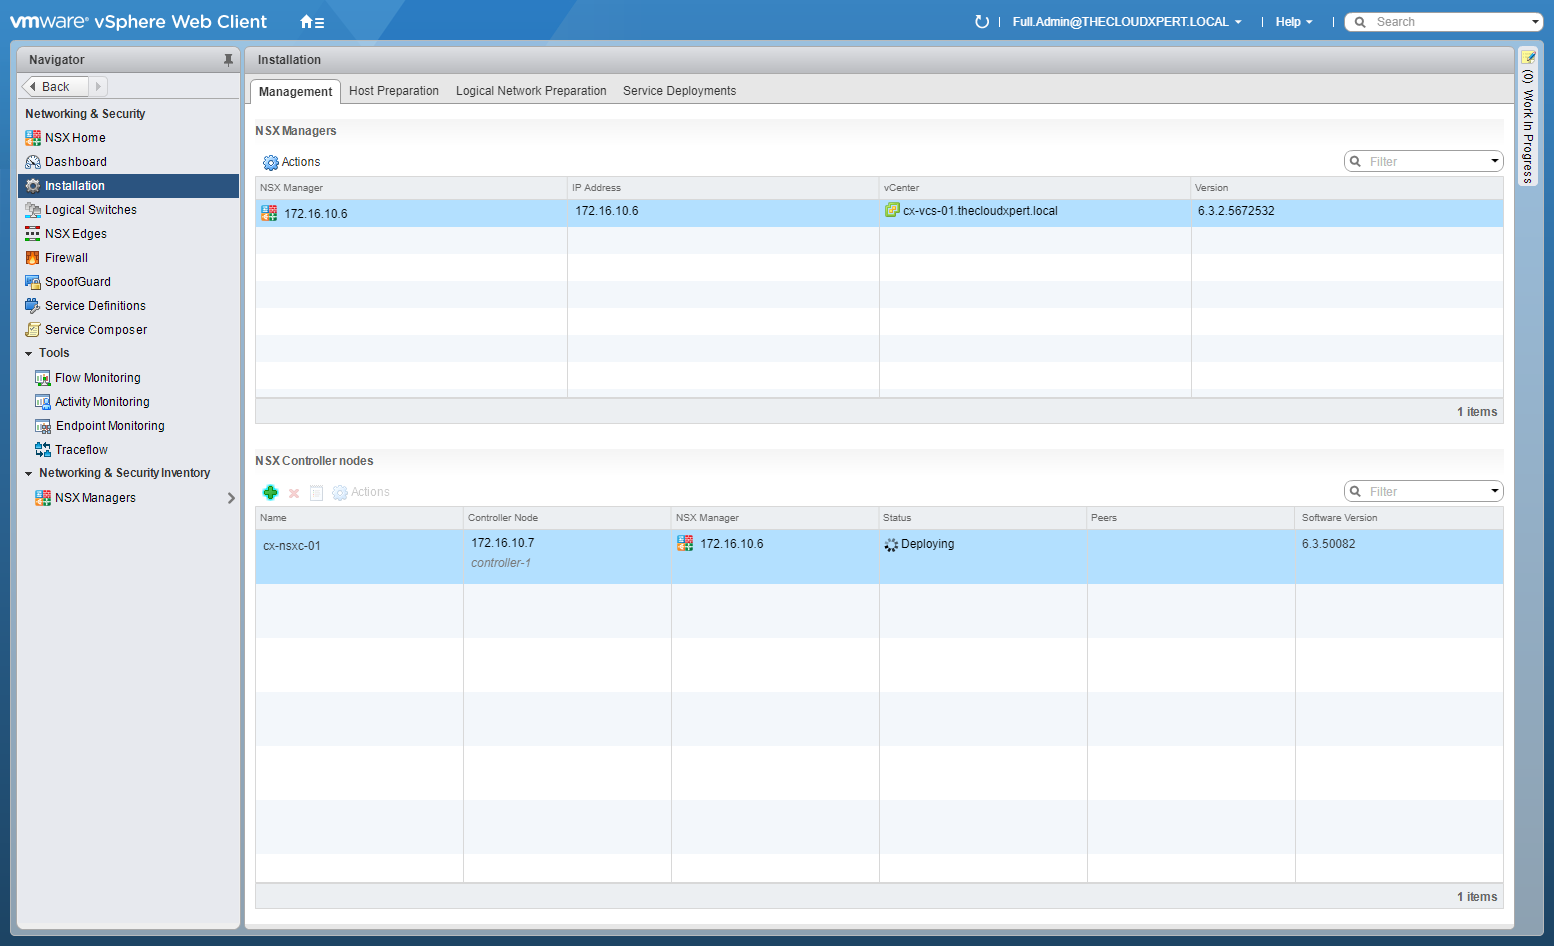
The controller will now be deployed.
Deploying Additional NSX Controllers
To deploy additional NSX Controllers, follow the steps highlighted above. As the IP Pool was created during the deployment of the first NSX controller, you do not need to recreate it each time.
You must wait for the previous VMware NSX Controller deployment to complete before progressing onto the deployment of the next one. As highlighted at the top of the post, the supported number of controllers is three (3).
Published on 27 July 2017 by Christopher Lewis. Words: 388. Reading Time: 2 mins.
- HOWTO: Deploy and Configure the VMware NSX Manager Virtual Appliance - Part 3 ()
- HOWTO: Deploy and Configure the VMware NSX Manager Virtual Appliance - Part 2 ()
- HOWTO: Deploy and Configure the VMware NSX Manager Virtual Appliance - Part 1 ()
- HOWTO: Configuring VMware NSX Licensing ()
- HOWTO: Configure VMware NSX and VMware vRealize Log Insight - Part Two ()

