HOWTO: Configure VMware NSX-V Security Tags
VMware NSX-V VCAP6-NV VCIX6-NV HOWTO
Published on 7 September 2017 by Christopher Lewis. Words: 349. Reading Time: 2 mins.
Introduction
This post is a number of posts that make up a VCAP6-NV Study guide .
In this post we will look at how to work with NSX Security Tags.
What are NSX Security Tags?
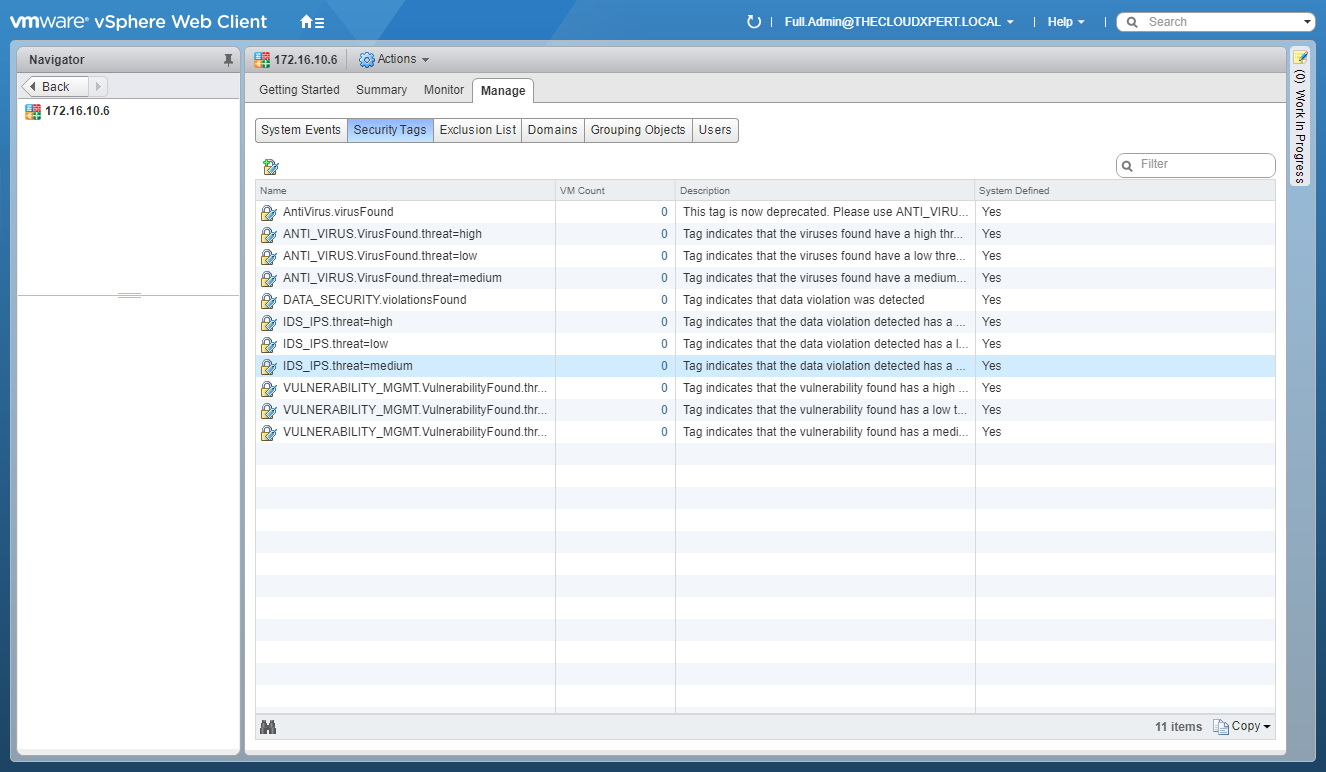
Security Tags are labels which can be associated with a Virtual Machine. Security Tags can then be used (amongst other things) to populate dynamically populate Security Groups with objects.
Adding or removing Security Tags to a VM can be done dynamically in response to various criteria such as antivirus or vulnerability scans, and intrusion prevention systems.
Security Tags can also be added and removed manually by an administrator.
There are two types of Security Tags, System Defined and User Defined.
Working with NSX Security Tags
Viewing Security Tags
- Using your favourite web browser, navigate to the vCenter Server login page (
https://vcenter.fqdn).
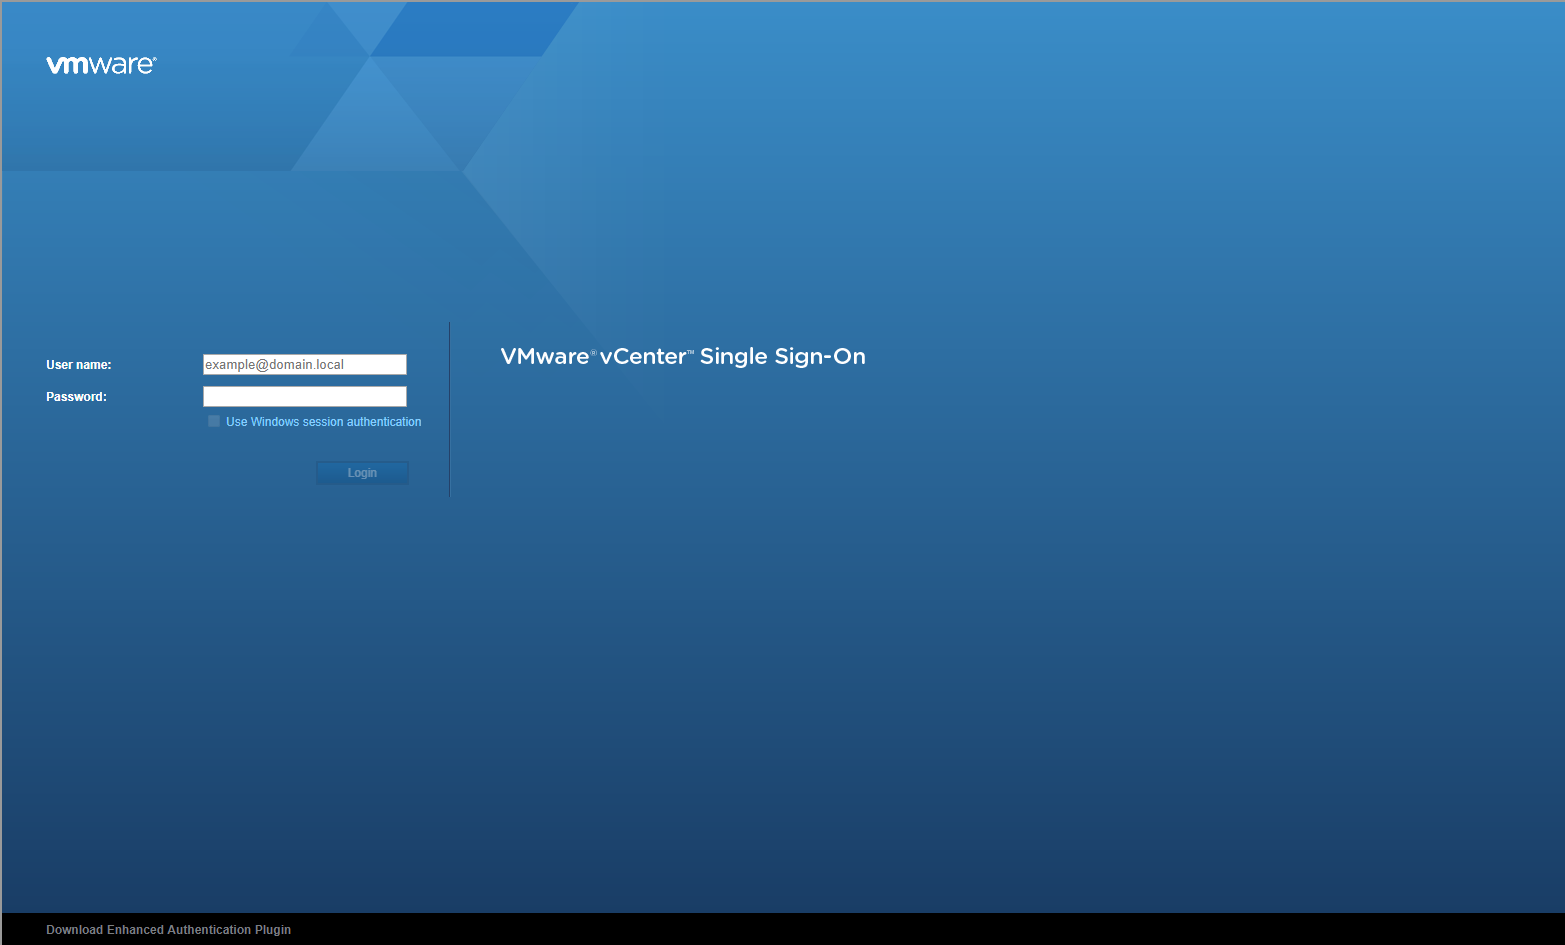
- Enter appropriate User name and Password and click Login.
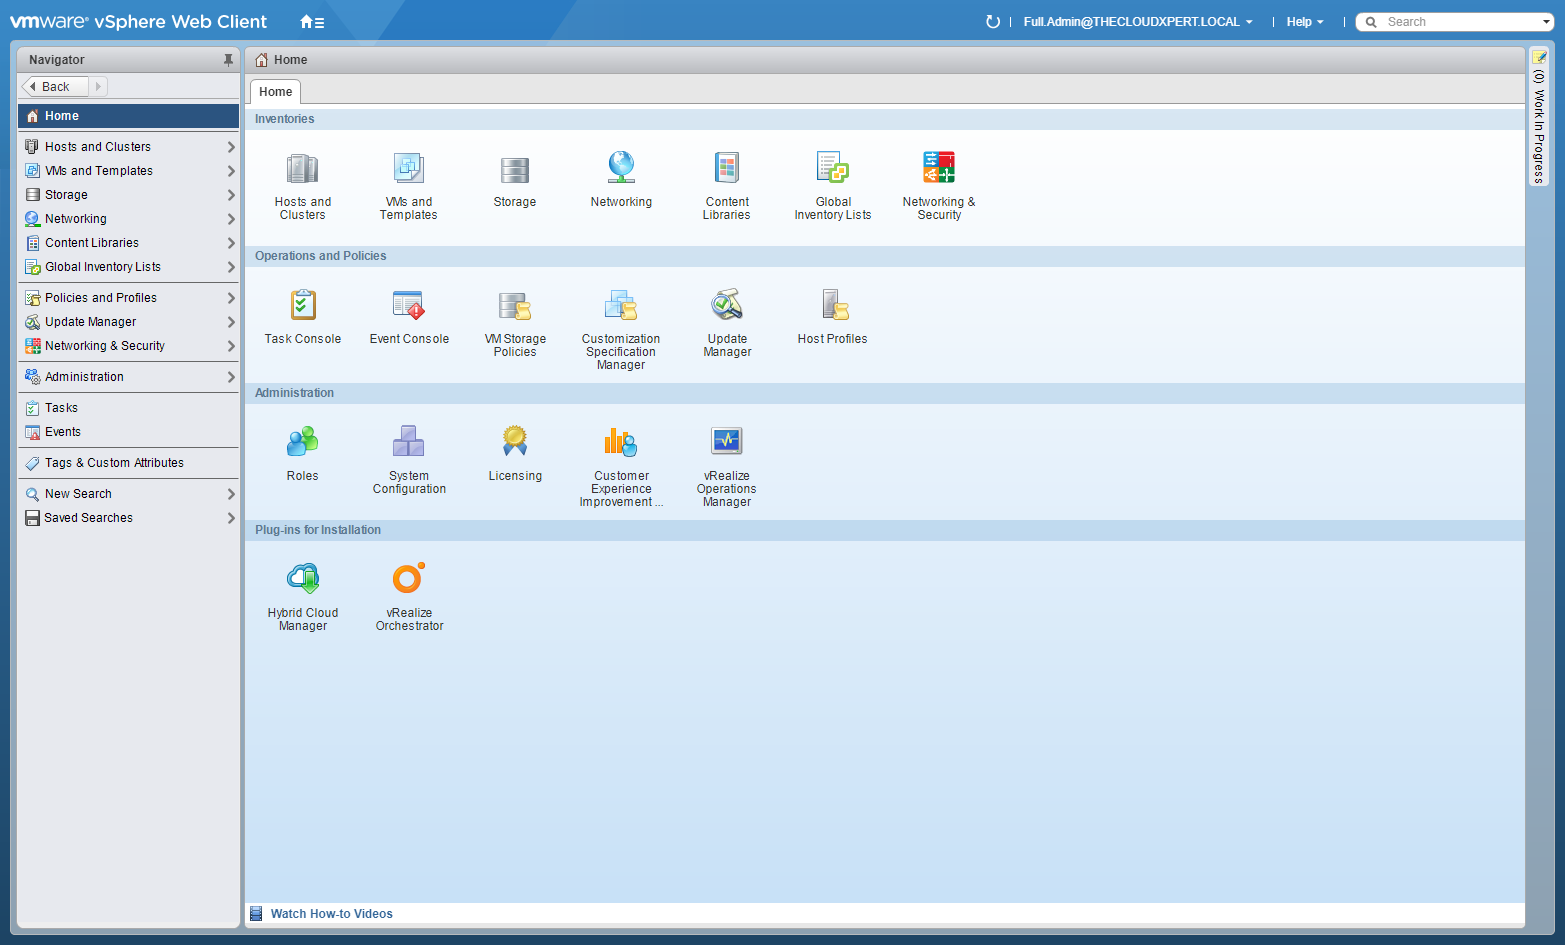
- Click Networking and Security.
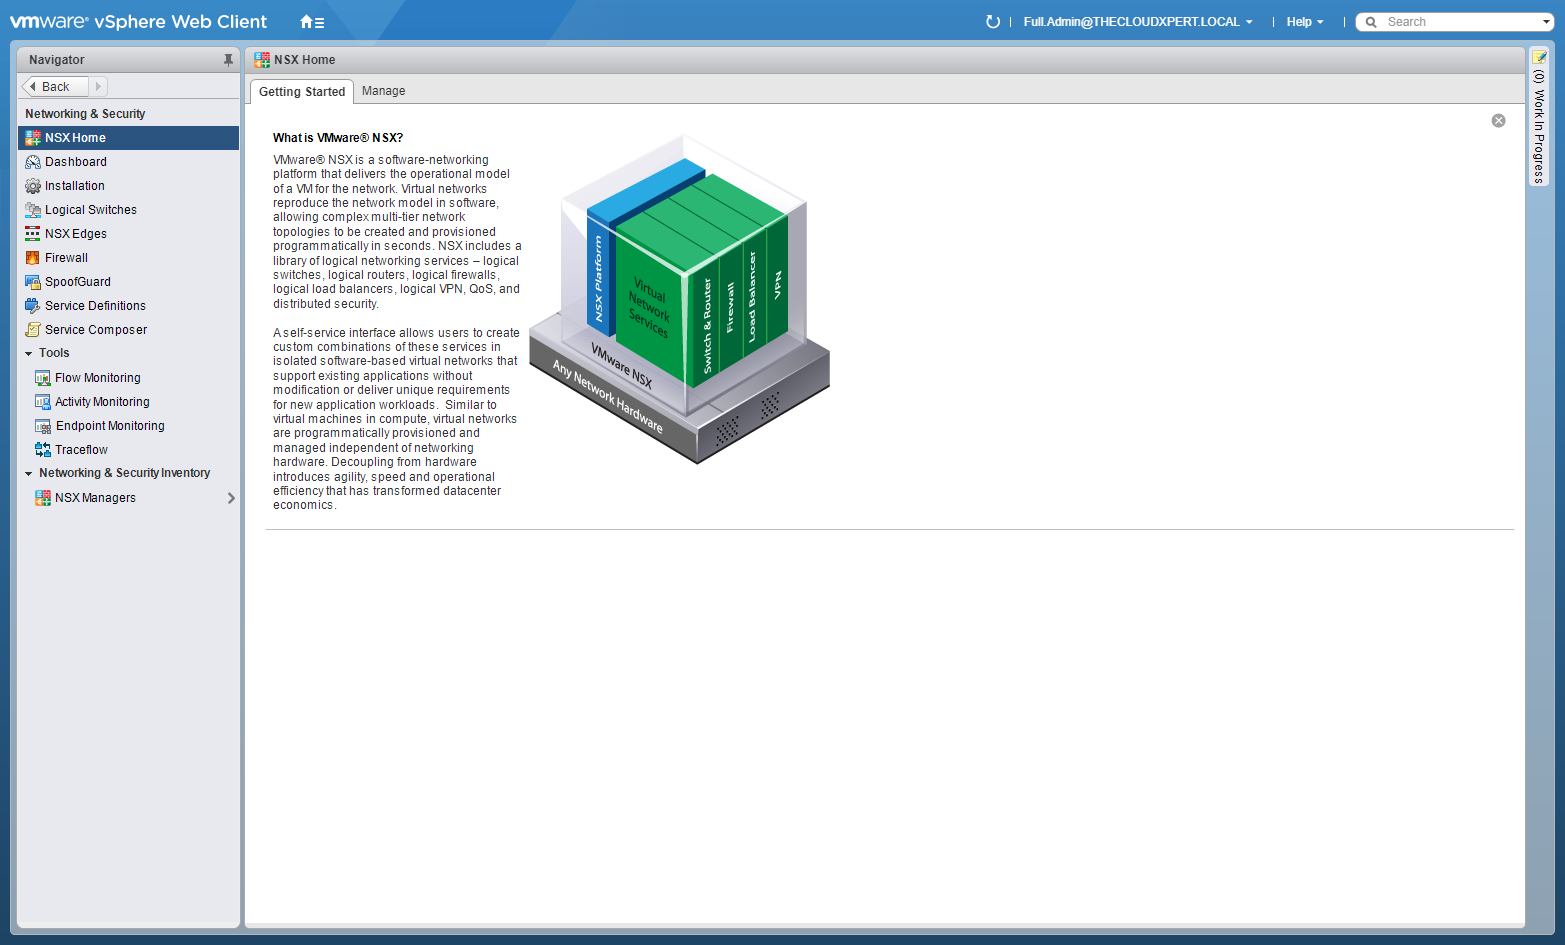
- Click NSX Managers.
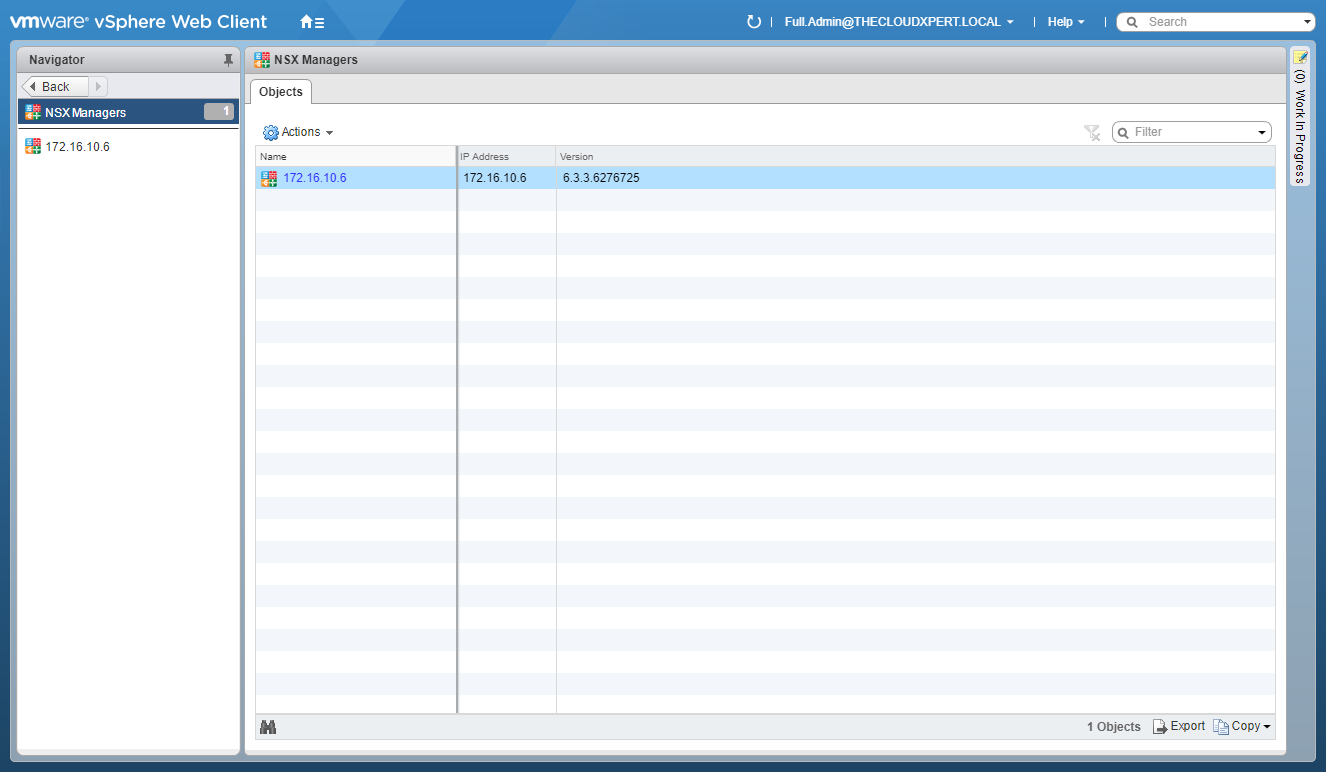
- Click on the target NSX Manager (via IP address).
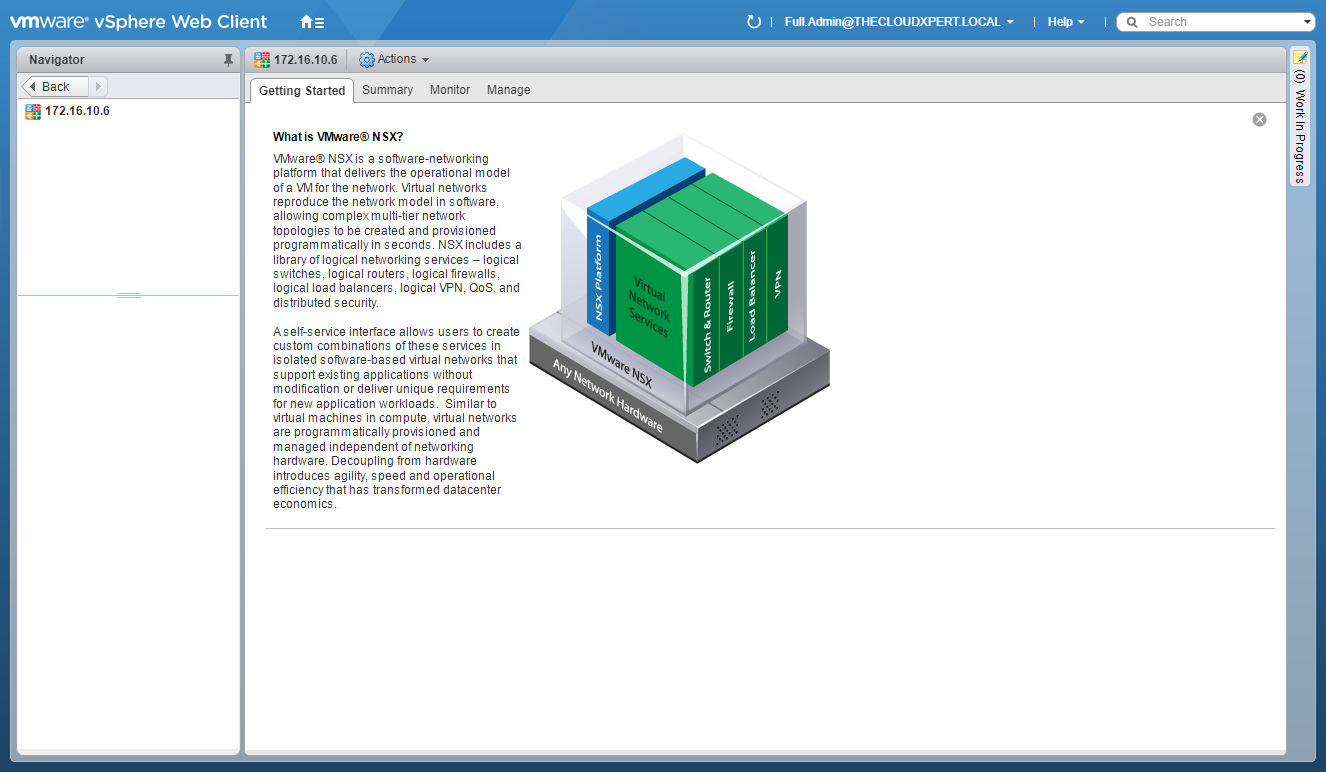
- Click Manage.
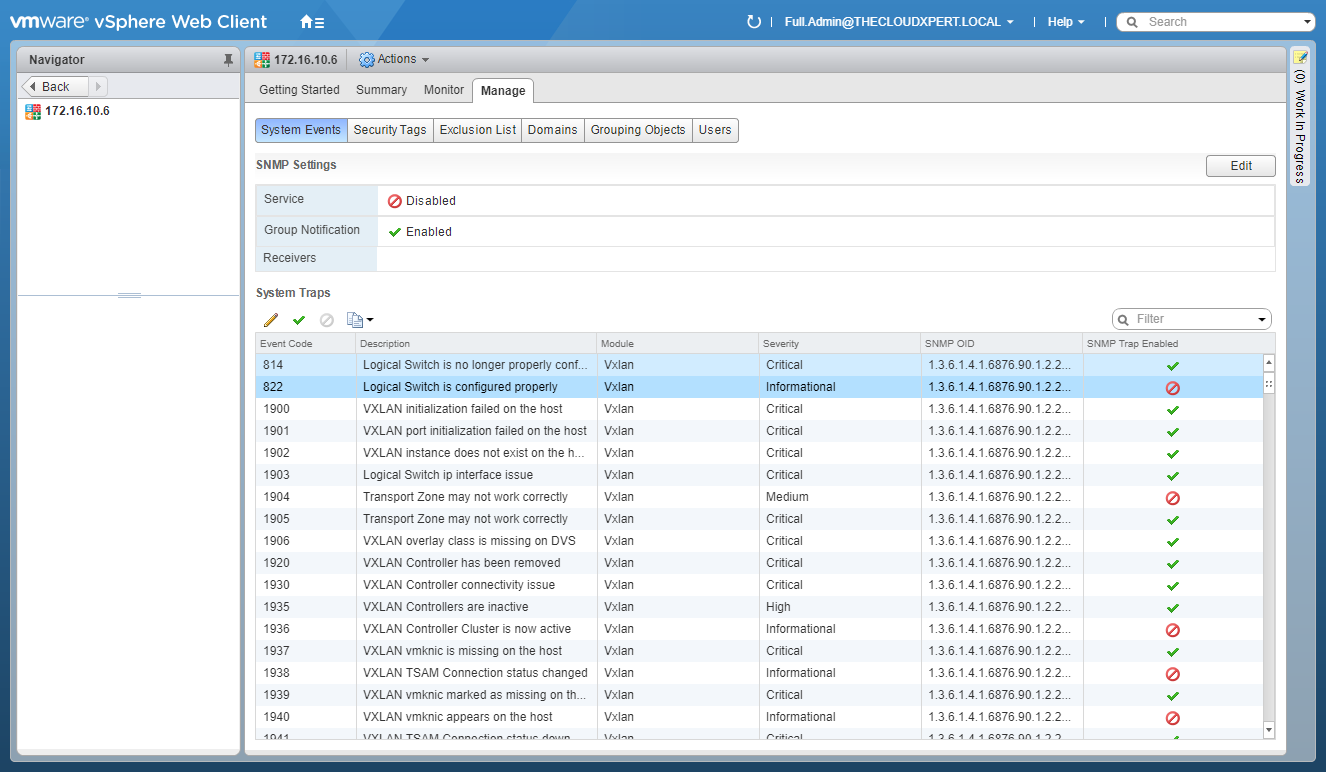
- Click Security Tags.
Create a New Security Tag
- Click New Security Tag.
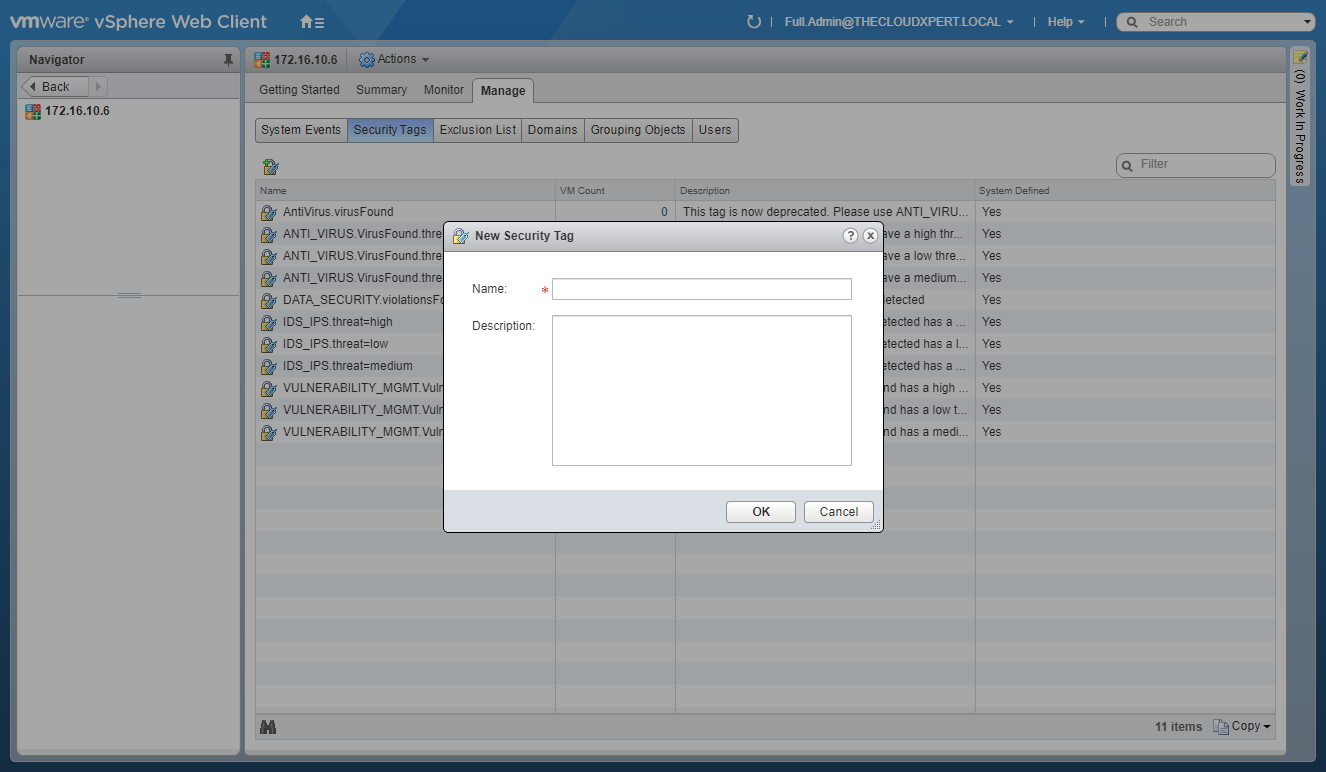
- Enter a Name for the new security tag and (optionally) enter a Description.
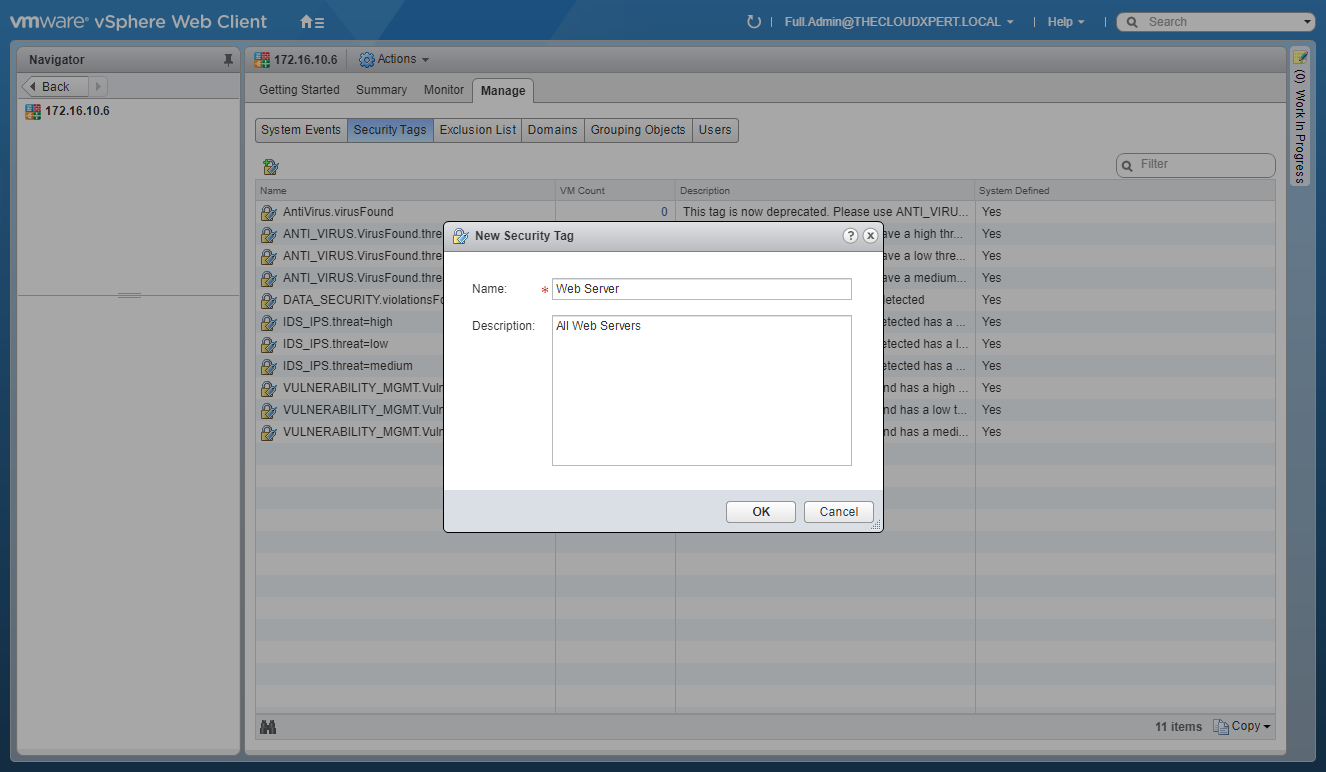
- Click OK.
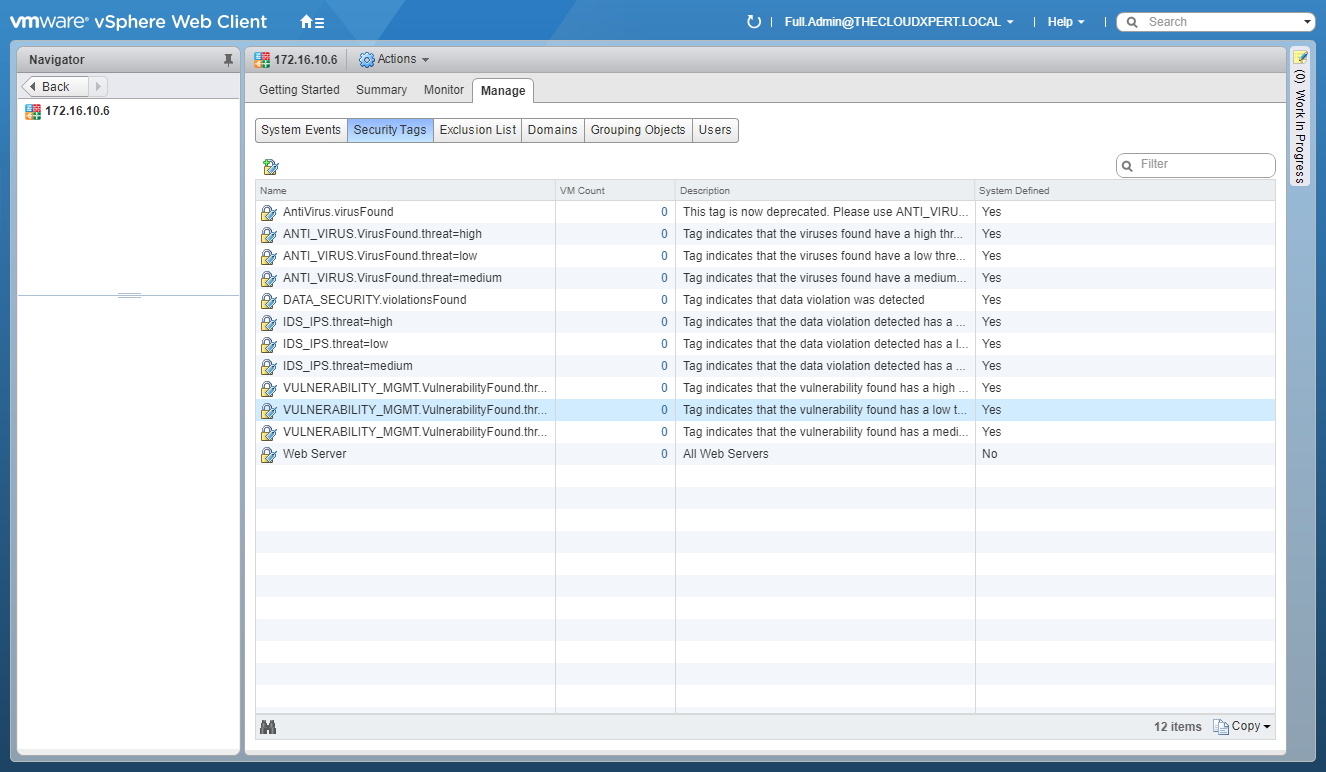
Edit a Security Tag
- Select a User Defined Security Tag.
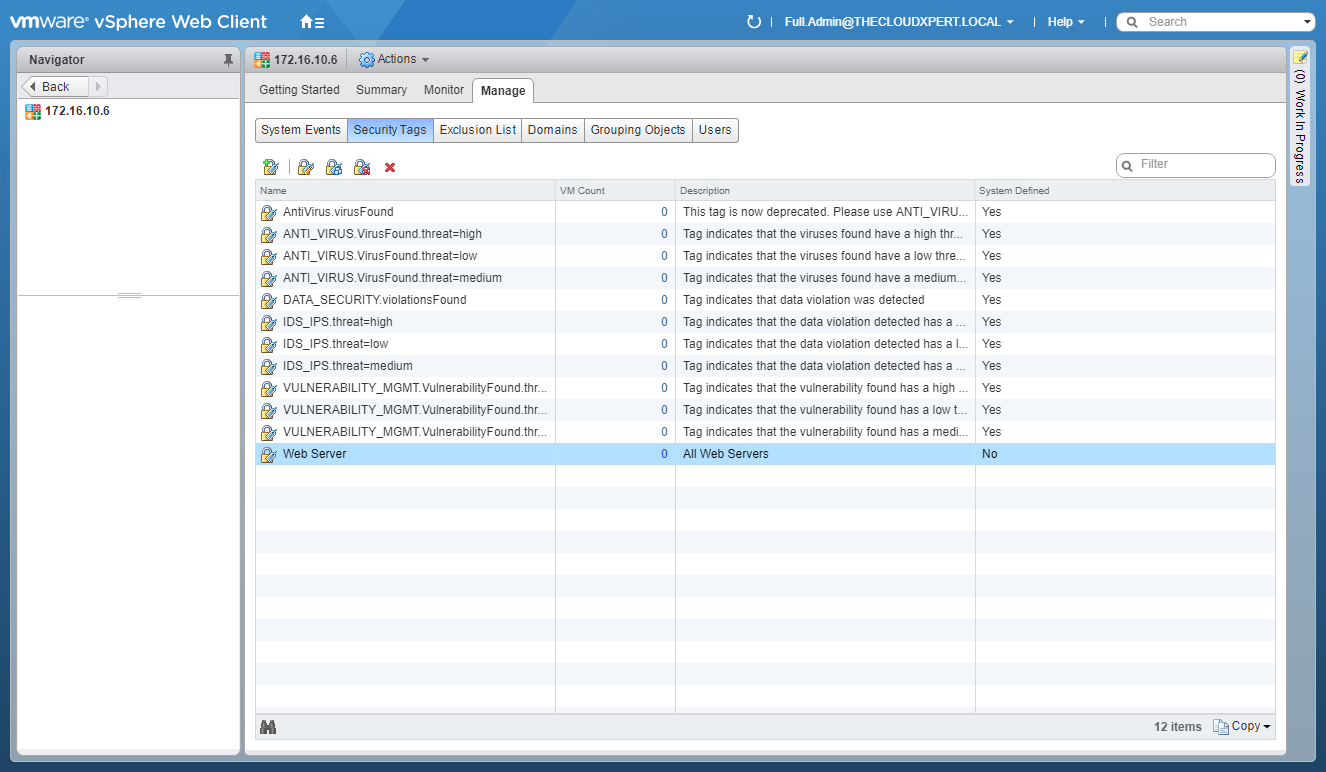
- Click Edit Security Tag.
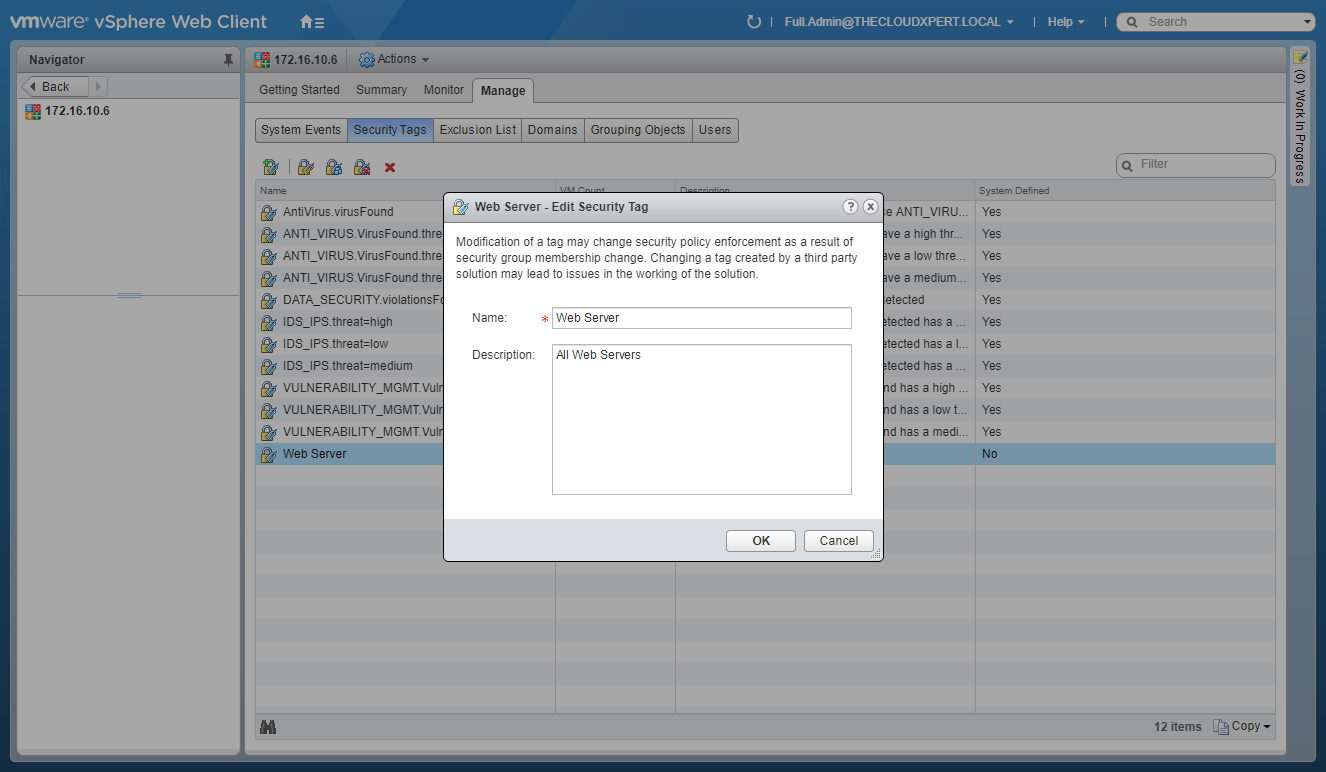
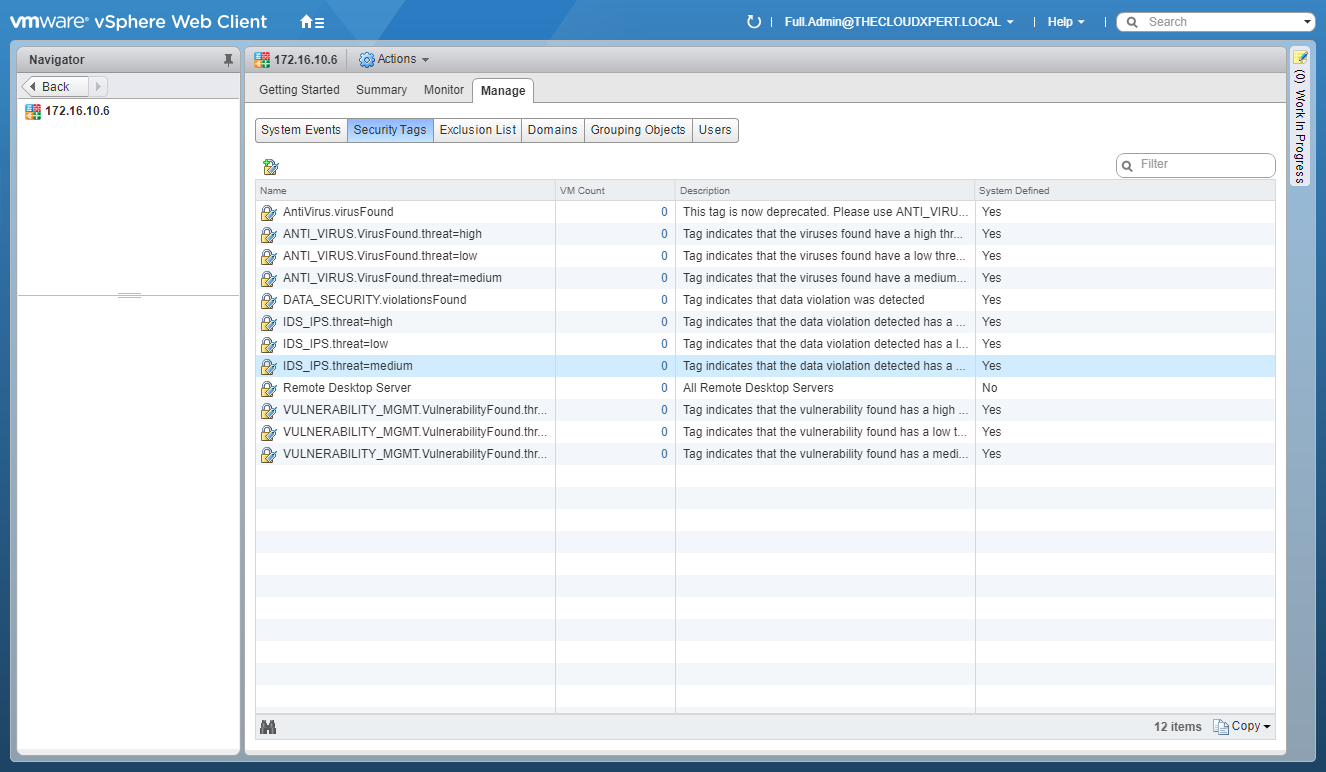
- Update the Name and (optionally) the Description of the Security Tag.
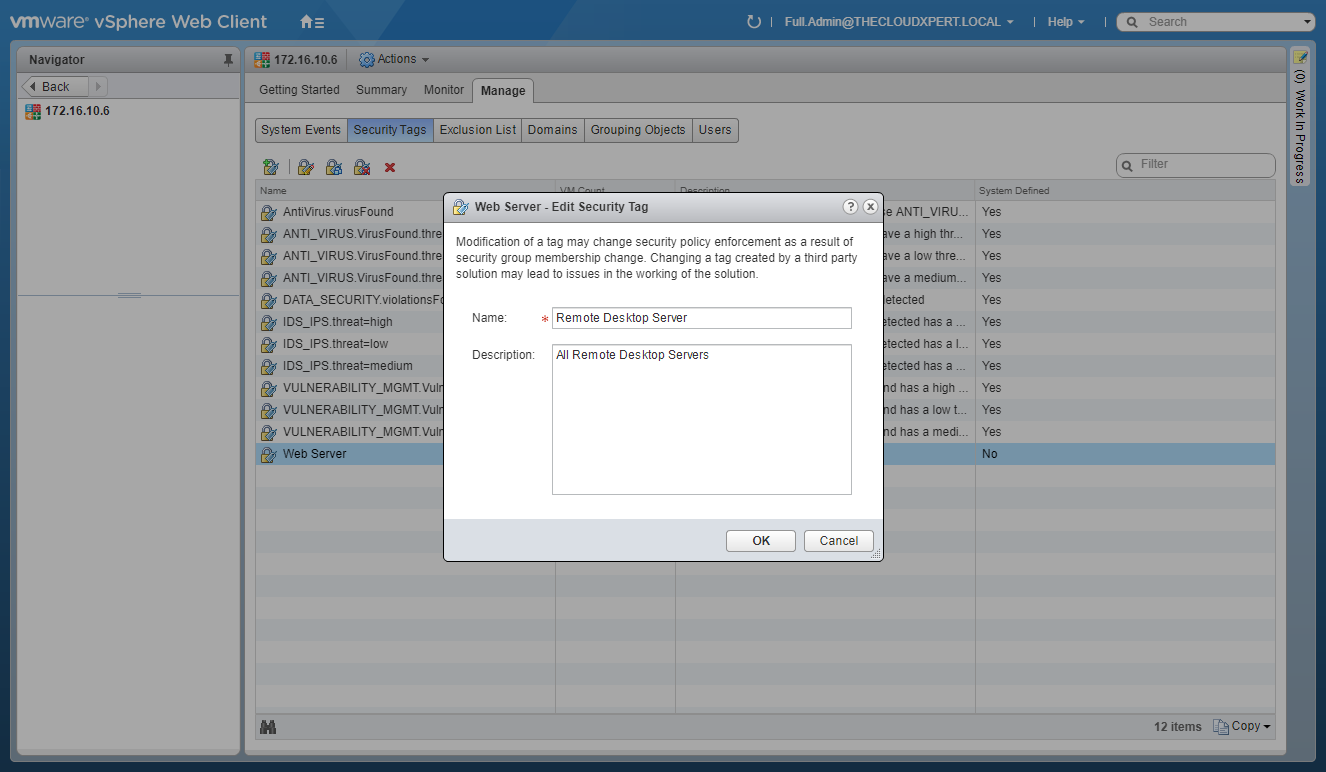
- Click OK.
Assign a Security Tag
- Select the Security Tag.
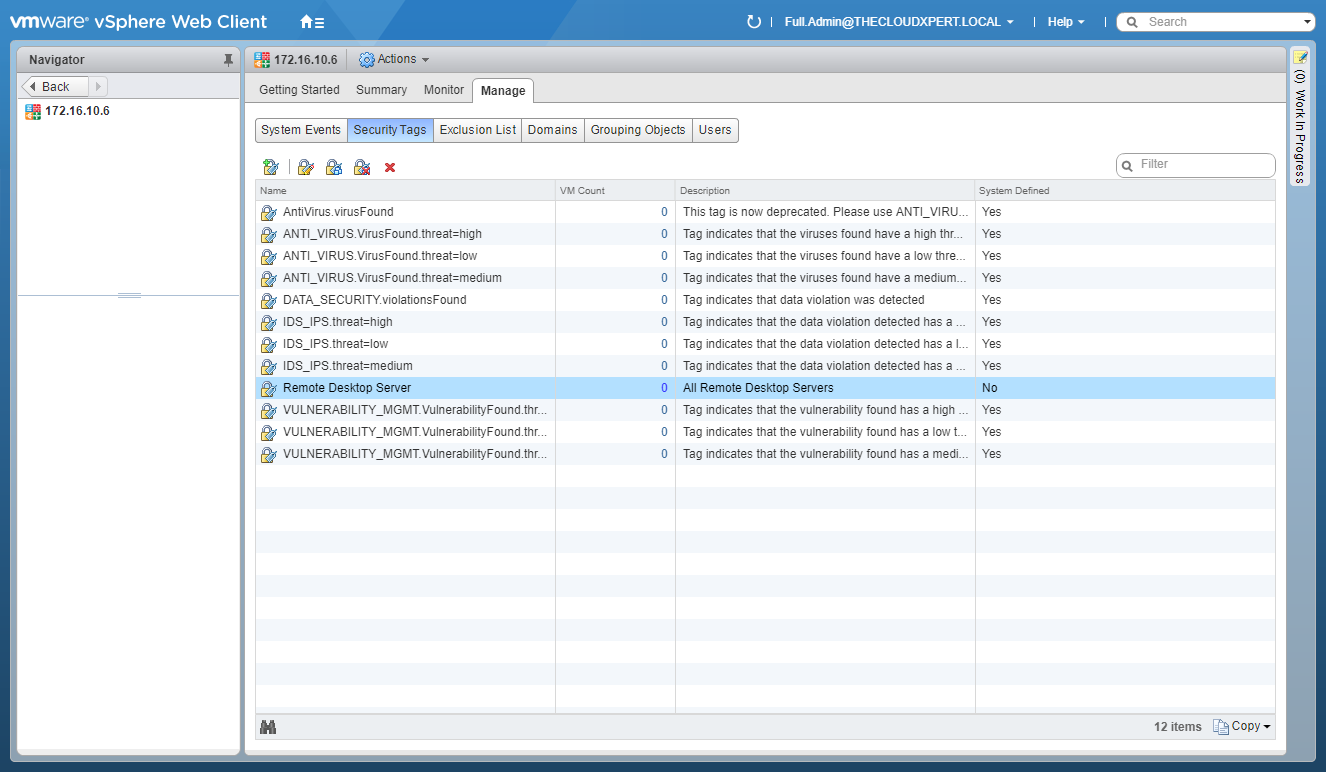
- Click Assign Security Tag.
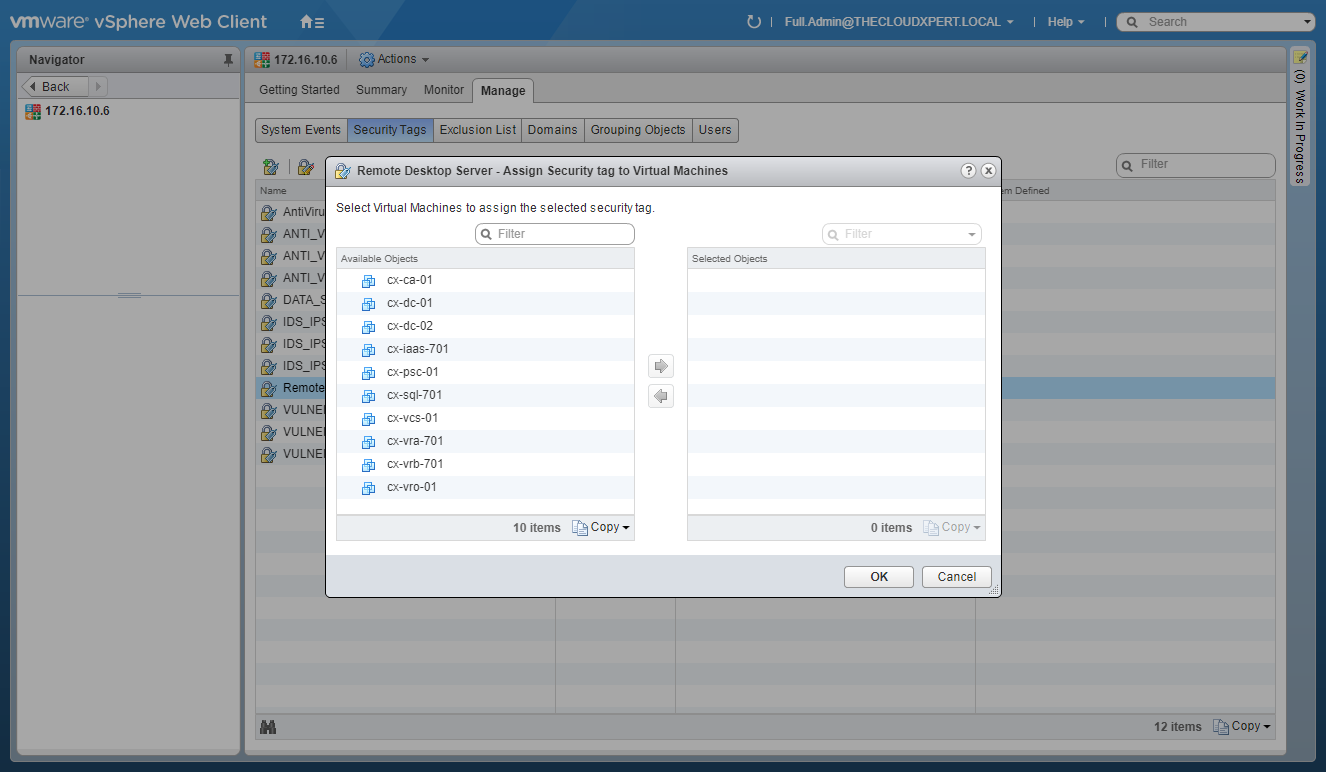
- Select one or more of the Available Objects and click the arrow to move them to the Selected Objects list.
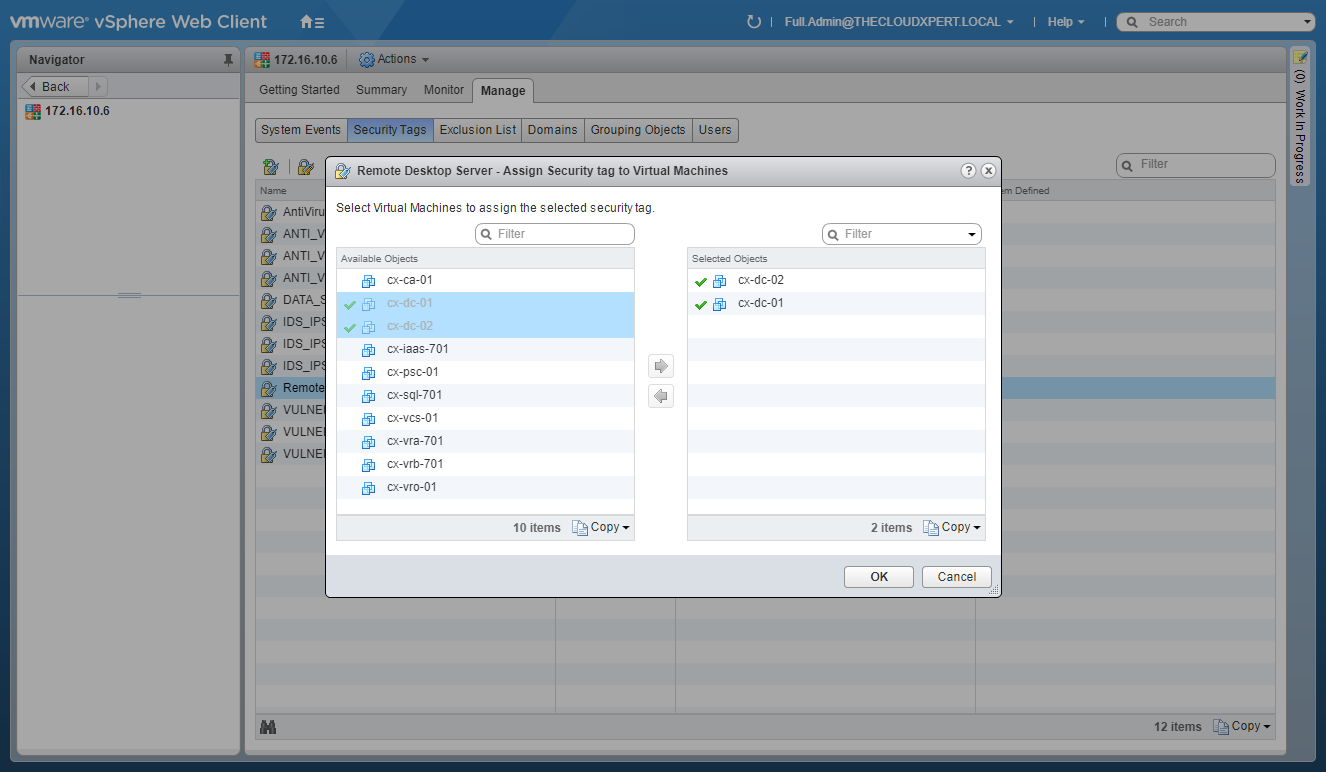
- Click OK.
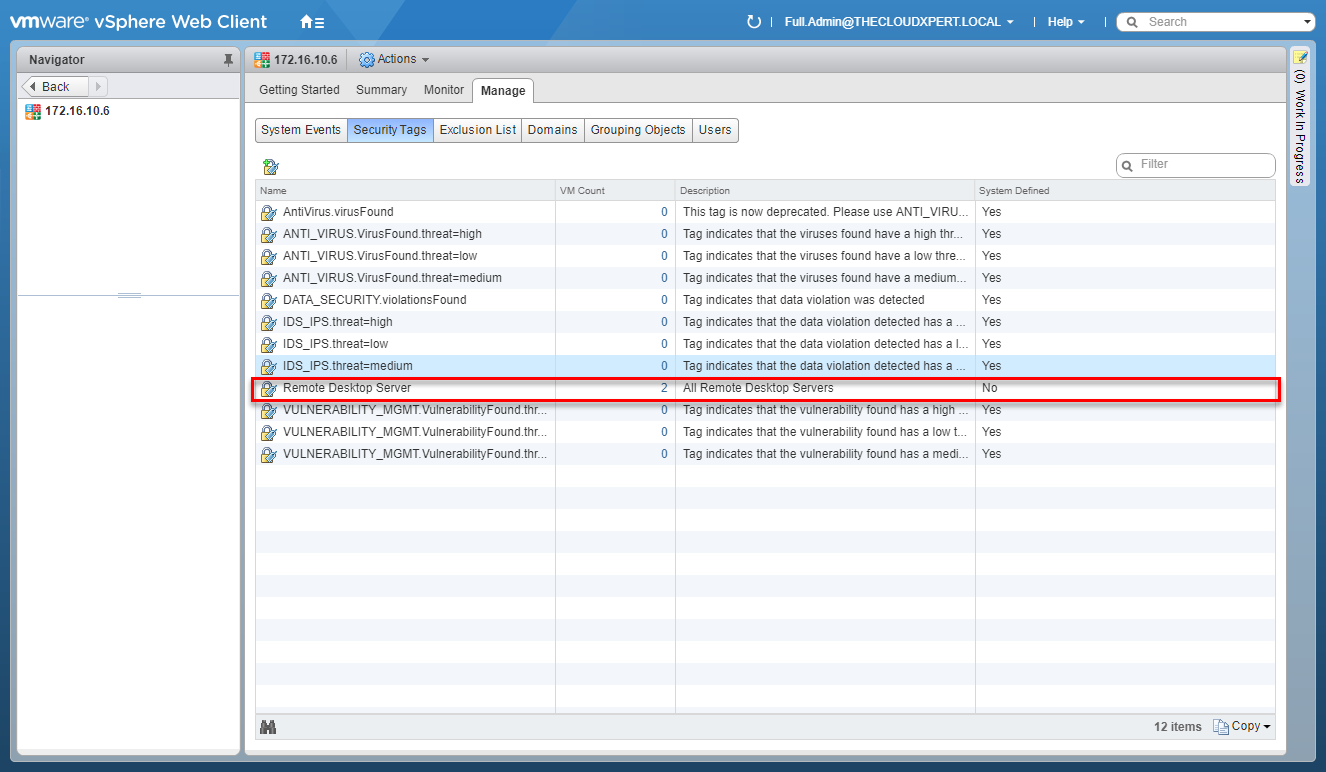
Detach a Security Tag
- Select the Security Tag.
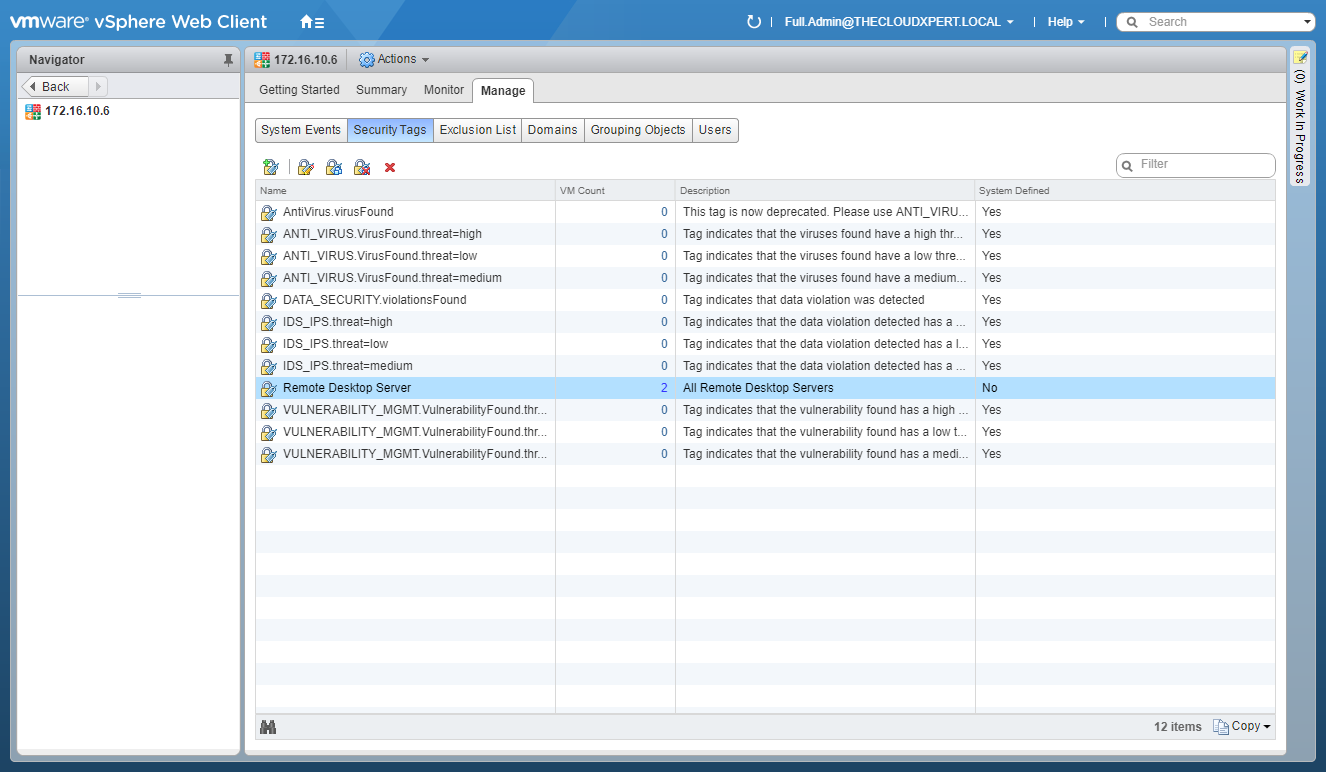
- Click Detach Security Tag.
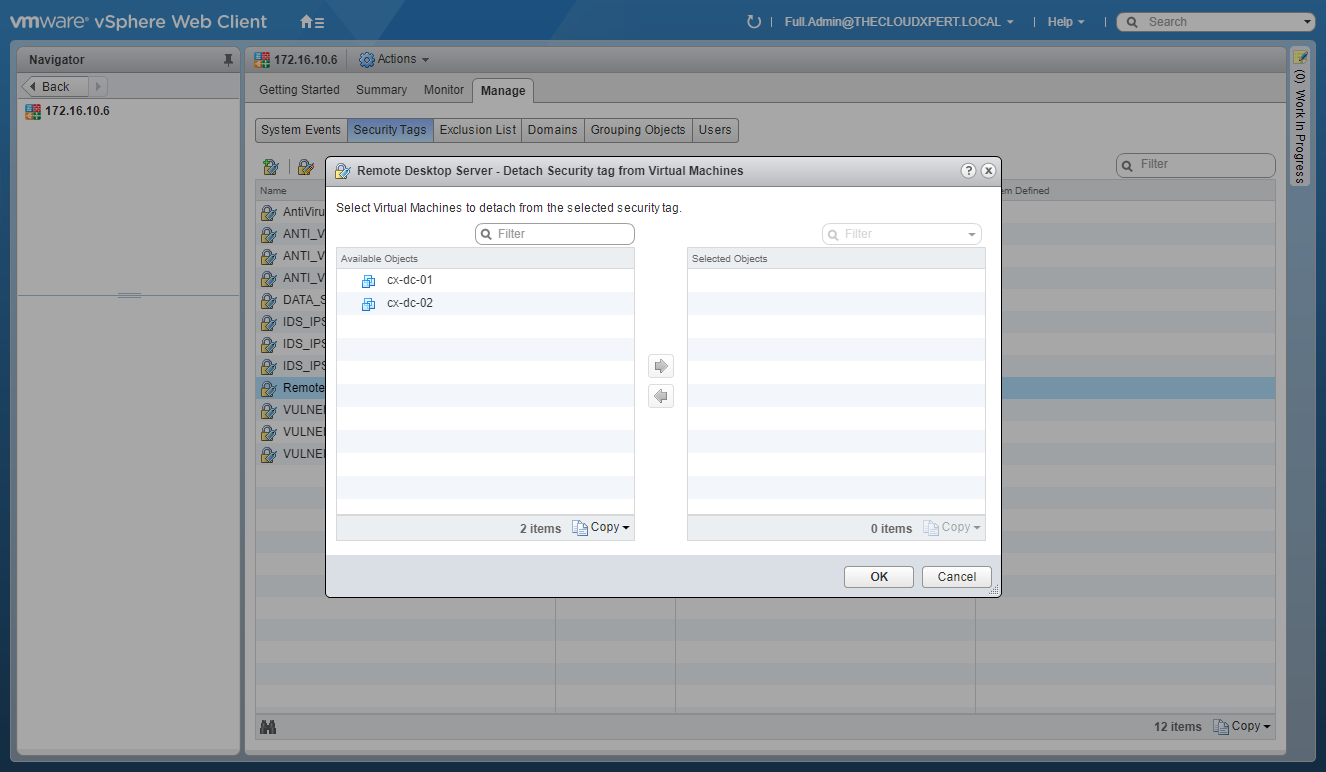
- Select the Available Objects that need to be detached from the Security Tags and click the arrow to move them to the Selected Objects list.
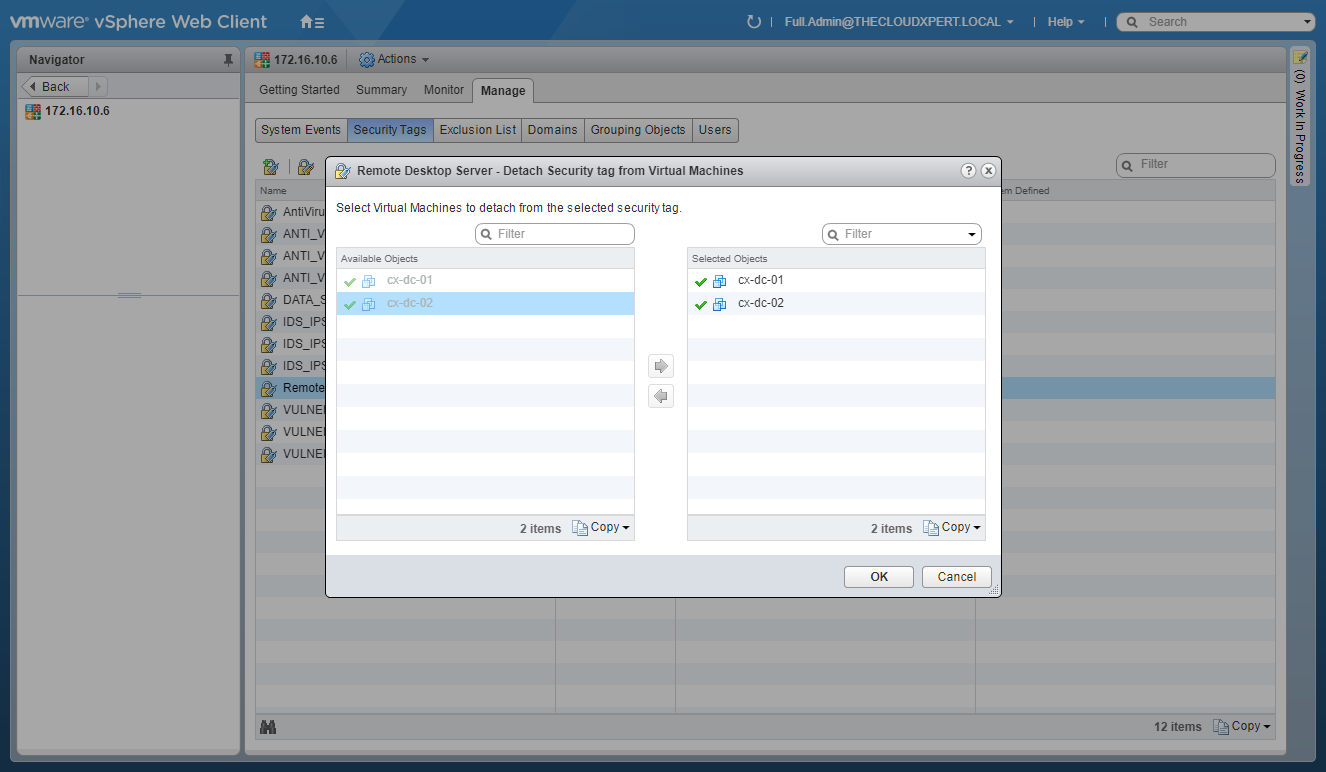
- Click OK.
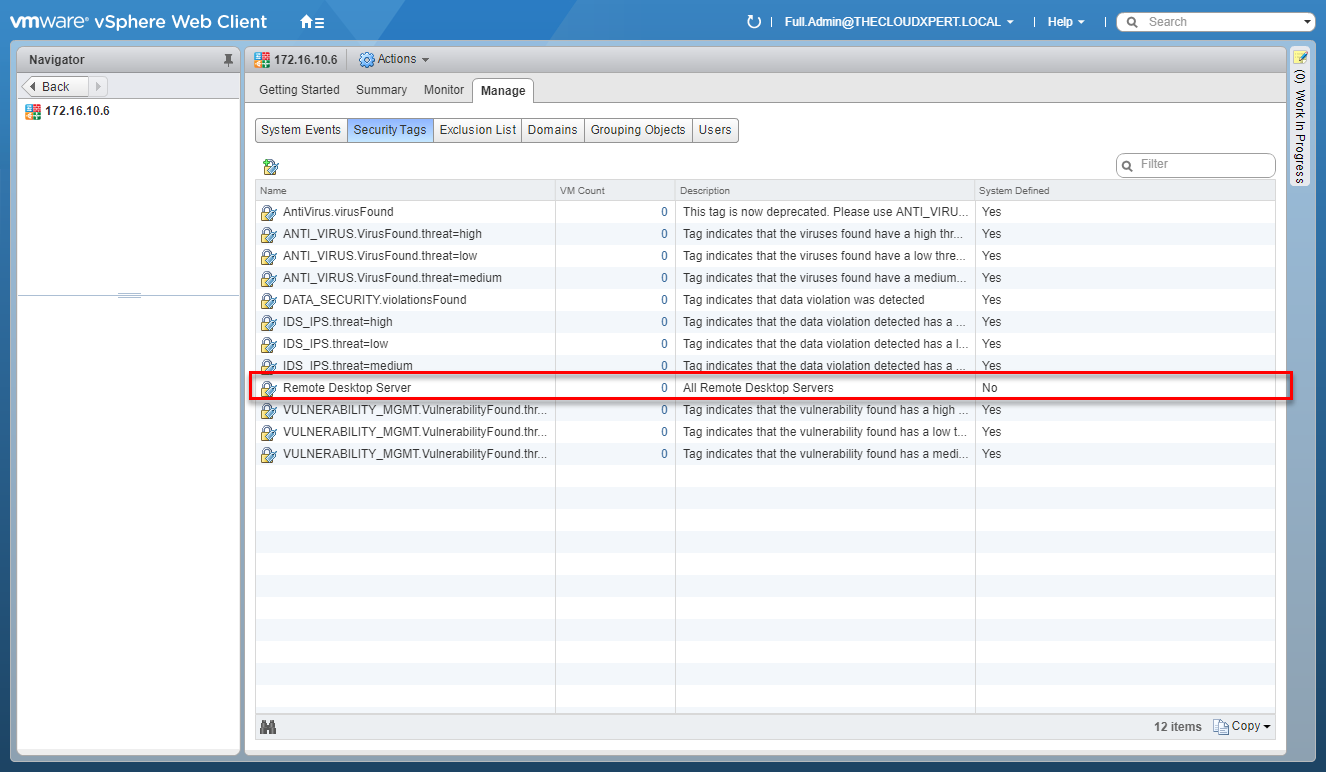
Remove a Security Tag
- Select the Security Tag to remove.

- Click Remove Security Tag.
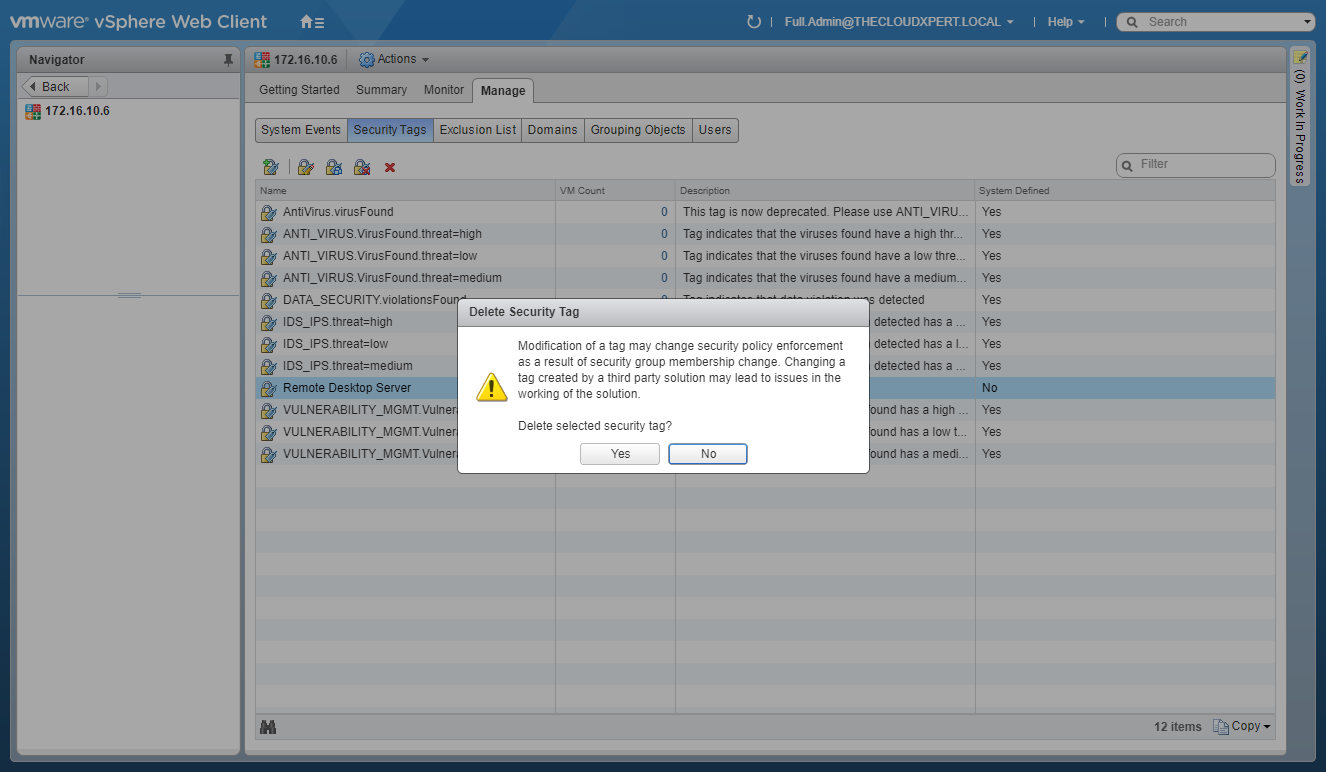
- Click Yes.
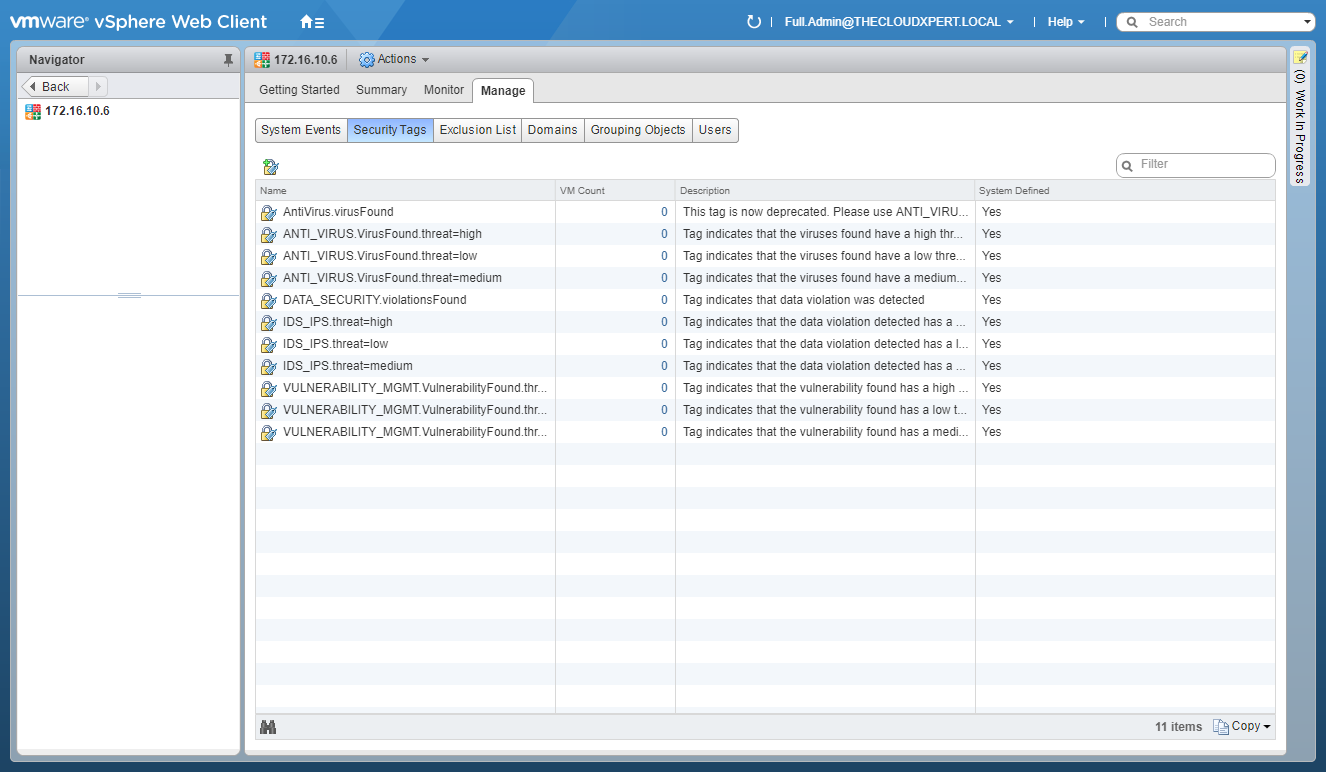
And there we have it, the basics around how to view/create/delete/assign/remove VMware NSX Security Tags!
Published on 7 September 2017 by Christopher Lewis. Words: 349. Reading Time: 2 mins.
- HOWTO: Generate Self-Signed Certificates in VMware NSX-V ()
- VCAP6-NV Deploy Exam Experience - Attempt 1 - Fail ()
- VCAP6-NV Deploy - Objective 3.3 - Configure and Manage Additional VMware NSX Edge Services ()
- HOWTO: Configure VMware NSX-V Load Balancing ()
- HOWTO: Configure VMware NSX with Dynamic Routing - BGP ()

