Updating the embedded vRealize Orchestrator 7.3 Certificate
Certificates VMware vRealize Automation vRealize Orchestrator
Published on 12 December 2017 by Christopher Lewis. Words: 475. Reading Time: 3 mins.
Introduction
This is the fourth in a series of posts covering the replacement of vRealize Automation SSL Certificates. In this post, we will tackle steps required to update the embedded vRealize Orchestrator certificate following the replacement of the vRealize Automation Appliance certificate.
This post is based on the VMware procedure and this is documented within the VMware Documentation Site here .
According to the VMware, the reason for completing this additional step is that if you replace or update vRealize Automation certificates without completing this procedure, the vRealize Orchestrator Control Center may become inaccessible, and errors may appear in the vco-server and vco-configurator log files.
Step By Step Guide
Prerequisites
The following are expected prerequisites for this walkthrough:
- A fully deployed and working vRealize Automation solution.
- The Root CA Certificate and any Subordinate/Intermediate CA Certificates are installed within the appropriate Certificate store on the local machine (normally the Trusted Root Certification Authorities and the Intermediate Certification Authority respectively).
- You have noted the authentication settings configured in vRO so they can be put back again.
Updating the embedded vRealize Orchestrator Certificate
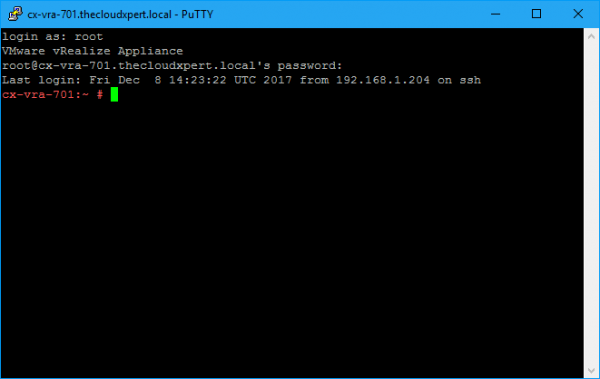
- Open an SSH session to the vRealize Automation appliance,
vra.fqdnusing your tool of choice (I tend to use PuTTY).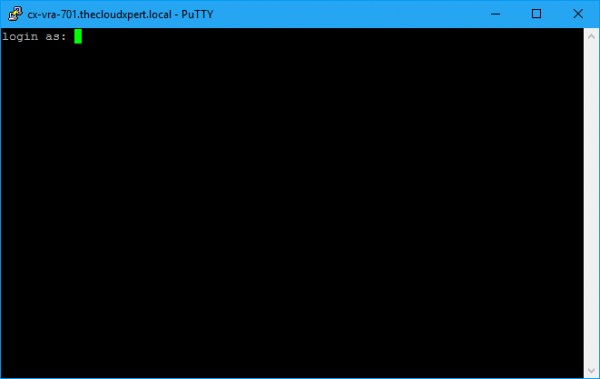
- Log into the session using the root user and the password specified for the root account during the deployment.
- Type
service vco-server stopand press enter.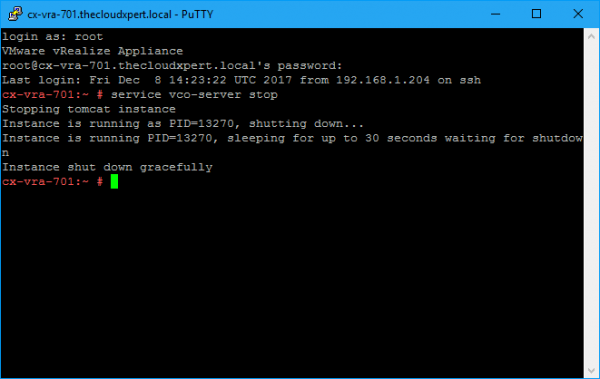
- Type
service vco-configurator stopand press enter.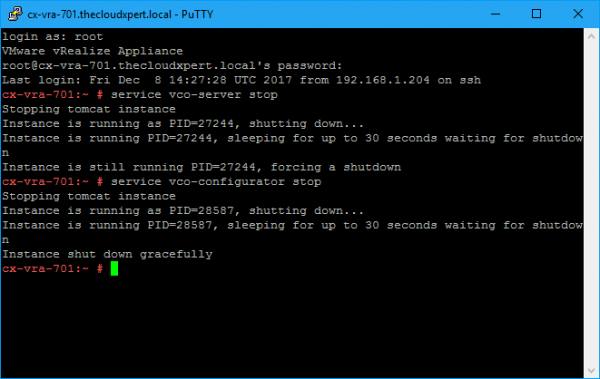
Note:At the time of writing this post, the VMware doc incorrectly states to typevco-configuration. - Type
/var/lib/vco/tools/configuration-cli/bin/vro-configure.sh reset-authenticationand press enter.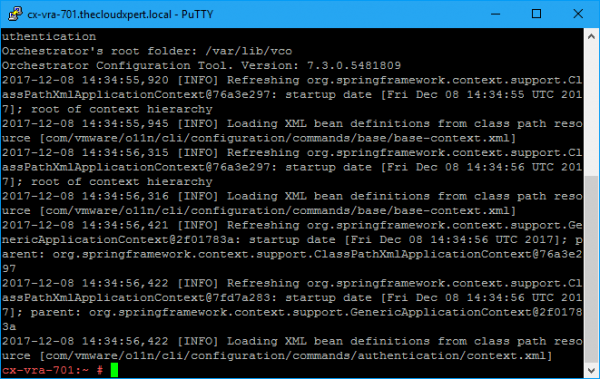
- Type
rm /etc/vco/app-server/vco-registration-idand press enter.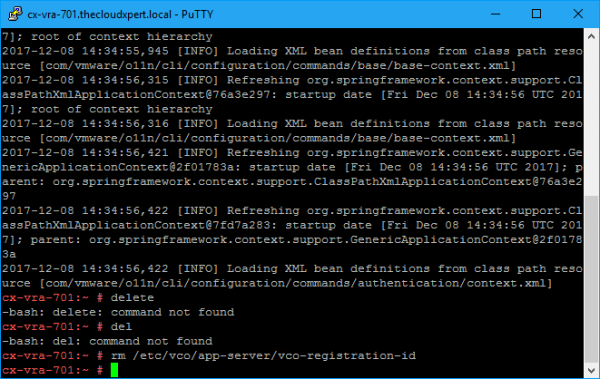
- Type
vcac-vami vco-service-reconfigureand press enter.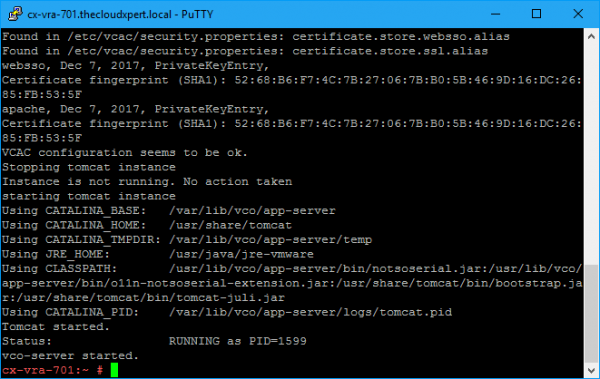
Note:The VMware documentation says you now need to start the vco-server service, but as you can see from the above screenshot, that is automatically restarted. If you want to double check, typeservice vco-server startand you should get a messgae to say its already started! - If we want to access the vRO Control Panel, type
service vco-configurator startand press enter. - If we previously had changed the authentication settings from default, you can now re-configure them again! Yay!
Next Step(s)
In the next post, we will look at Replacing the vRealize Automation 7.3 Appliance VAMI Certificate.
Published on 12 December 2017 by Christopher Lewis. Words: 475. Reading Time: 3 mins.
- Replacing the vRealize Automation 7.3 IaaS Manager Service Certificate ()
- Replacing the vRealize Automation 7.3 IaaS Web Certificate ()
- Replacing the vRealize Automation 7.3 Appliance Certificate ()
- Replacing SSL Certificates in vRealize Automation 7.3 ()
- vRealize Automation and Orchestrator 7.3 Released! ()